


Instructions for Setting Up Your Own spongeforge Minecraft Server on Ubuntu Linux and what is SpongeForge and why install it In this guide, we explain how to set up your own Minecraft server using the KDE Plasma graphical interface and what is Spongeforge and why install it
spongeforge combines Minecraft forge mods and the Sponge plugin management system into a single server platform. It allows the use of both mods and plugins,
enabling you to manage players, add new features, and develop a versatile server.
Guide for Remote Desktop Management if You Haven’t Installed It on Your VPS Yet (Required)
A Minecraft server requires Java to function. The latest Minecraft version is incompatible with the Java version included in Ubuntu 22.04, so you’ll need a newer one.
Create a new user:
Click the Kubuntu logo in the bottom left corner.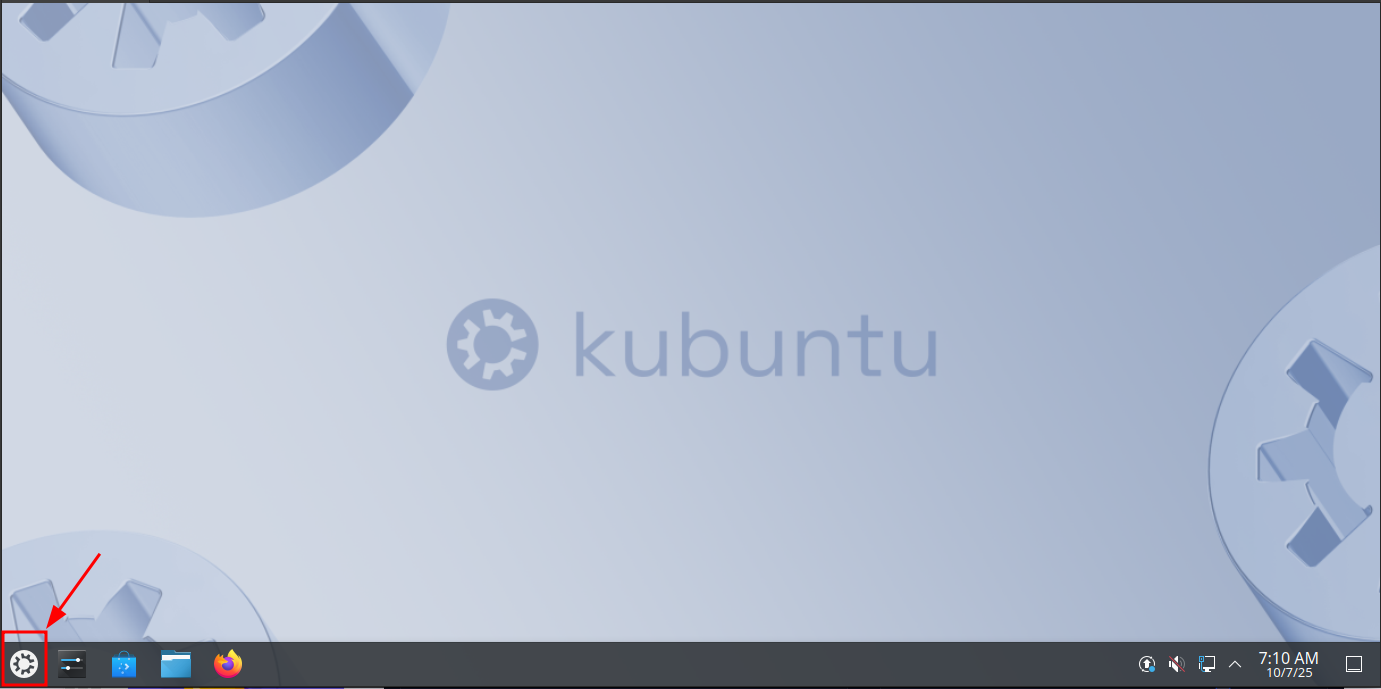
Click on the search bar and type 'users', then open the 'Users' application.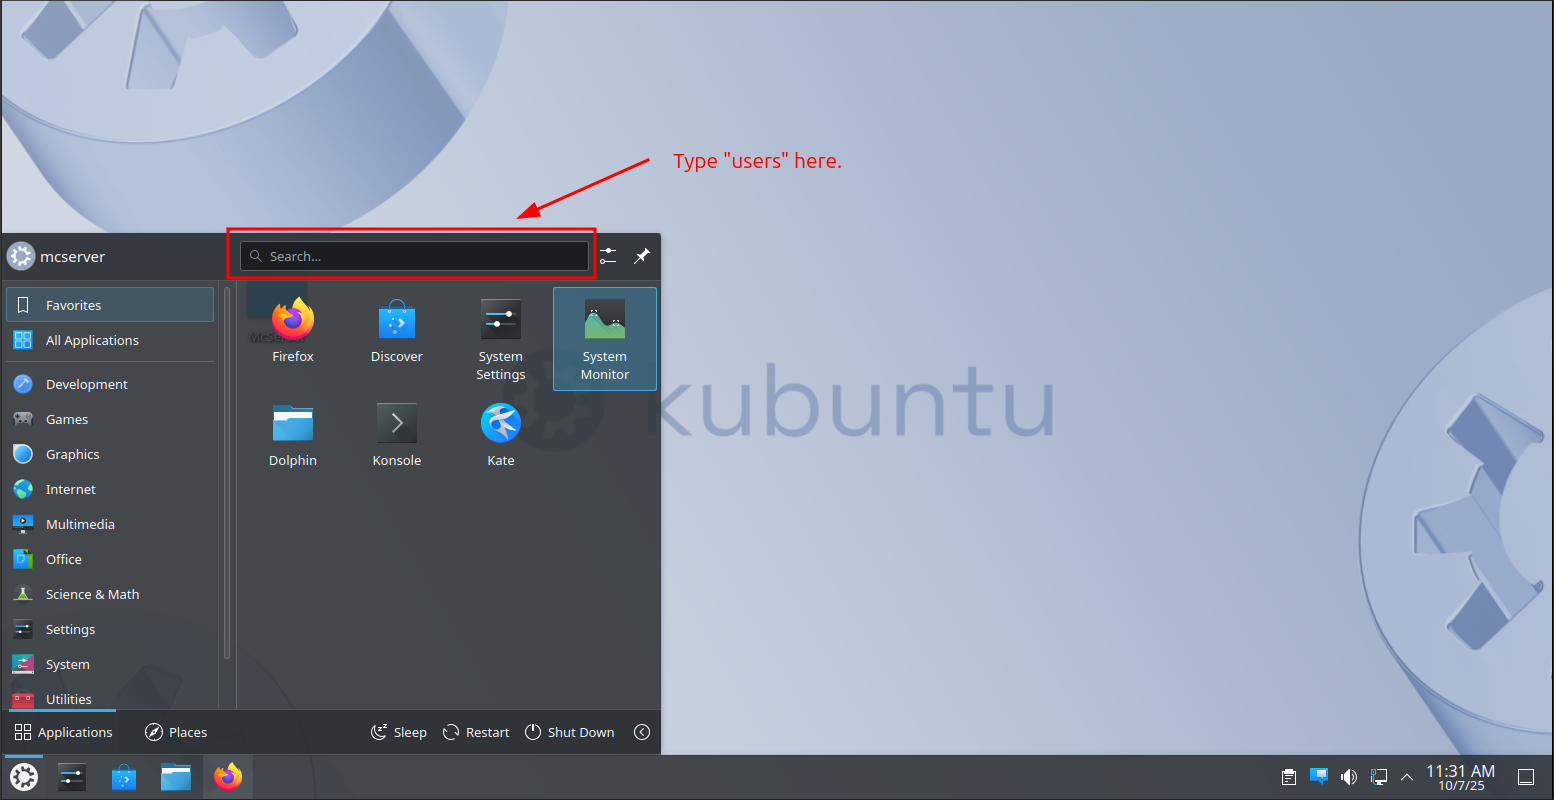
In the Users application, click on "Add New User".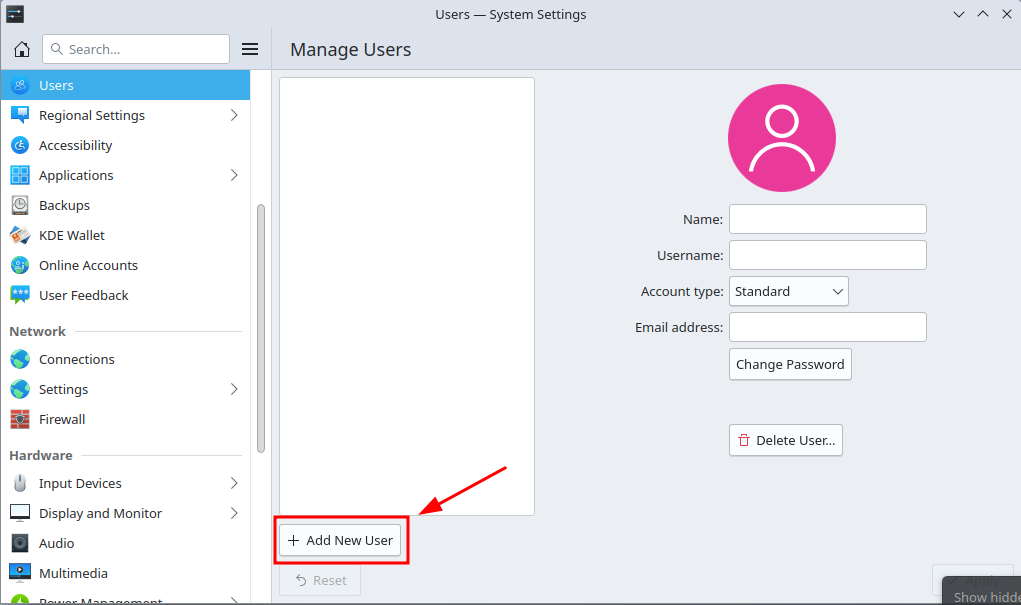
Enter the user's details in the fields inside the red square. (NOTE! Uppercase letters are not allowed in the Username field!)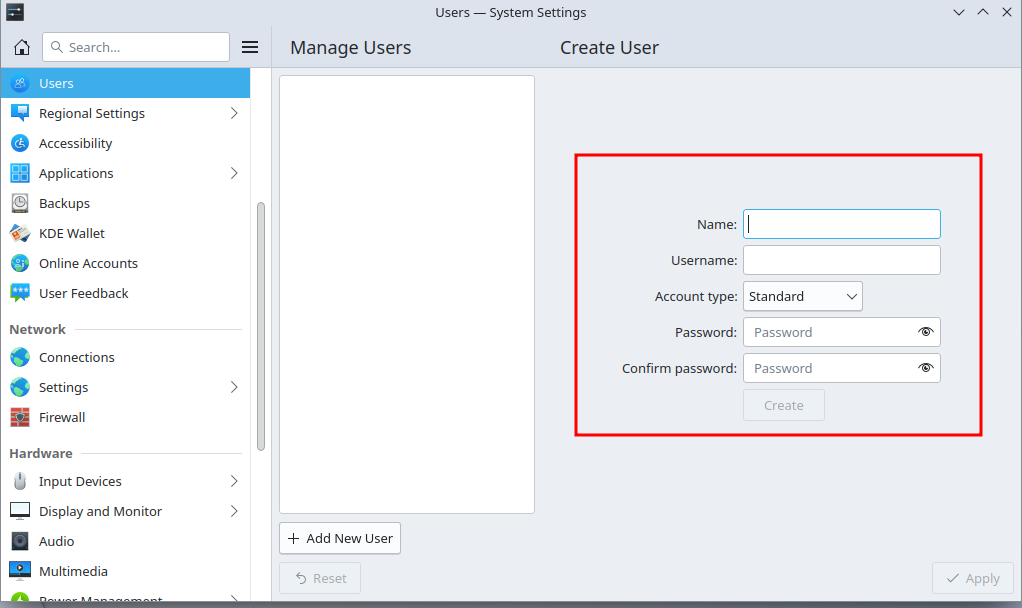
Next, we will make the user an administrator:
Click on "Account type".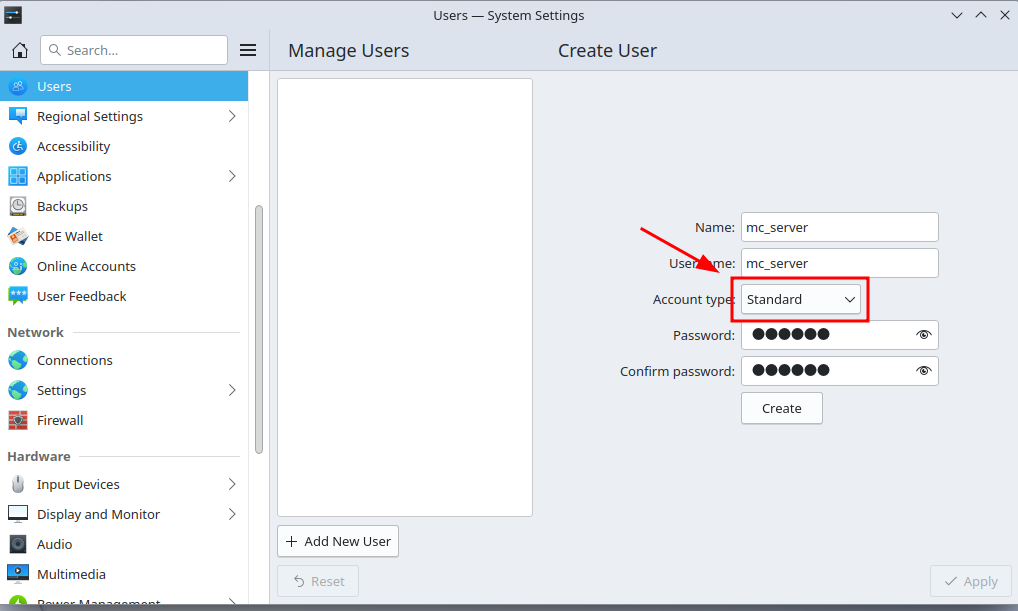
Then click on "Administrator".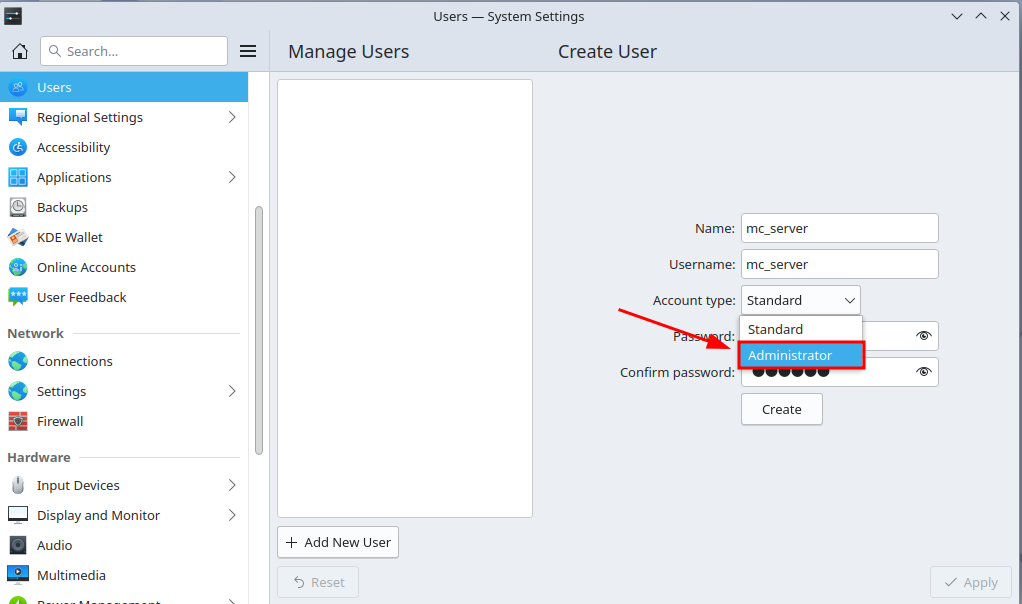
Now click the "Create" button.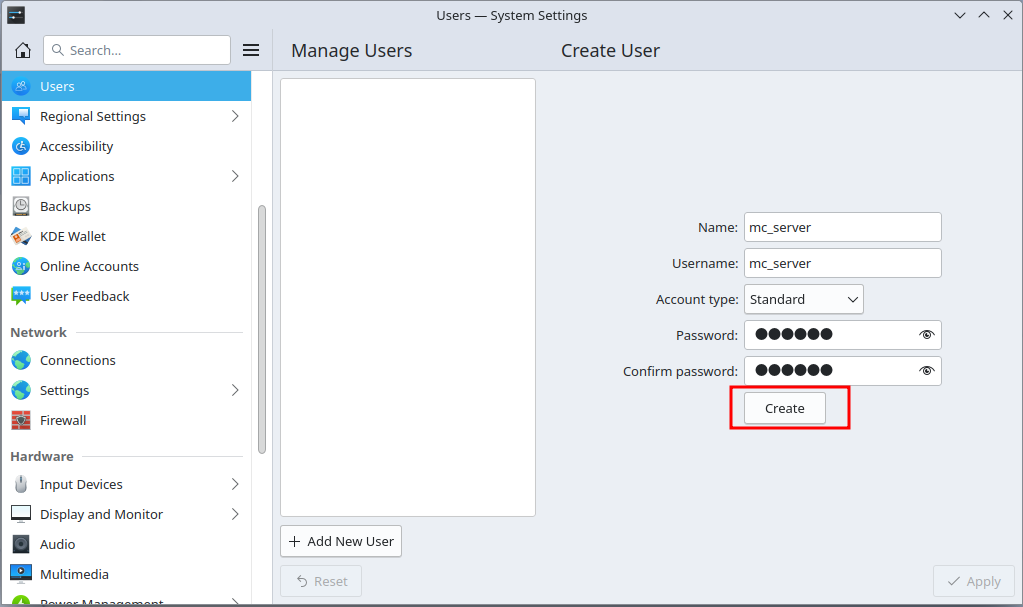
Next, log in with the user account you just created.
Install Java
Open the Firefox browser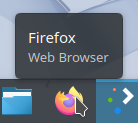
Copy the address https://www.oracle.com/java/technologies/downloads/ and paste it into the search bar.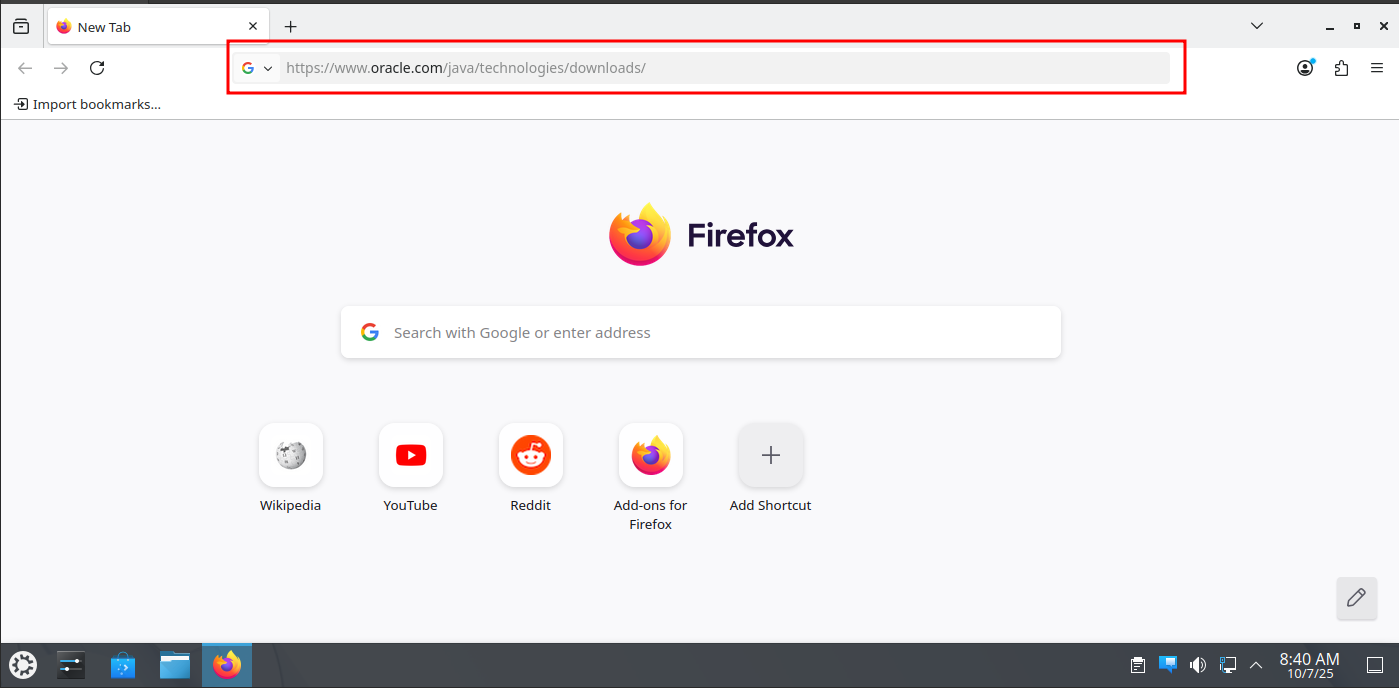
Download the "x64 Debian Package".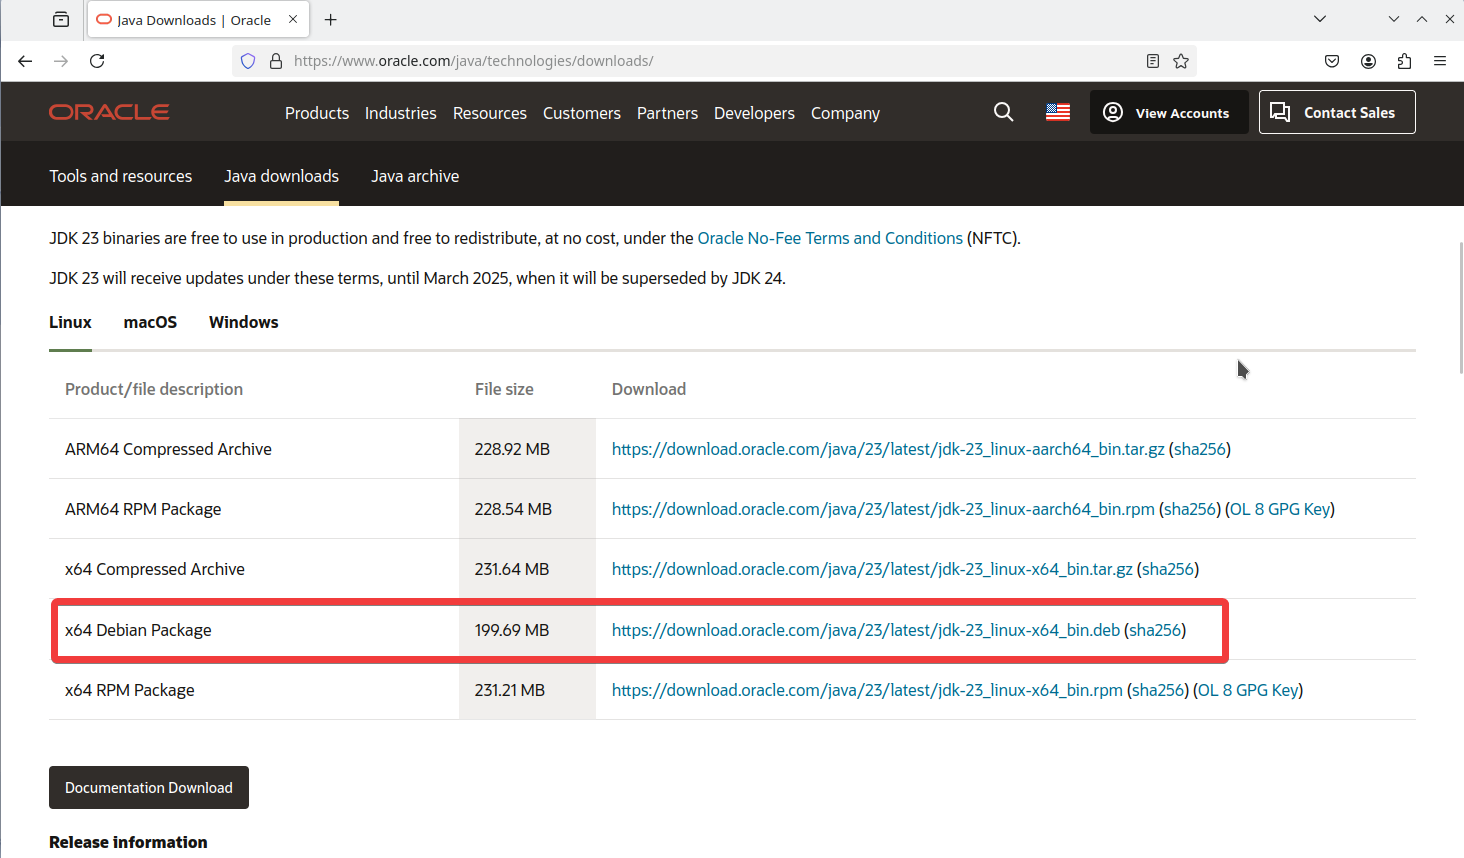
Next, click the folder icon for the downloaded file.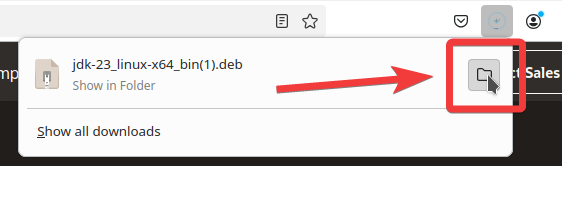
Double-click the file.
Click "Install Package". (If the "Install Package" button doesn’t do anything, scroll down a bit to the section: "Manual installation if the 'Install Package' button doesn’t do anything:")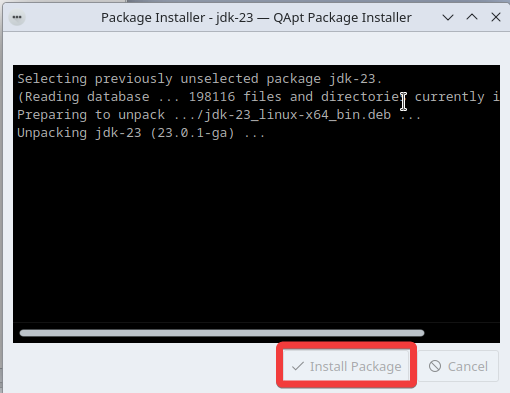
Finally, click "Close".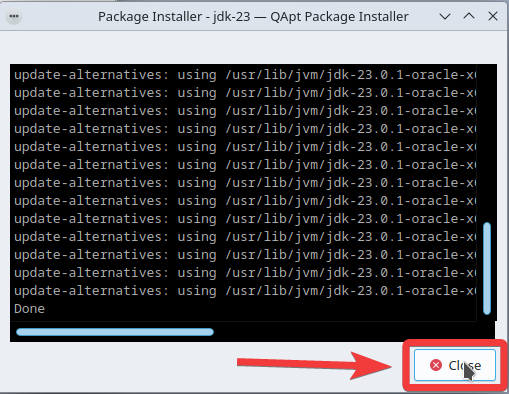
Manual installation if the "Install Package" button doesn’t do anything:
If the "Install Package" button didn’t do anything, open the Konsole application.
In the terminal, navigate to the downloads folder using the "cd" command. Copy the command below and paste it into the terminal, then press Enter. (To paste text into the terminal, press Shift + Ctrl + V)
cd Downloads/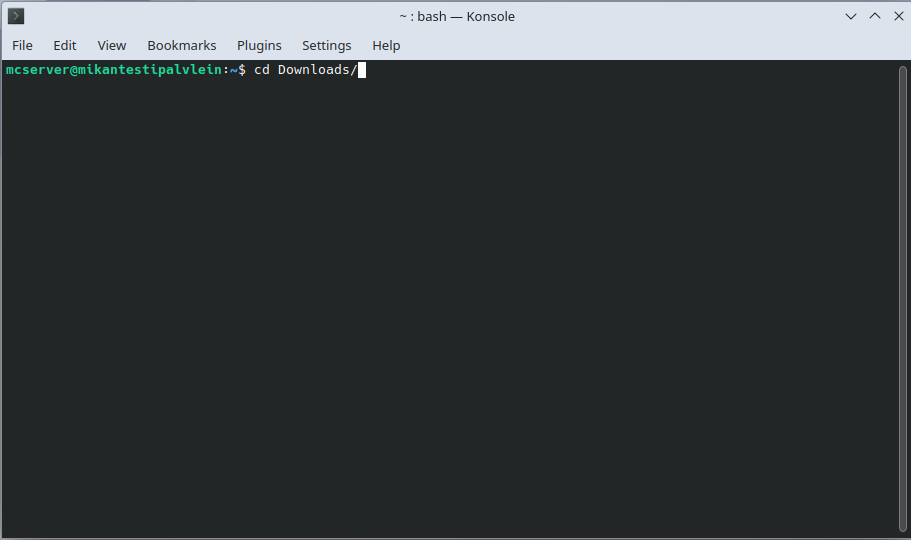
Then copy the command below, paste it into the terminal, and press Enter. (Make sure the .deb file name matches the one you downloaded earlier!)
sudo dpkg -i jdk-25_linux-x64_bin.deb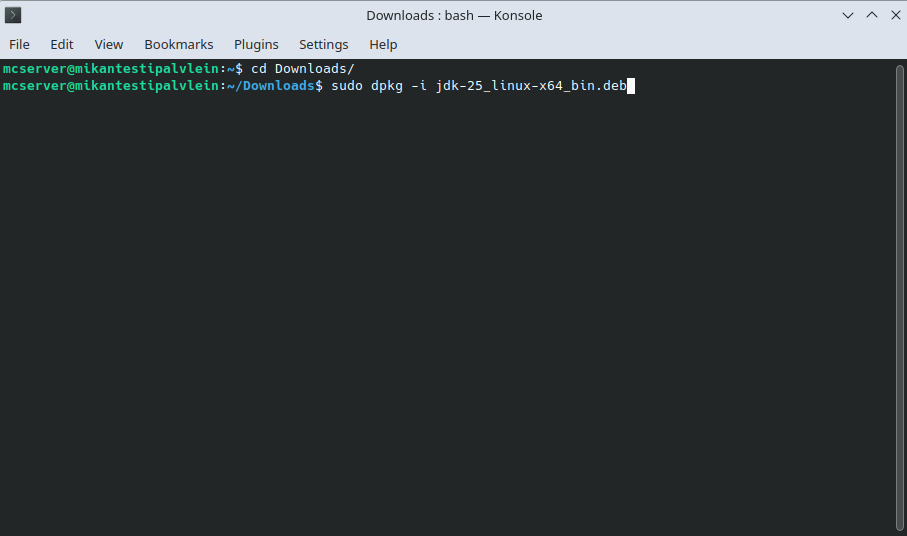
Then type "cd" to leave the /Downloads directory.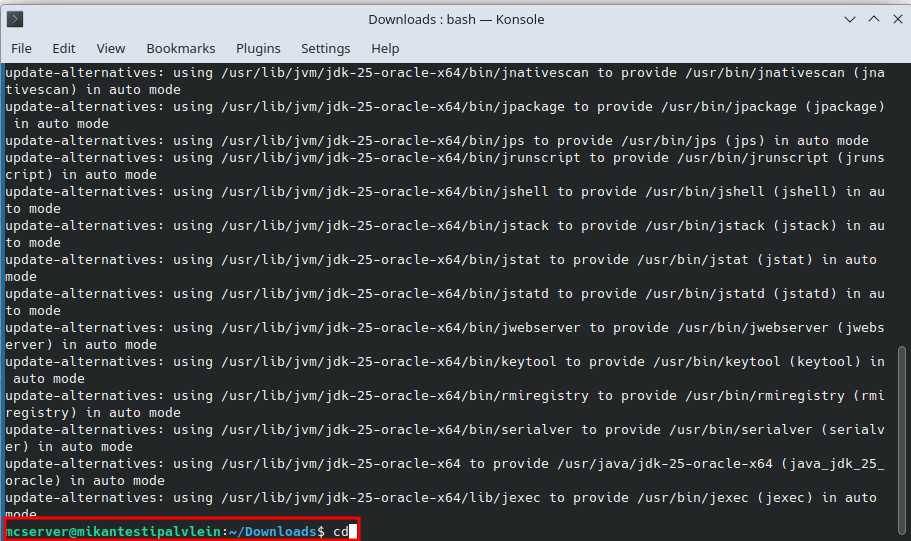
Configure Firewall Settings:
Open the terminal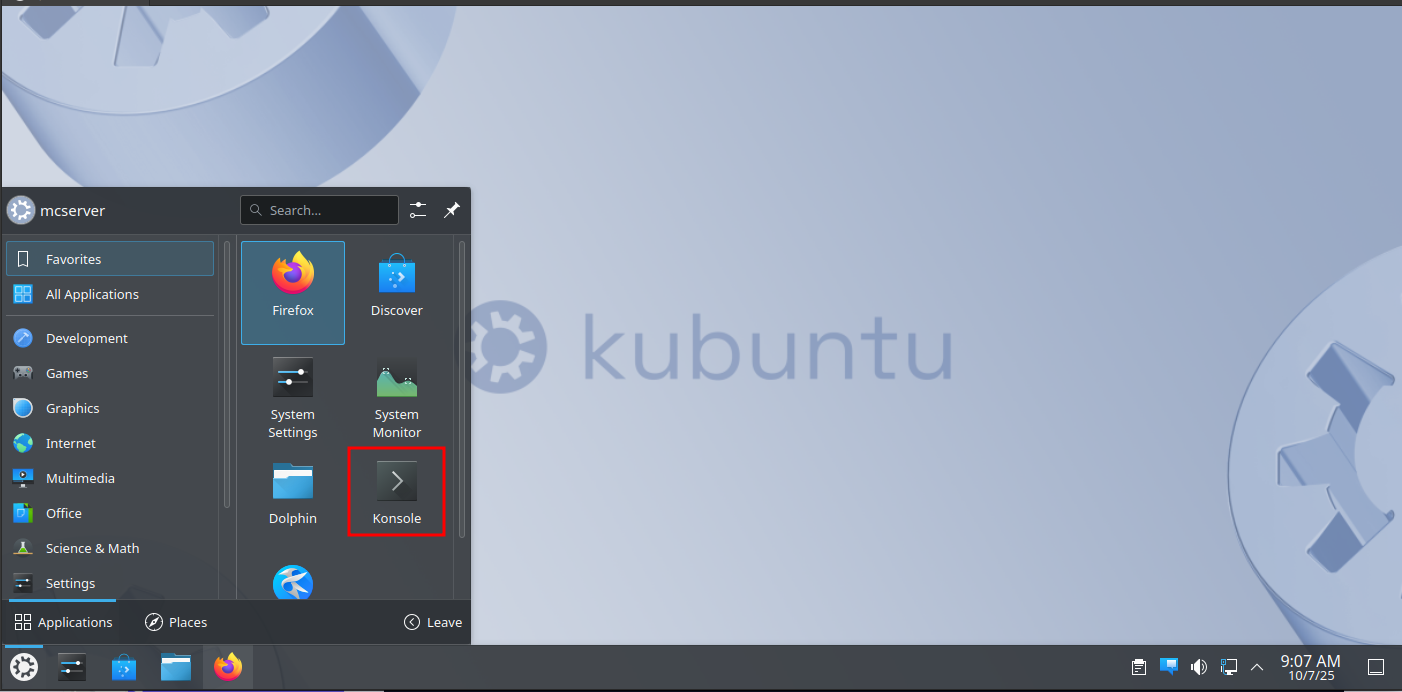
Install the gufw firewall manager by copying the command below and pasting it into the terminal. After pasting the command, press Enter.
sudo apt install gufw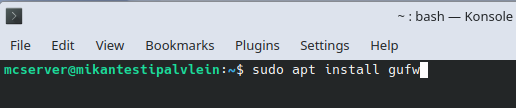
Click the Kubuntu logo in the bottom left corner.
Type "gufw" in the search bar and click on the "Firewall Configuration" application.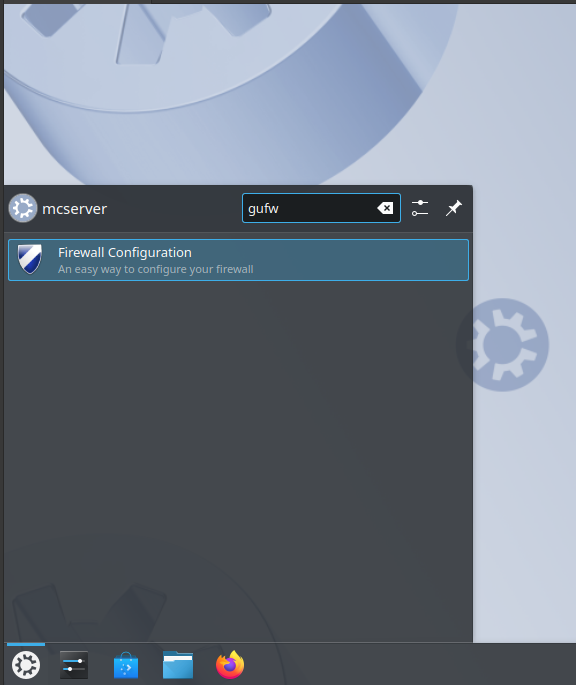
If this page appears when you open gufw, enter your password and click OK.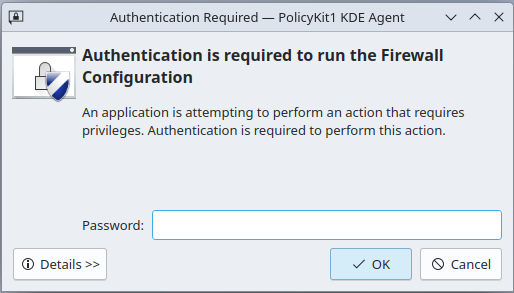
Once you're in gufw, click on the "Rules" tab.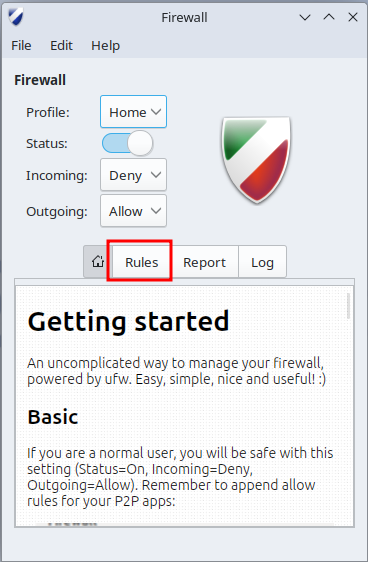
Click the "+" button at the bottom.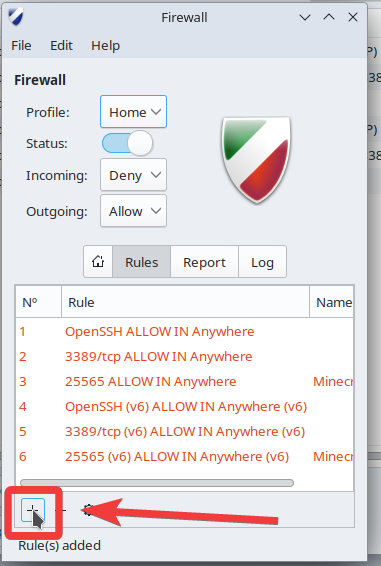
Select "Simple" at the top.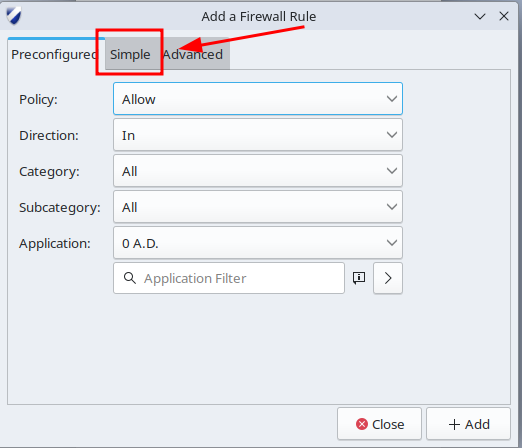
Then enter the information as shown in the image below.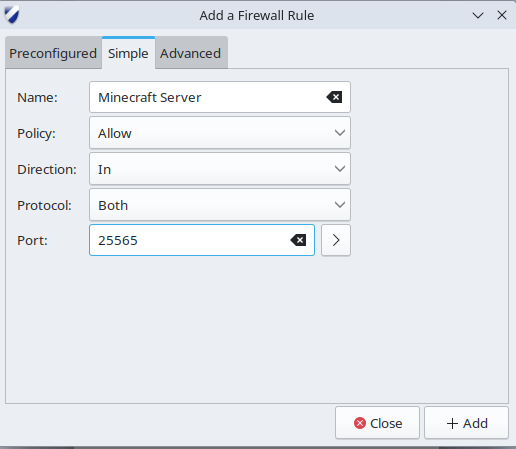
When you’re done, click the "+ Add" button.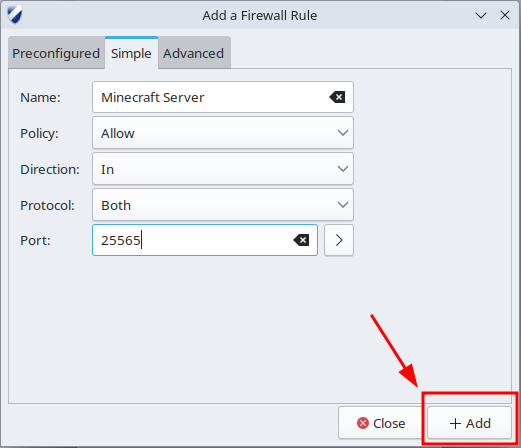
Download the Server Software.
First, reopen your browser and copy this address: https://files.minecraftforge.net/net/minecraftforge/forge/ into the address bar, then press Enter.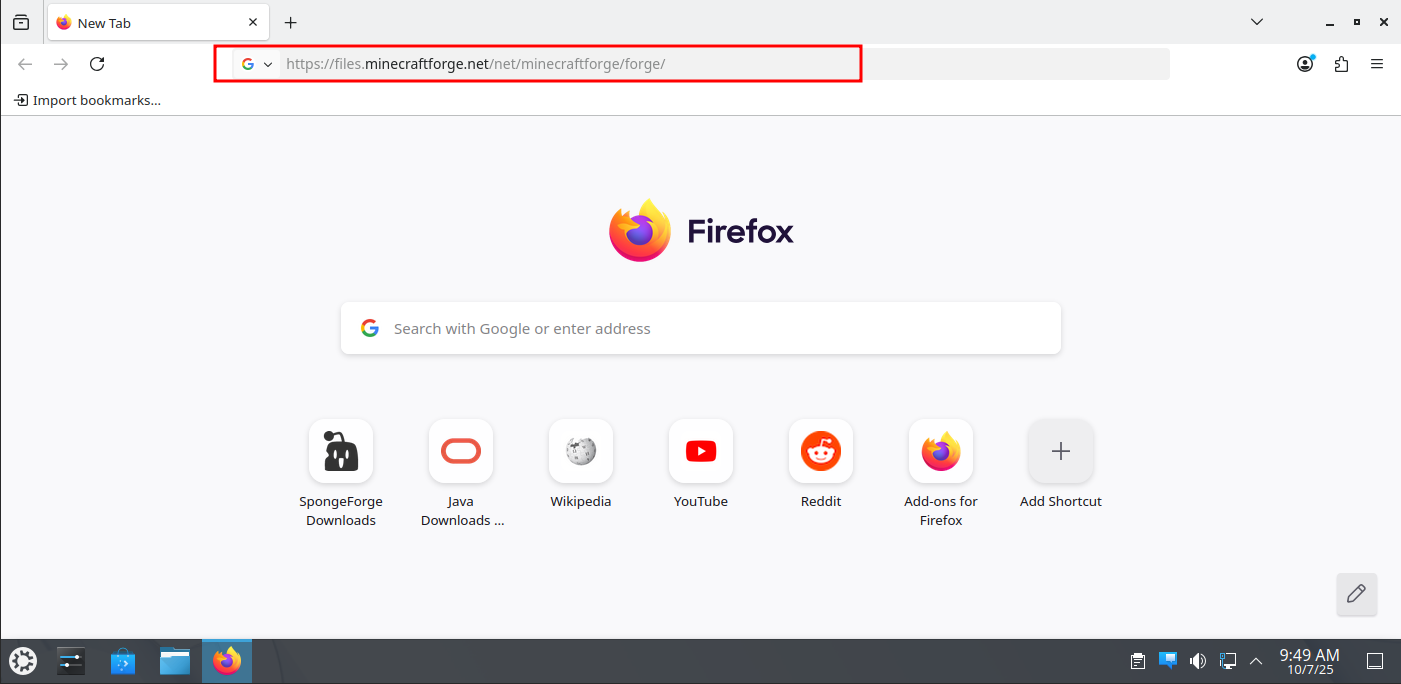
Once you reach the page, click on "Installer". (If you want, you can select a different Minecraft version from the "Minecraft Version" dropdown.)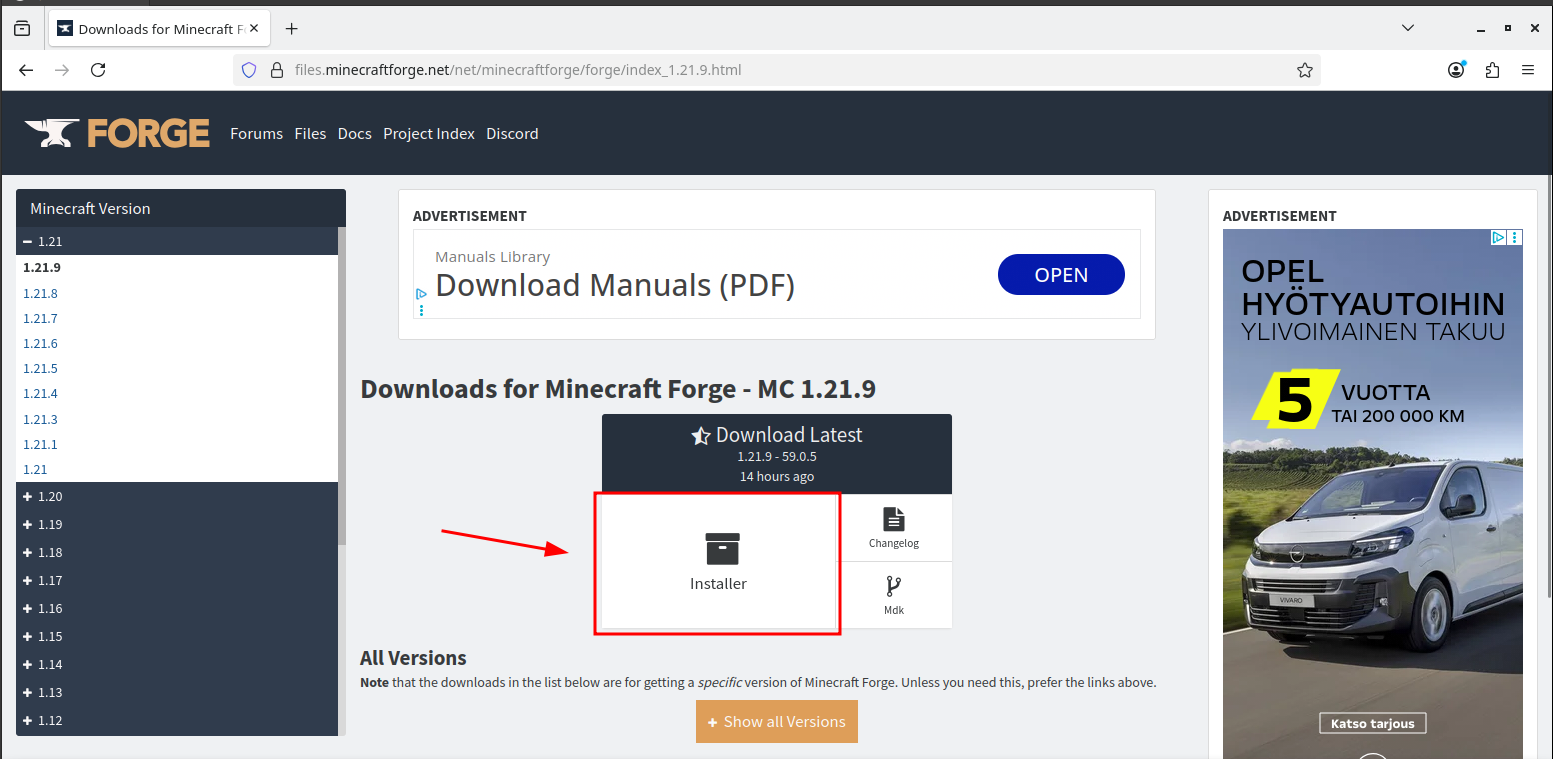
When you click the "Installer" button, a page like this will appear. Wait a moment and then click the "SKIP" button when it appears in the top right corner. (Once the installation is complete, you can close the web browser.)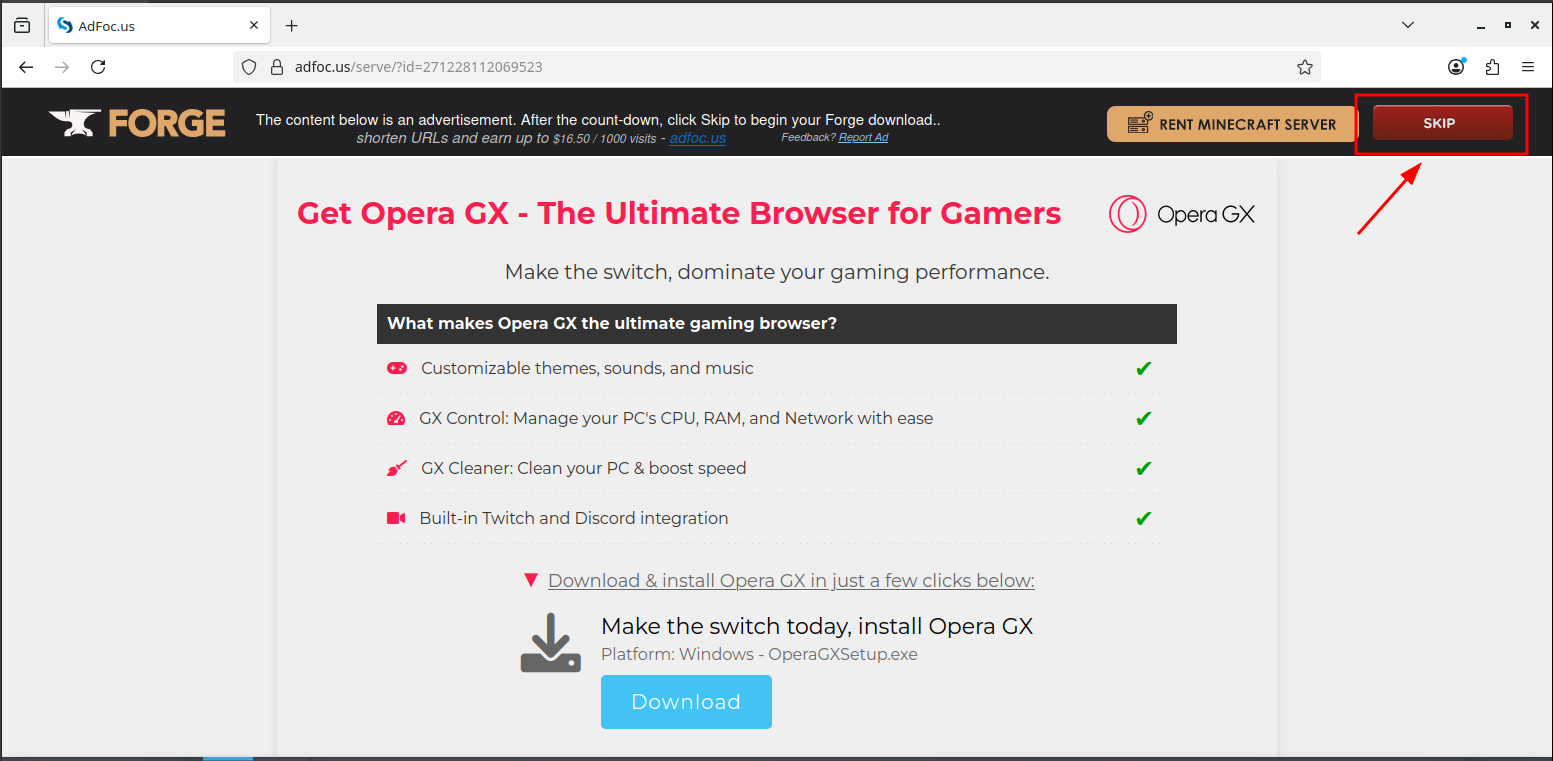
Go to the desktop and create a folder by right-clicking, then selecting Create New > Folder.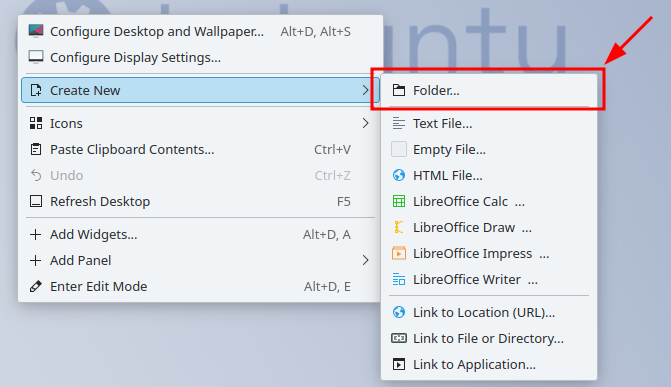
Name the folder, for example: "McServer".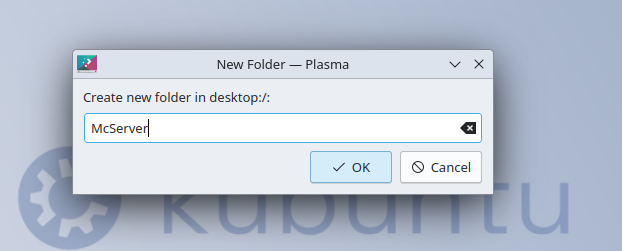
Open File Manager.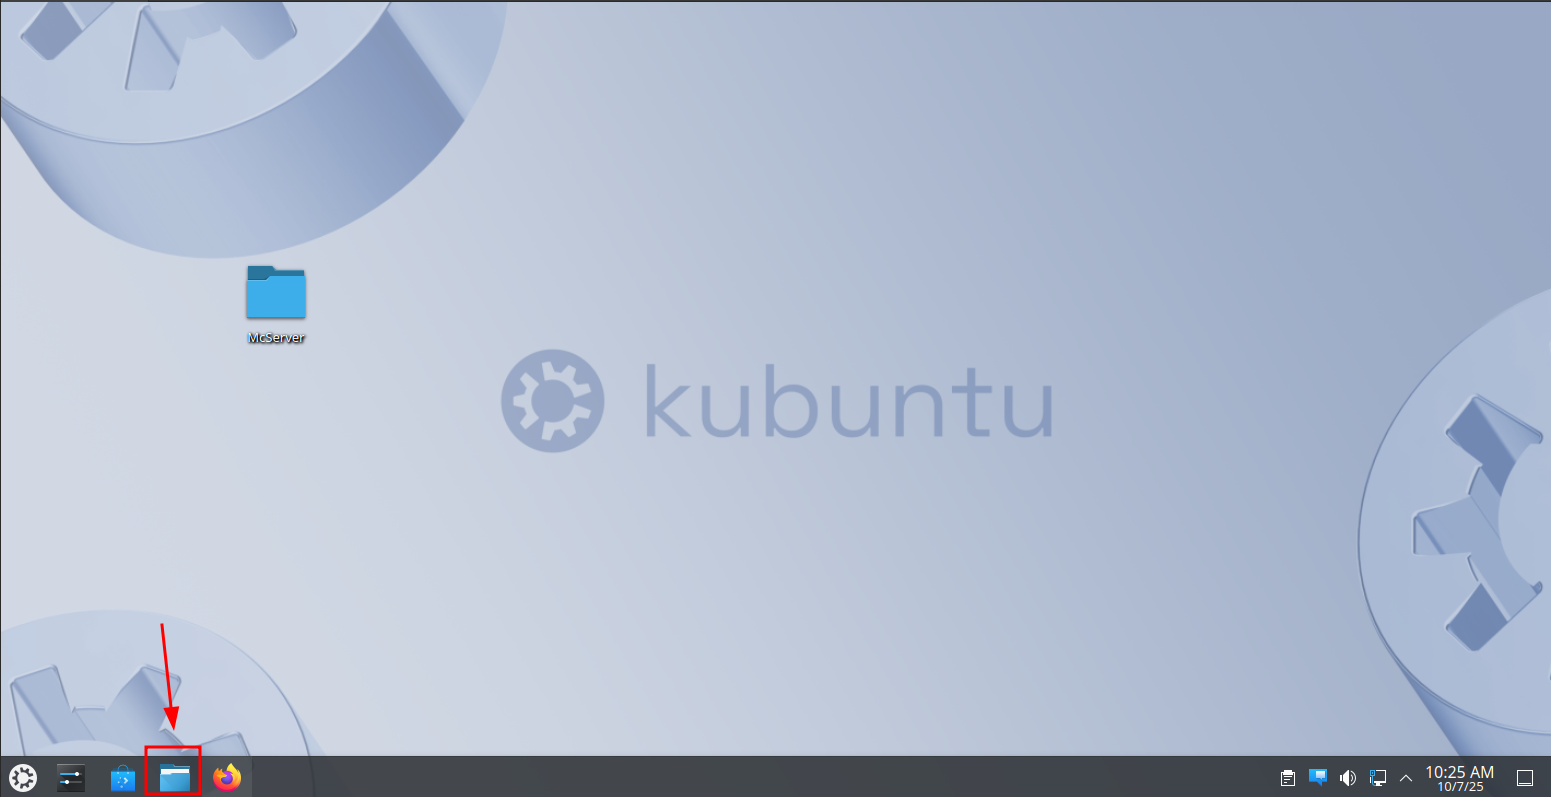
In the File Manager, click on "Downloads".
In the Downloads folder, right-click the Forge file and then click "Cut".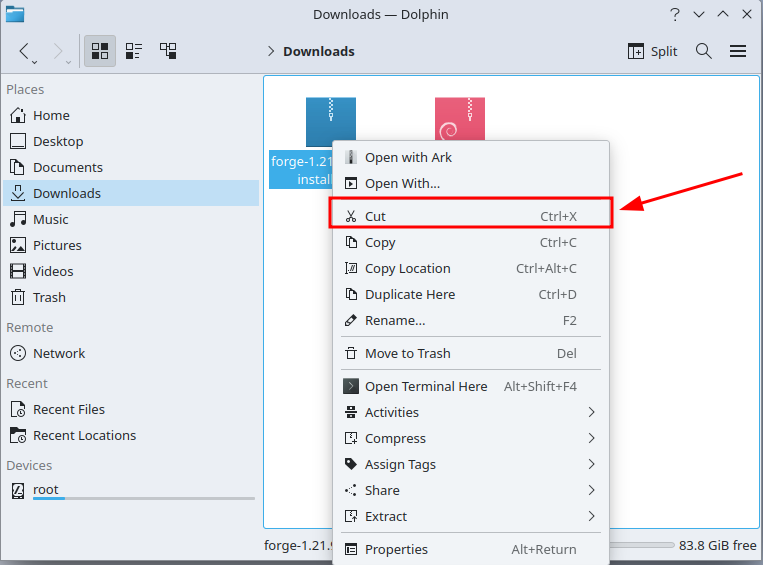
Then open the folder you just created.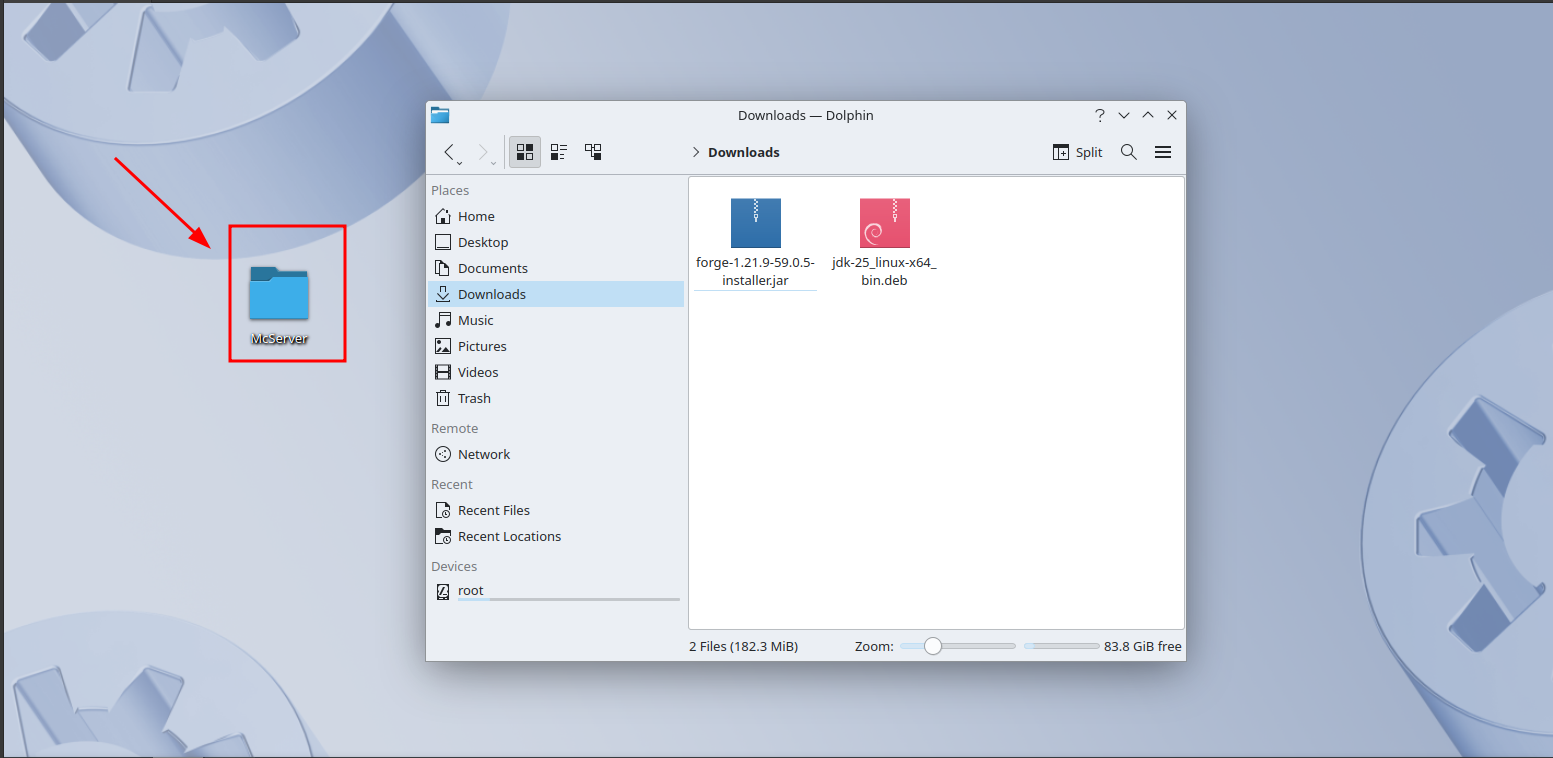
When you're inside the folder, right-click on an empty spot and then click "Paste One File".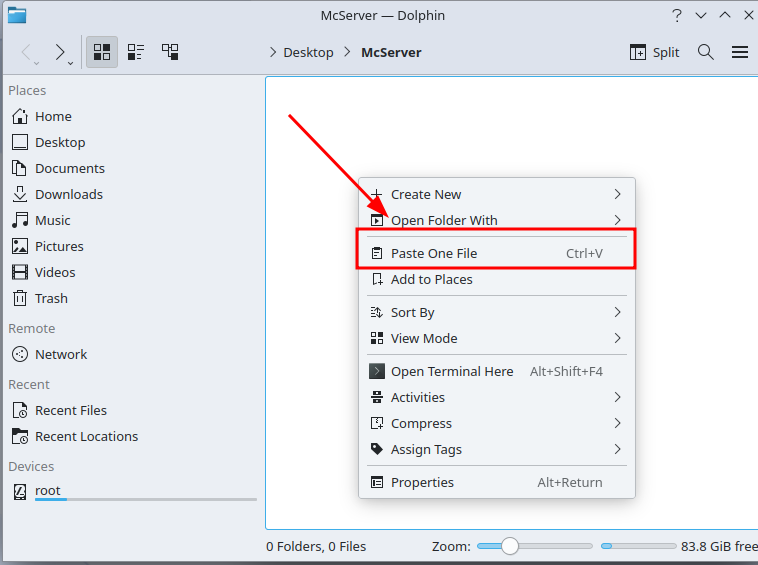
The file is now in the folder you created for the server.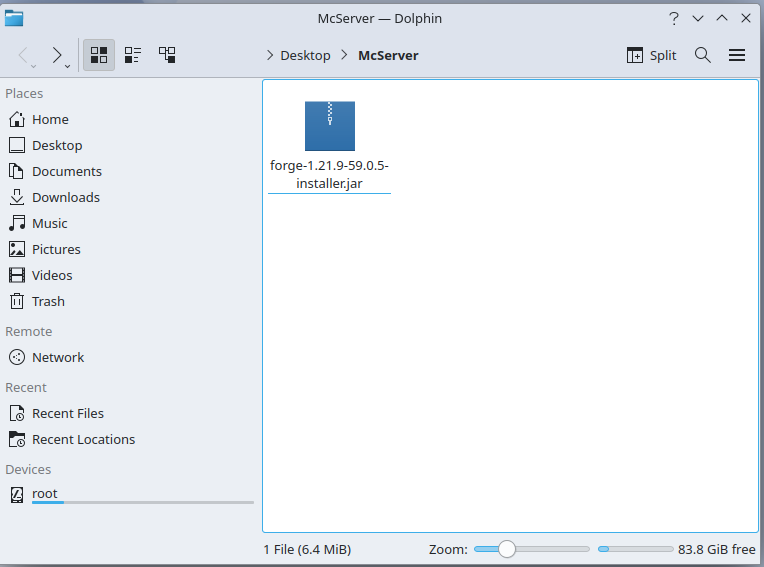
Open the terminal and paste the commands below into the terminal. (NOTE! Use your folder’s name instead of McServer in the cd command if you named your folder differently. For example, if you named it Server, the command would be cd Server)
cd Desktop
cd McServer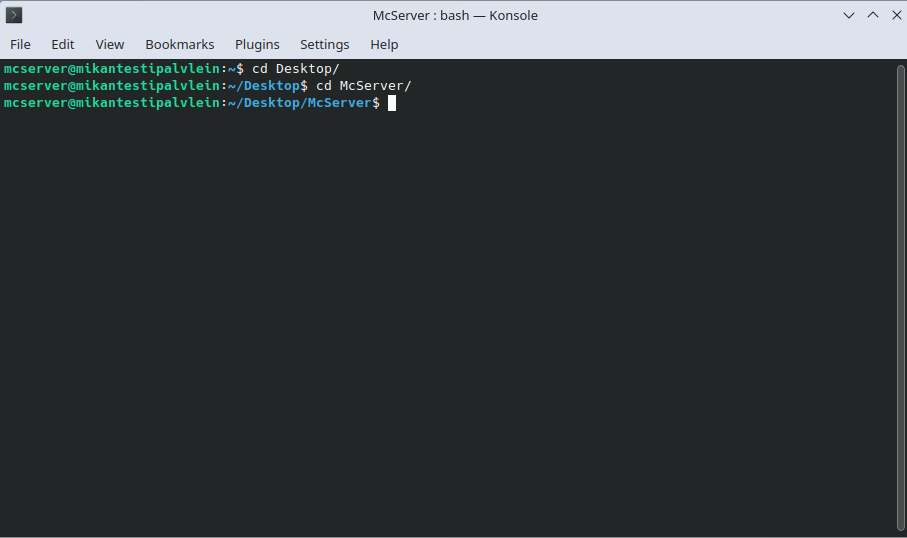
Install the server:
java -jar [forge file name].jar --installServer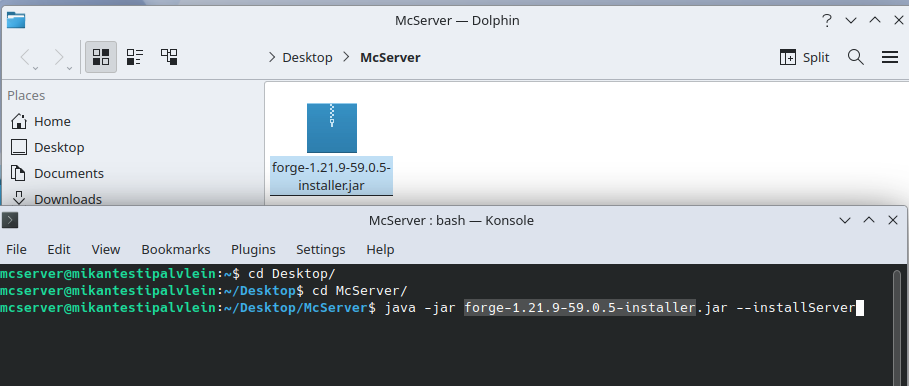
Many files will now appear in the folder, one of them being "run.sh", right click it and then click "Run in Konsole"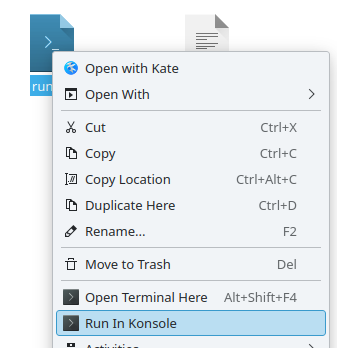
Next, a new terminal window will open and more files will start appearing in the folder, but the server won’t start because it requires the "eula" to be accepted.
Close the terminal, then locate and open the file named "eula.txt".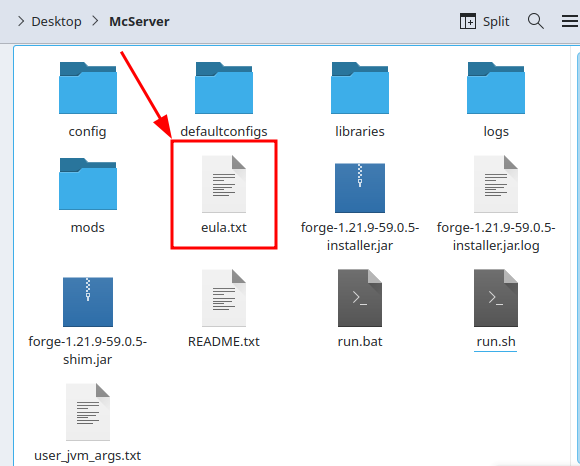
Edit the text so that the third line reads "eula=true" instead of "eula=false". Save and close the file following the earlier instructions.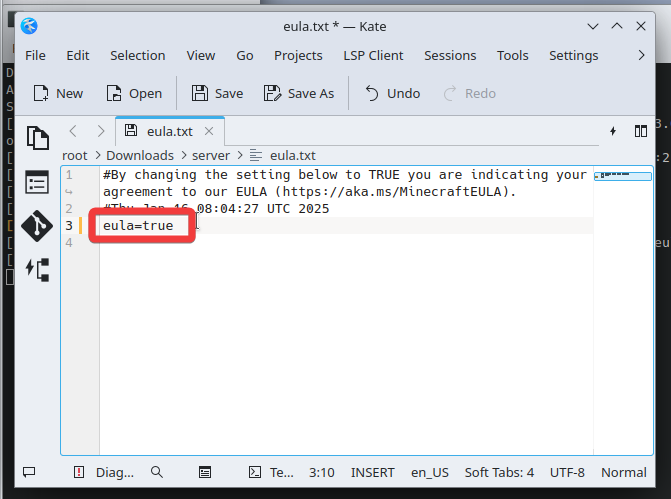
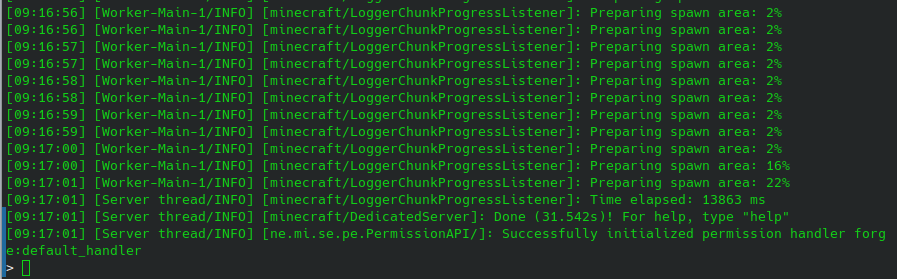
Start the server again: Right-click run.sh and select "Run in Konsole".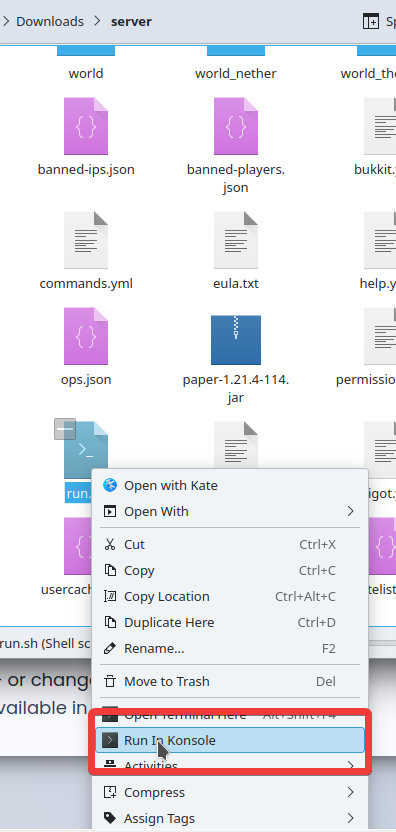
If the server runs successfully, the console window will look like this:
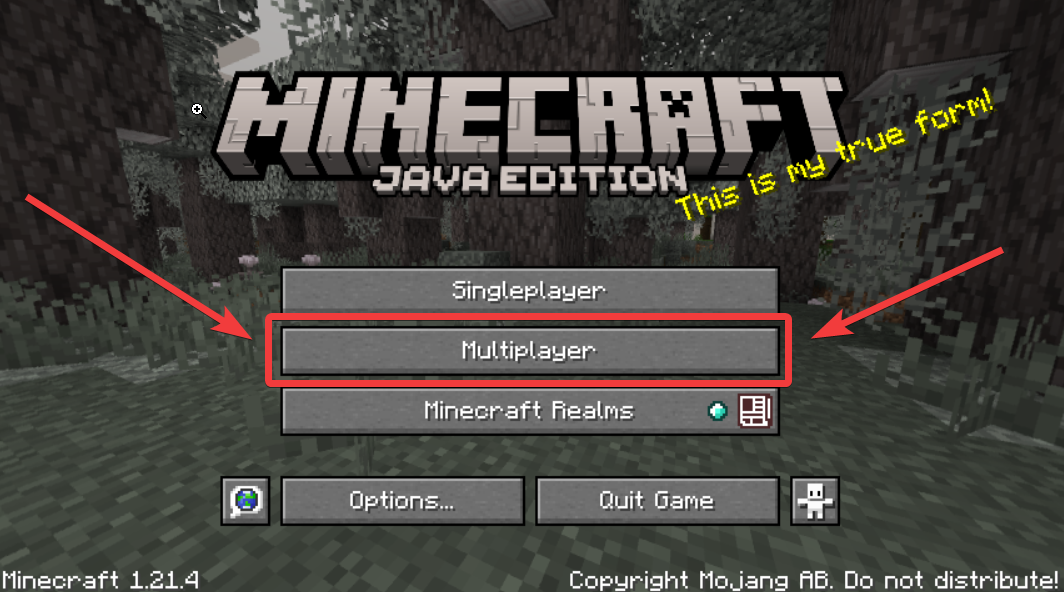
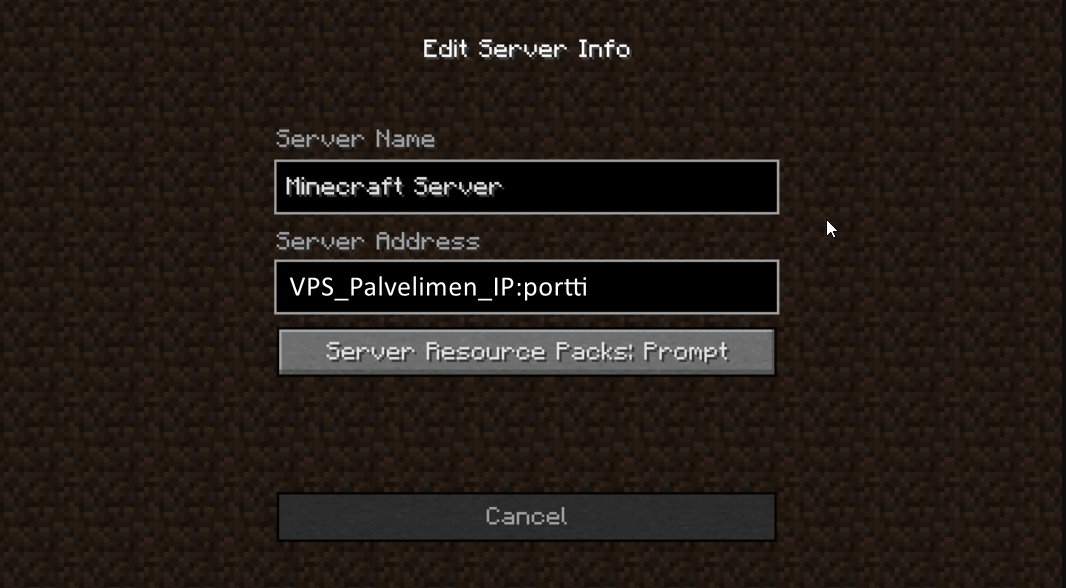
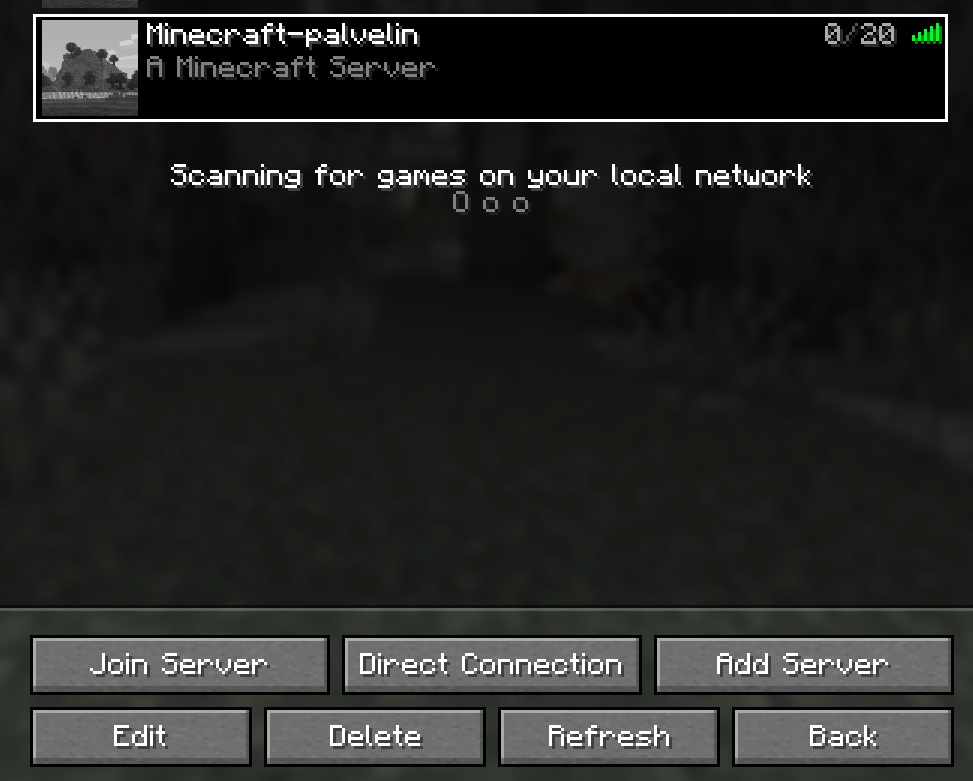
Joining the Game
First, open Minecraft and click on "Multiplayer."

Now let's install spongeforge:

When you are on the spongeforge page, click the 'Downloads' button.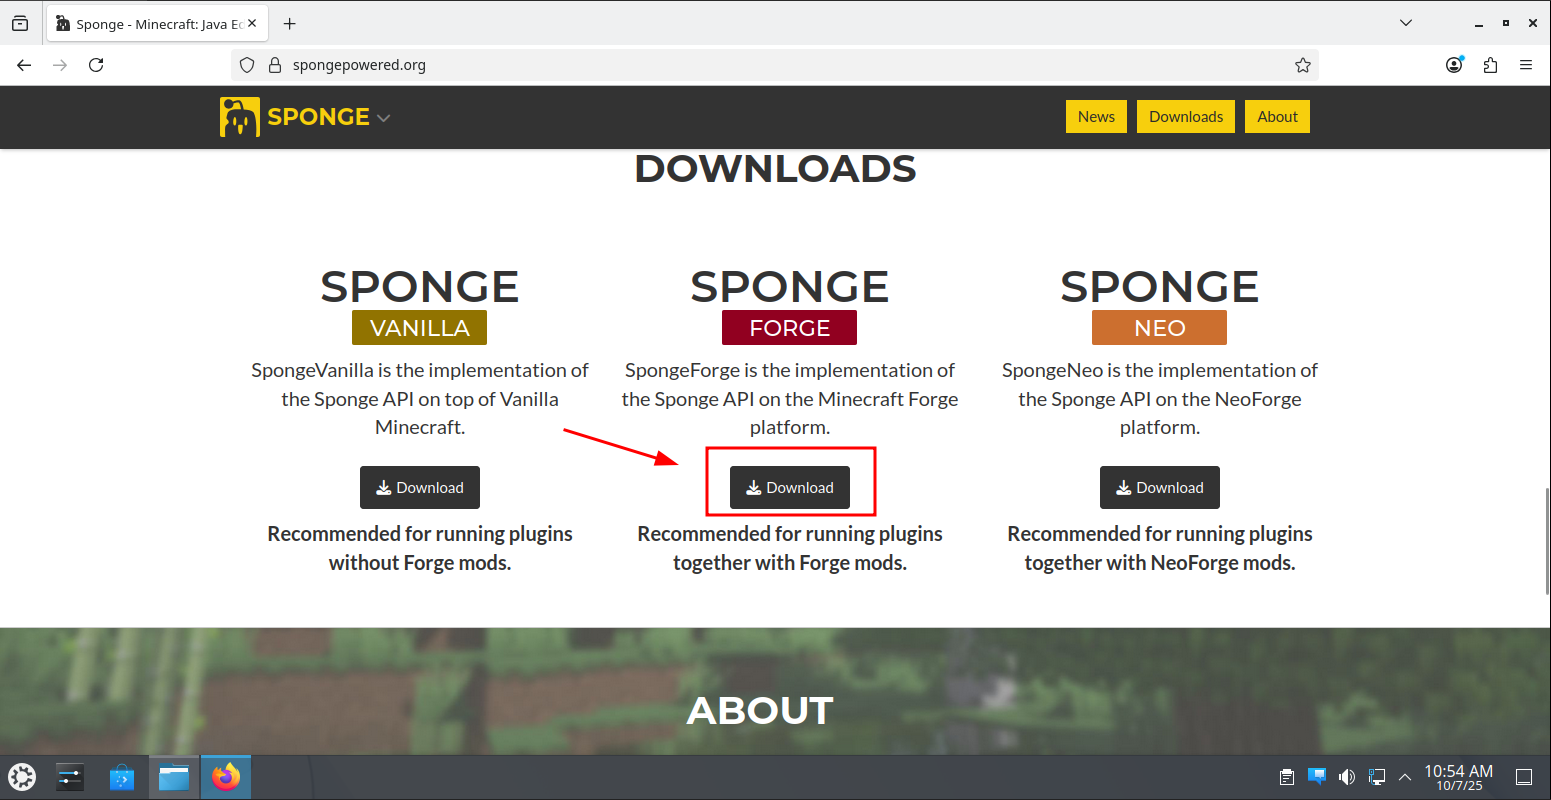
Then click the "Download" button under the "SPONGEFORGE" section.
Then click the arrow button.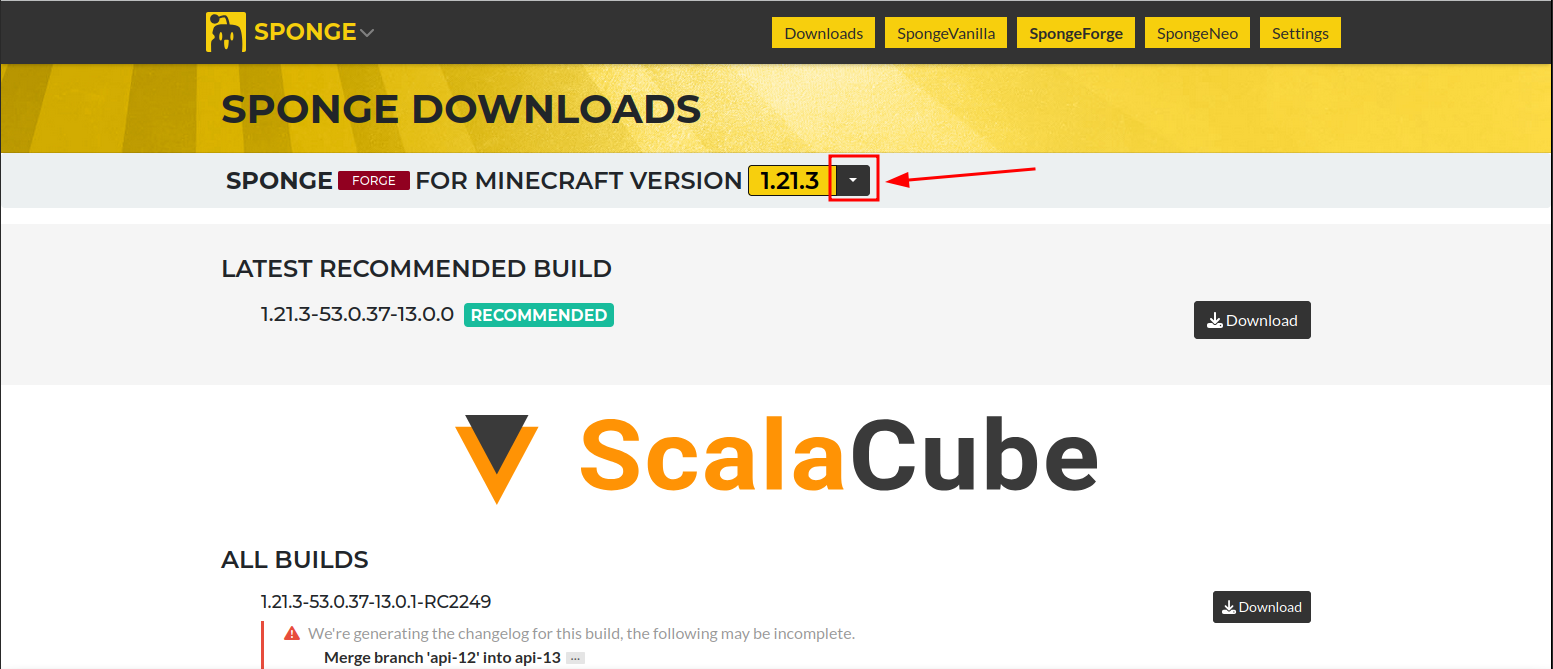
Then select your server's Minecraft version from the list.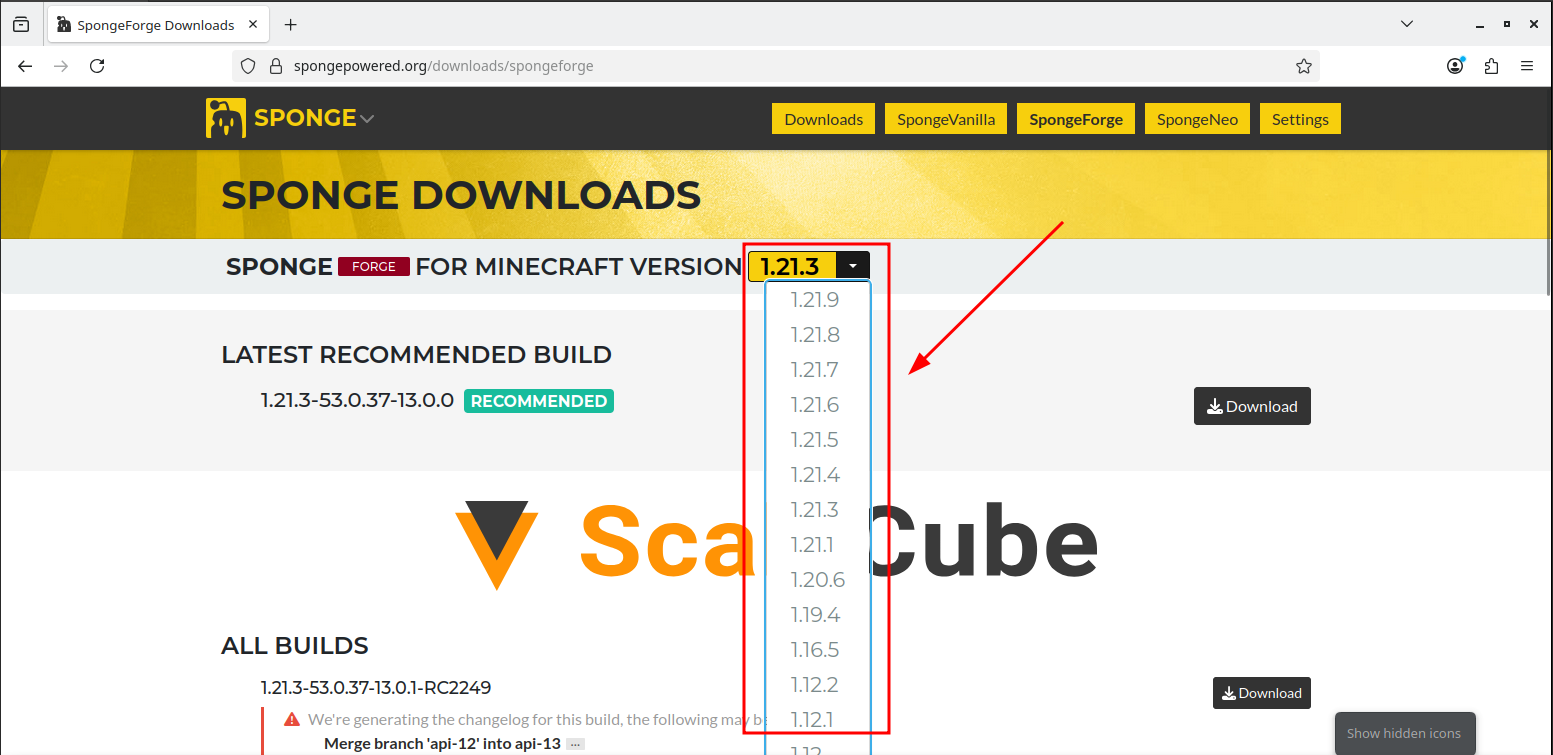
Click the 'Download' button (If your version on the download page says 'LATEST RECOMMENDED BUILD', click the Download button for that one.)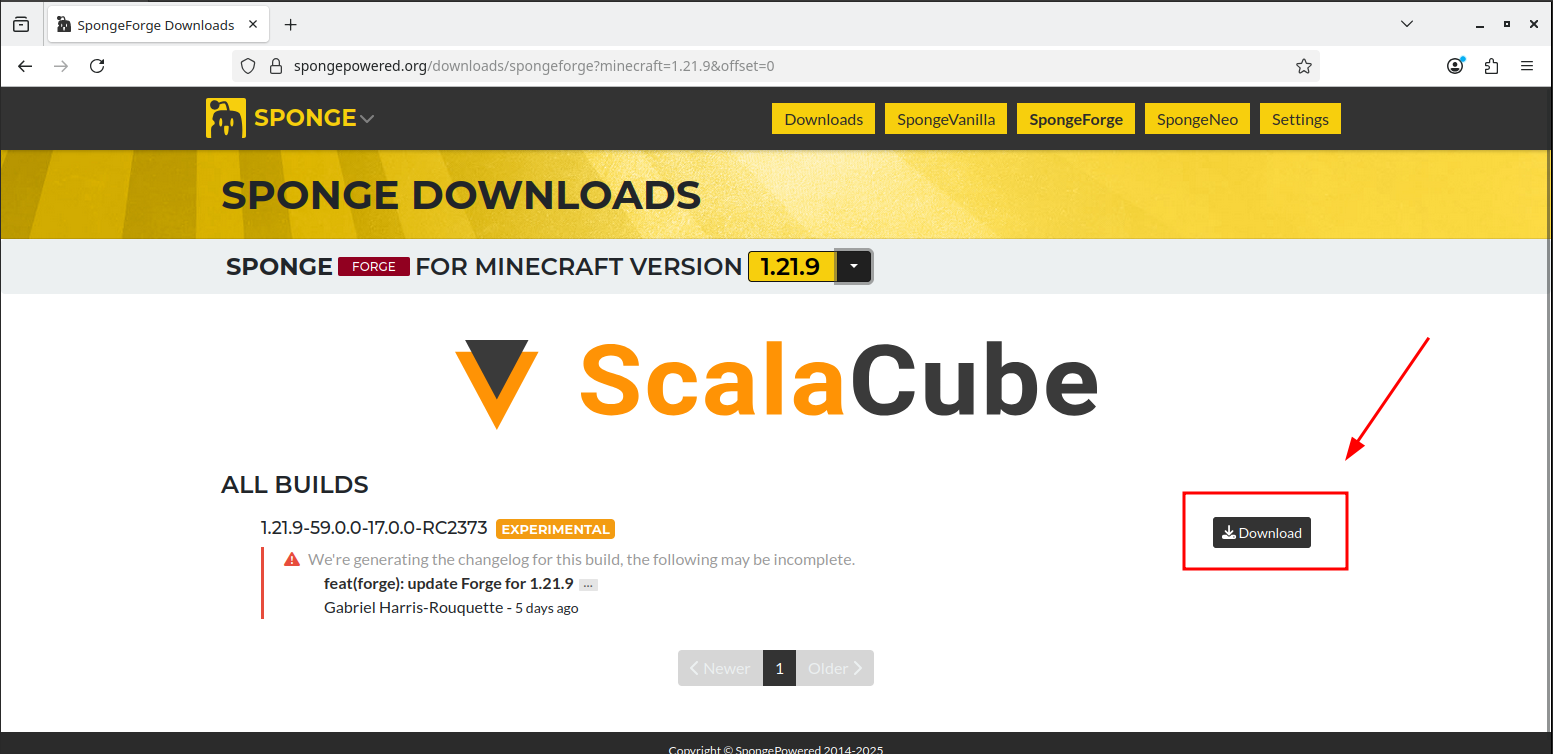
Open the File Manager
Go to the Downloads folder.
Right-click on the file you just downloaded, then click on 'Cut'.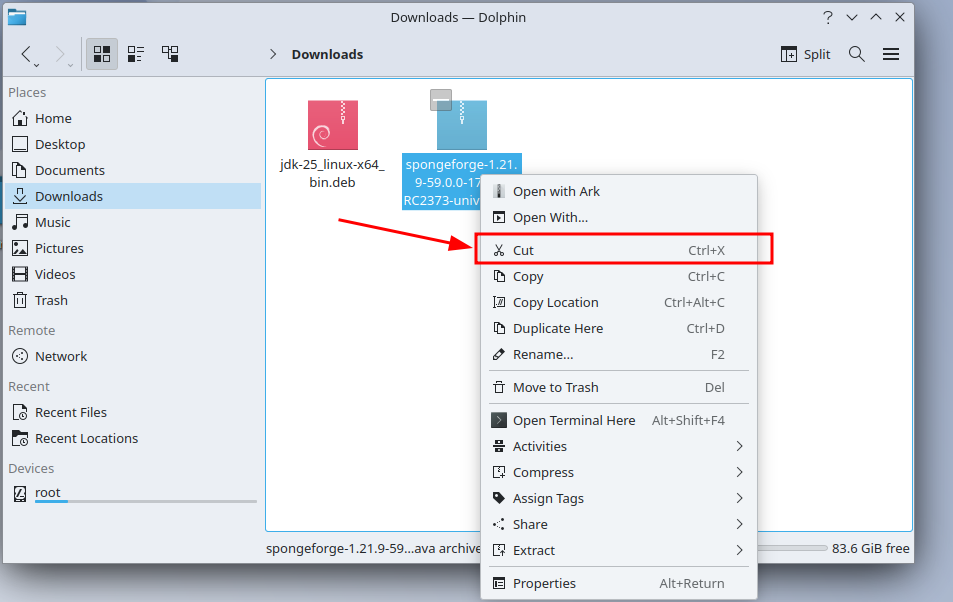
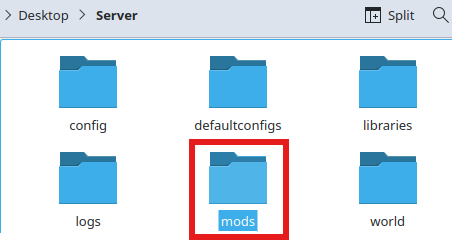
Inside the Mods folder, right-click on an empty space, then click on 'Paste One File'.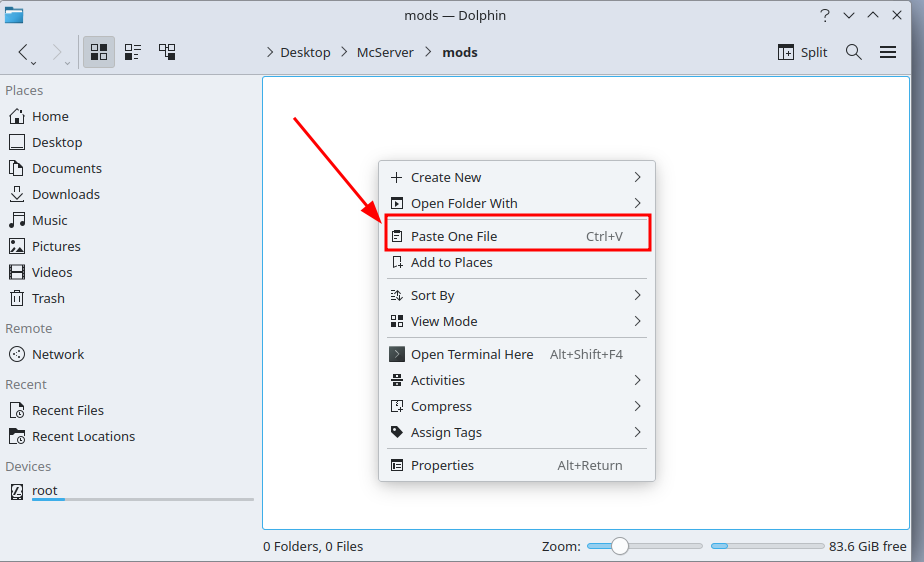
Go back to your server folder and start 'run.sh' by right-clicking on 'run.sh', then clicking on 'Run in Konsole'.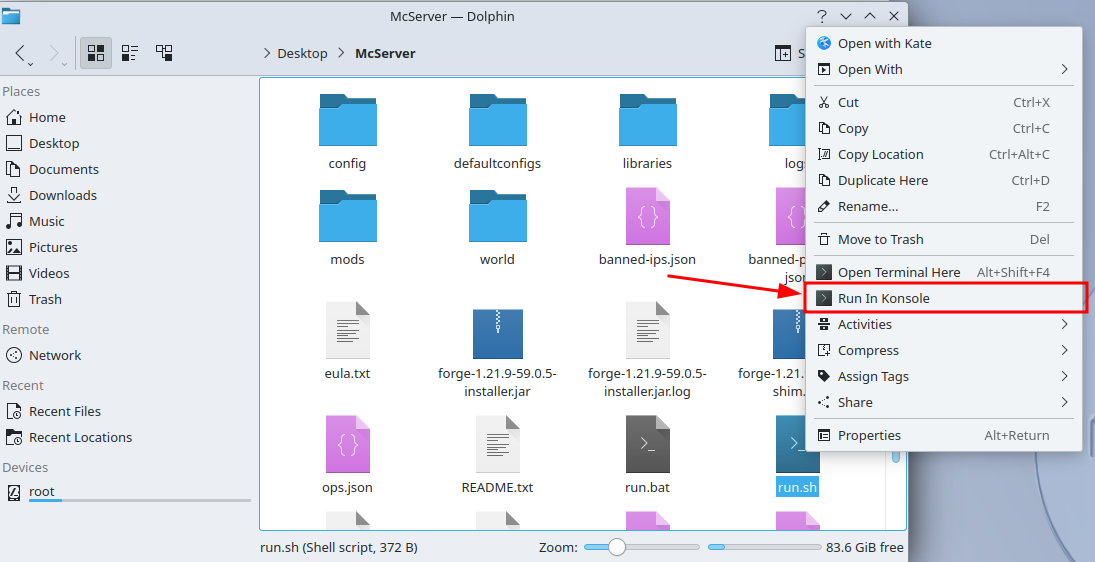
spongeforge should now be installed.
Plugins can be found from here: https://ore.spongepowered.org/
A plugin is installed by moving the downloaded files to the 'plugins' folder (the folder should appear automatically inside the 'mods' subfolder after the server has been started with spongeforge installed).


