


Guide: How to implement Google Search Console
What is Google Search Console?
Google Search Console is a free tool from Google that helps you monitor and improve your website’s presence in Google search results. It shows which keywords bring visitors, how often your pages appear in search results, and whether there are technical issues affecting your site. Using it ensures that Google can find, crawl, and index your content effectively.
1. set up Google Search Console:
1. Go to the service:
Open your browser and go to https://search.google.com/search-console
2. Sign in with your Google account:

Use the Google account you want to manage the website with.
3. Add your website to Search Console:
You will see two options: Domain and URL prefix
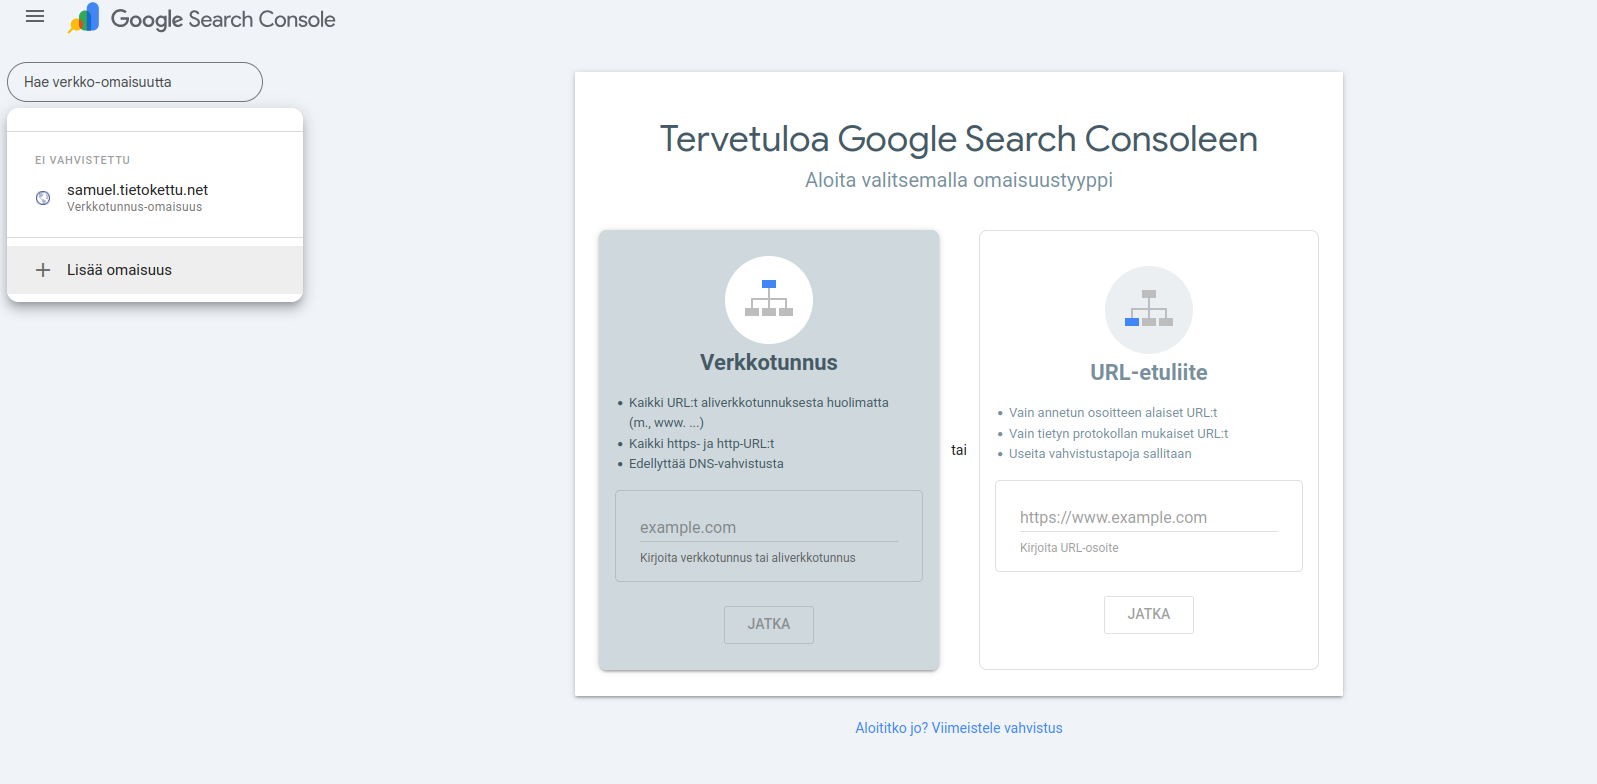
Domain – covers all subdomains and protocols (http/https) URL prefix – only covers the exact URL you enter
Choose the option that fits your needs and enter your website address.
2. Verify ownership:
Google needs to confirm that you are the owner of the website.
You can verify ownership in several ways, the most common are
- Using Google Tag Manager or Google Analytics if they are already set up
- Uploading an HTML file to your website’s root directory (most common method)
- Adding a HTML-tag
<head>section to your website
Google will provide detailed instructions and the code that needs to be added to your site. After adding it, click Verify.
Example of using HTML-tag as a verification

3. How to add a sitemap.xml to Google Search Console:

- Go to the Search Console homepage
- From the left menu, select Sitemaps
- Enter the URL of your sitemap in the field (e.g., sitemap.xml). An example could be:
https://www.yourcompanyname.com/sitemap.xml - Click "Submit" Google will process the sitemap and show whether it was successfully read
- After this, Google will start monitoring your website updates and automatically index new pages


