Google Analytics Setup in WordPress guide
Step 1: Install the MonsterInsights Plugin
- Open WordPress managment
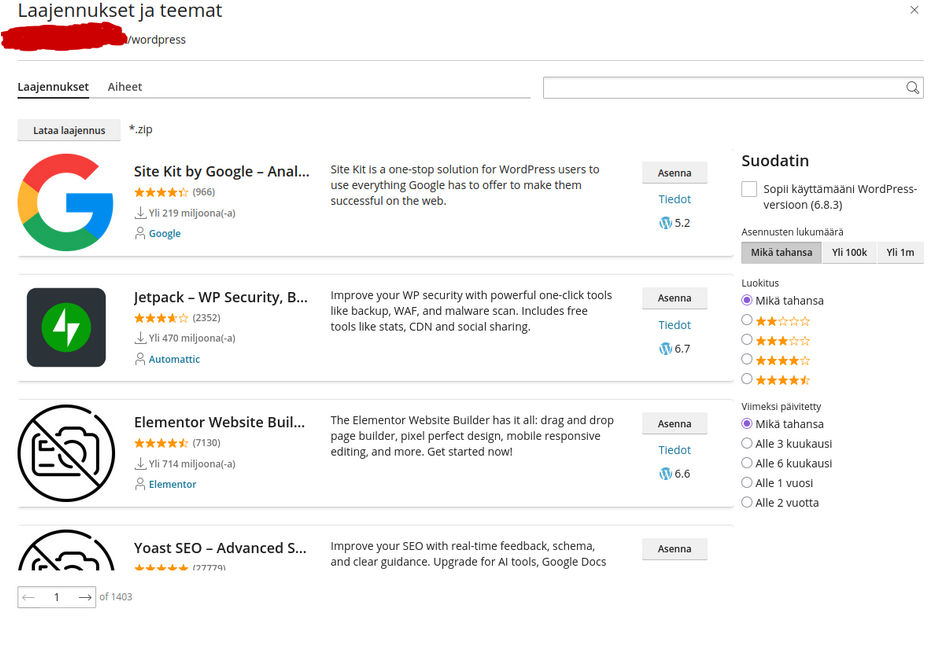
- From the left-hand menu, go to Plugins -> Add New
- Search for MonsterInsights Click Install Now, then Activate
- A new item called Insights appears in the left menu
Step 2: Connect Google Analytics to Your Site
1. Open the menu in WordPress:
Insights -> Start
This will open the MonsterInsights setup wizard, where you can connect Google Analytics.
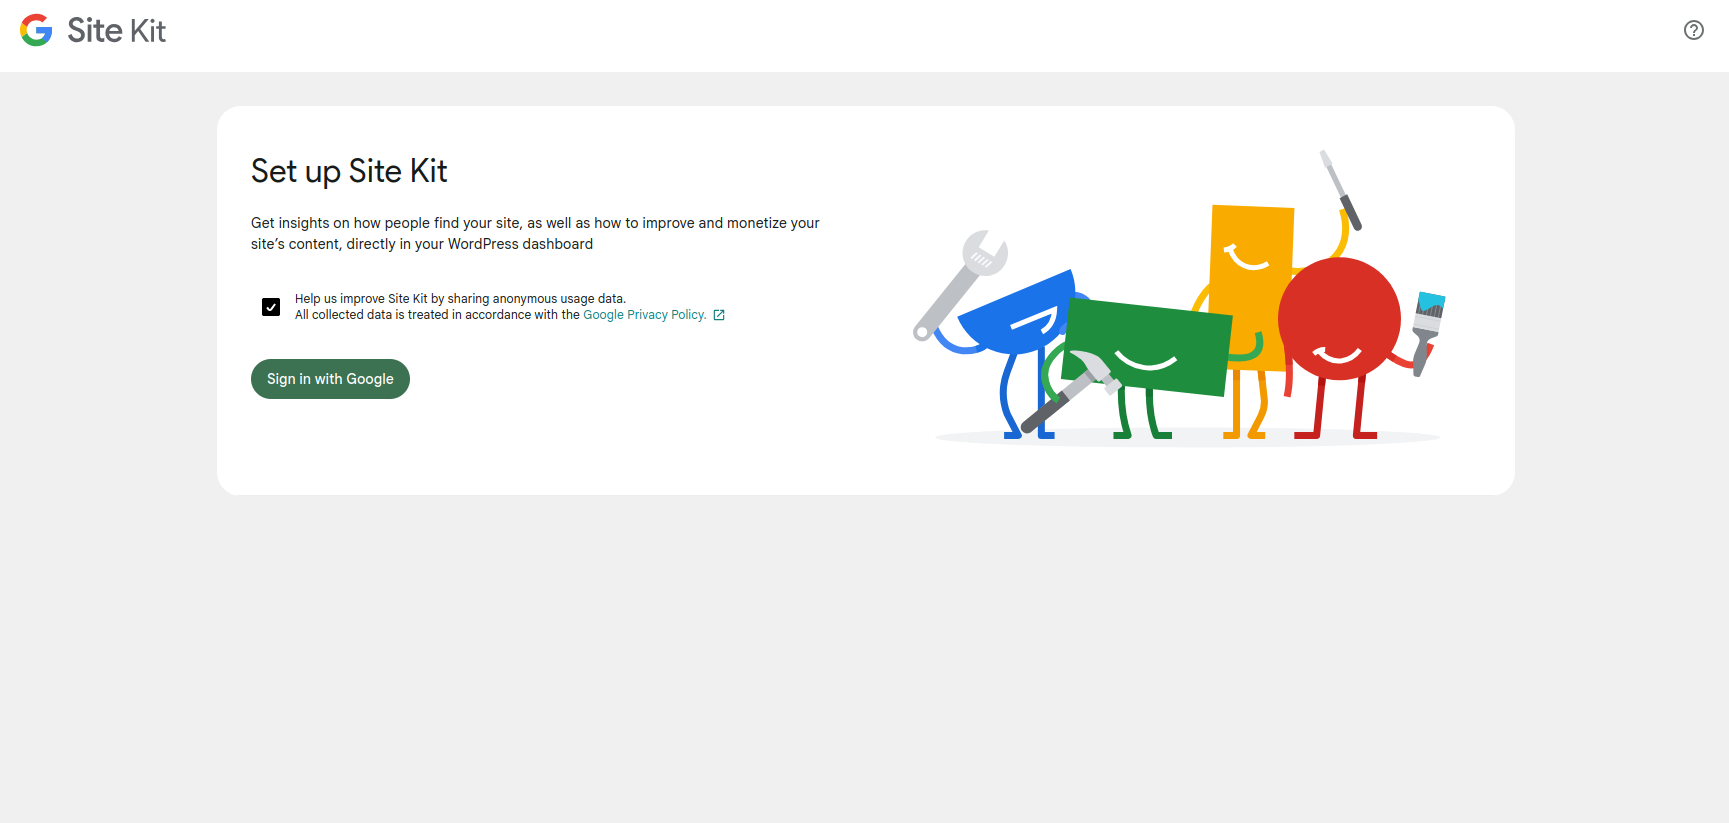
2. Log in to the Google account you want to use to manage your site’s analytics.
The Google login page will appear – accept the permissions for MonsterInsights.

3. Select the correct Google Analytics account (Property) that is linked to your site.
If you haven’t created a tracking property for your site yet, you can do so at this stage.
4. Once the account is connected, MonsterInsights will automatically add the tracking ID.
You won’t need to manually insert the tracking code.

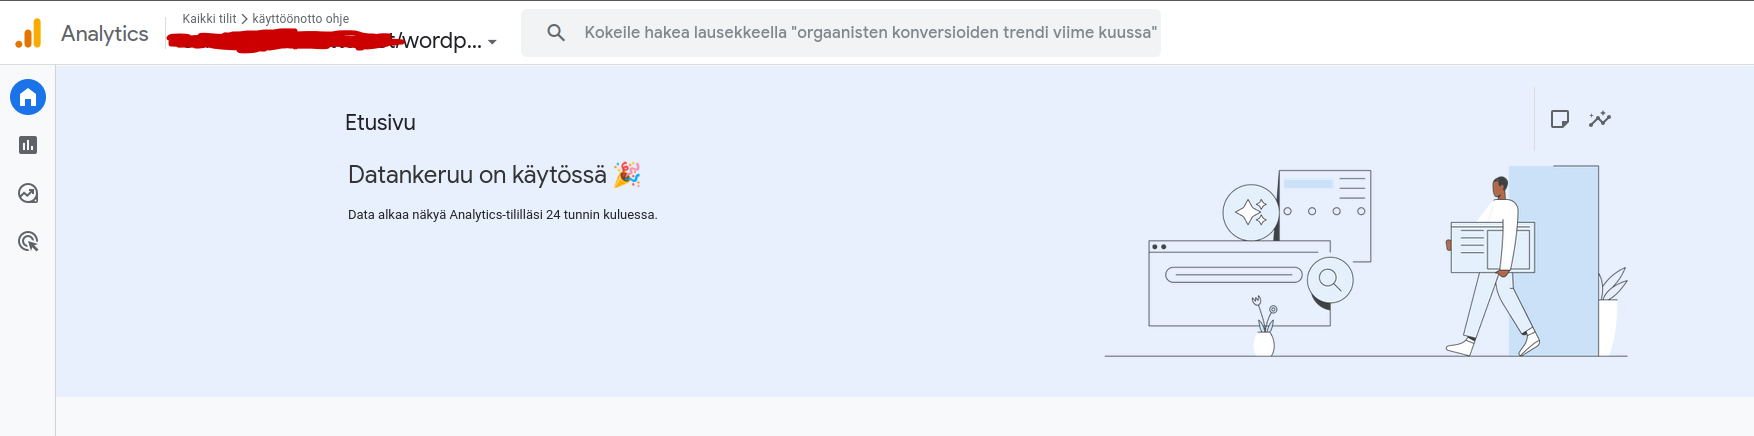
5. Finally, review the settings and make sure the data is appearing in Google Analytics.