


In this guide I will show you how to install Active Directory to your Windows server.
1. First go in to your Windows server and go to Server Manager.
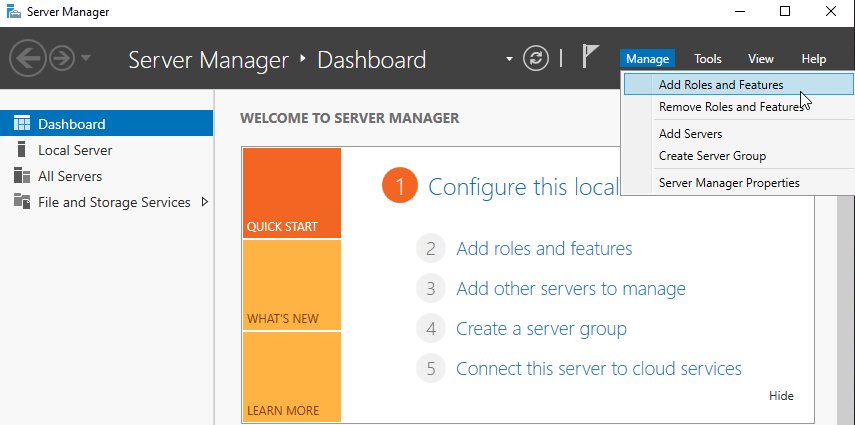
2. Then from the Server Manager click "Manage" and "Add Roles and Features"
3. When you are in the Installation Type part choose "Role-based or feature-based installation" and click Next.

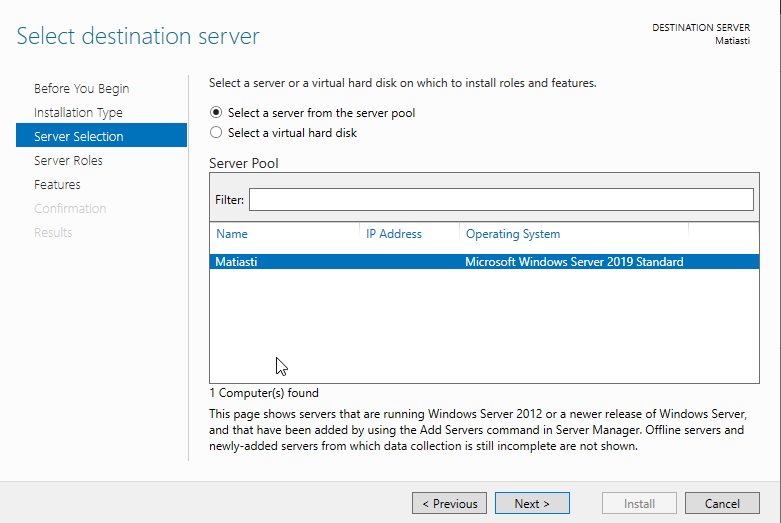
4. At the Server Selection part choose your server from the list below and click Next"
5. At the Server Roles part choose "Active Directory Domain Services" from the list and click Next.

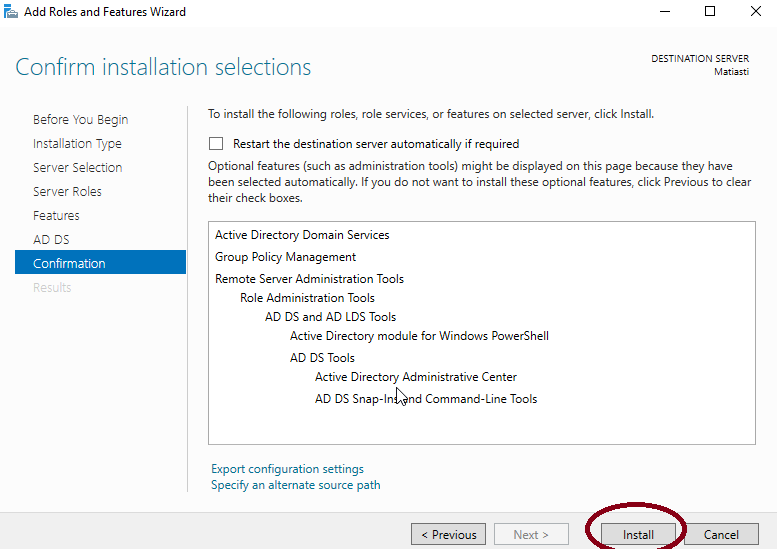
6. When you get to the Confirmation page you can just click Install and after the installation restart your server.
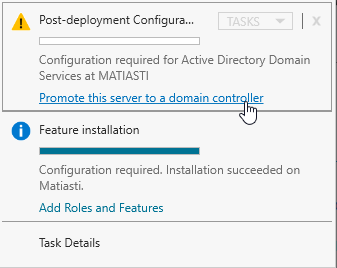
7. When you have restarted your server there is a flag icon in the Server Manager. Click the flag icon.
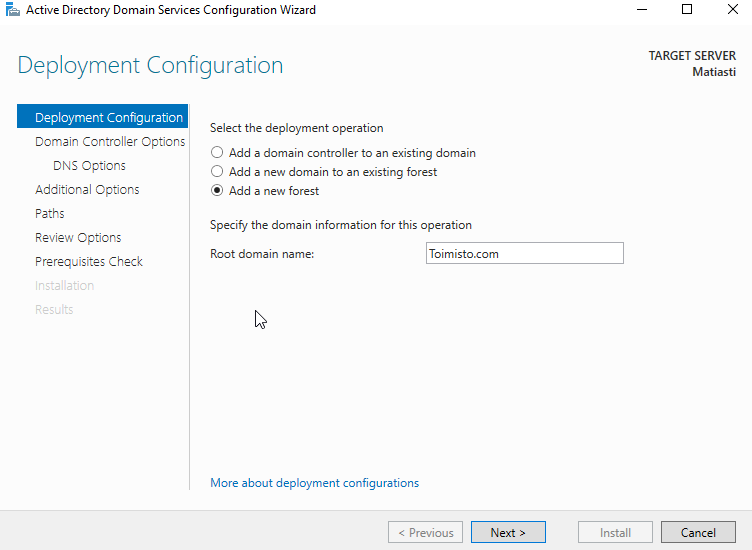
8. Then you need to create a new forest. Type your new domain name for example Office.com and click next.
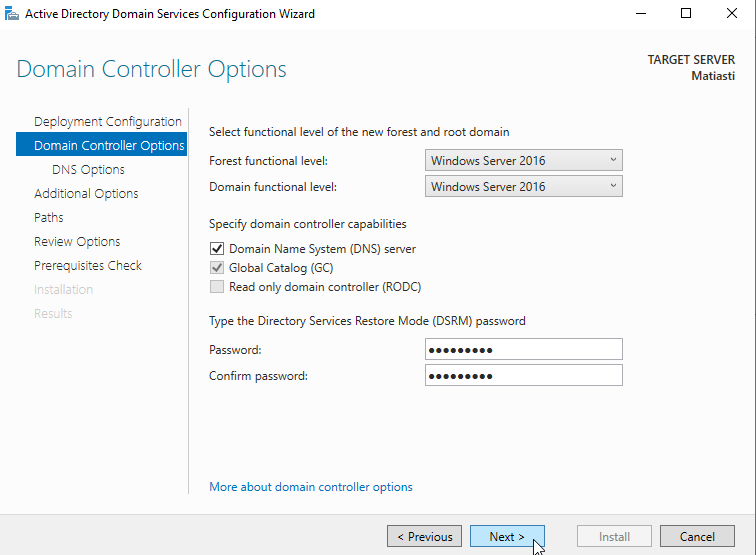
9. Then from the Domain Controller Options type a new password and click Next.
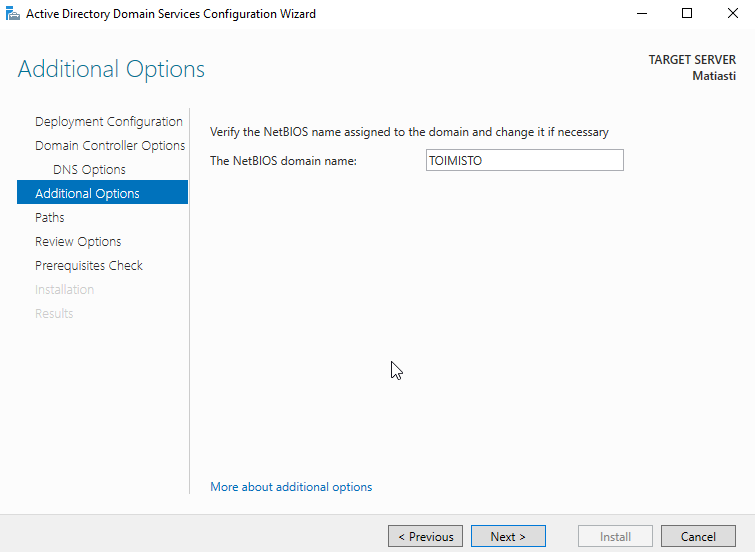
10. At the Additional Options Windows will automatically create a domain name. Click Next to continue.
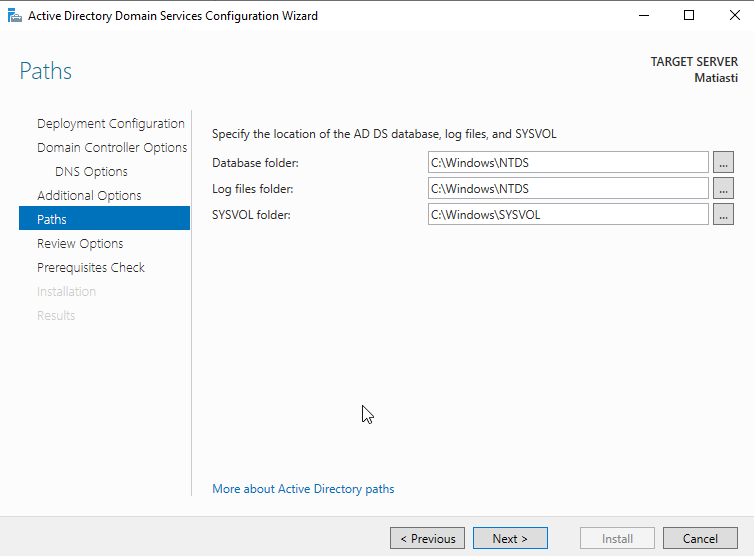
11. At the Paths part you can choose paths for your databases, logs, etc..
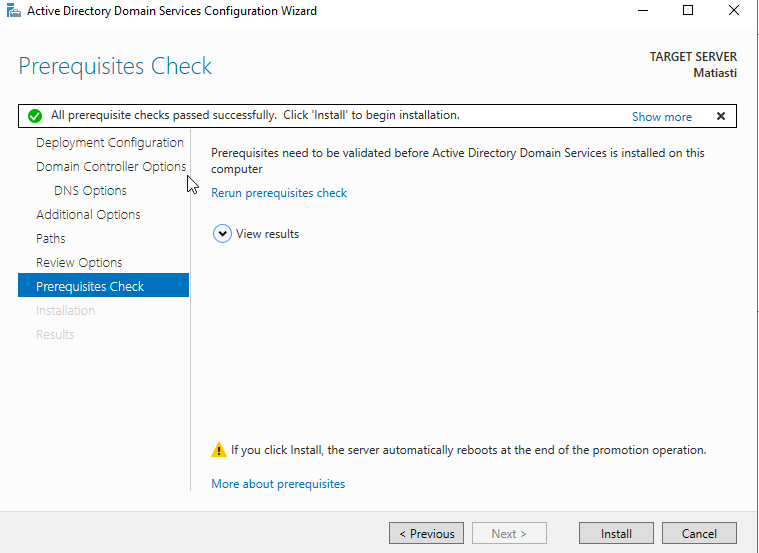
12. When you are in the Prerequisites Check page just click install.
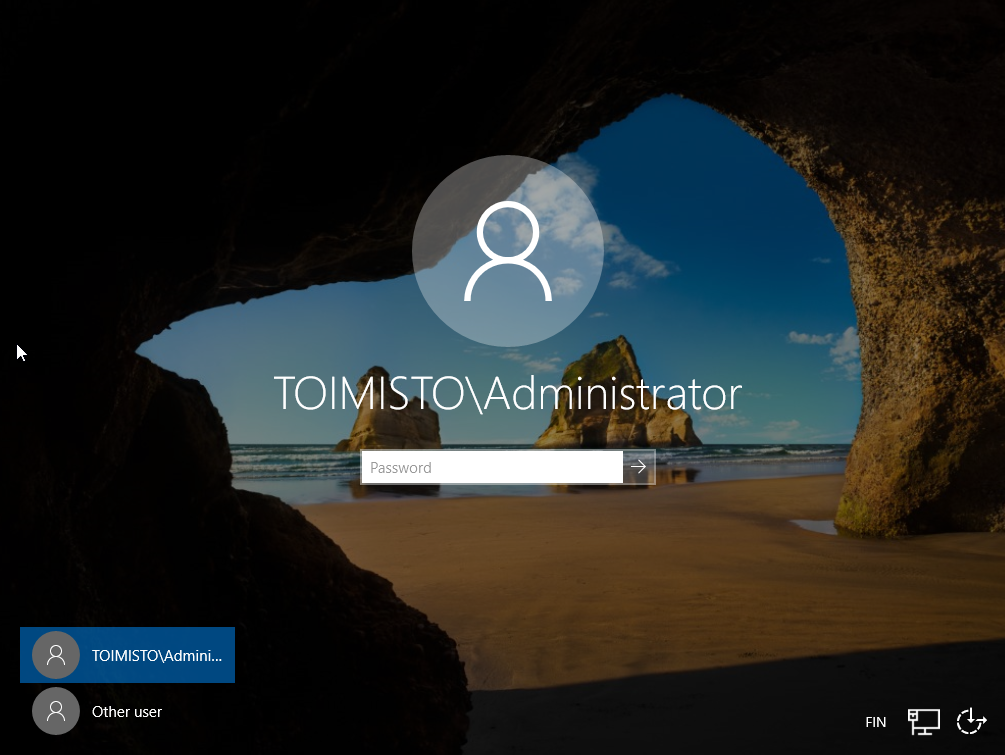
13. Your server will restart automatically after the installation. When the server boots it will take couple minutes so please wait.
14. When the installation is ready the login screen will look like this. There is your domain name/Administrator.
 '
'
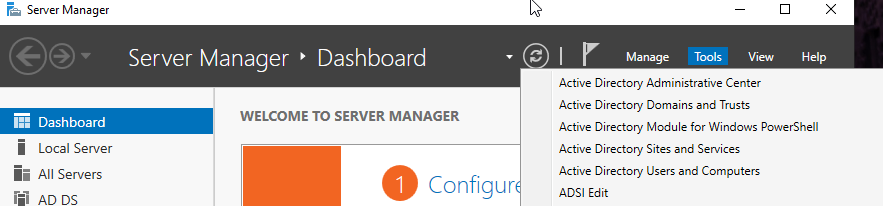
15. You can see your new Active Directory tools from the Server Manager. For example you can add new users to your domain from "Active Directory Users and Computers".
I hope that this guide was helpful and if there is any problems, please contact us.

