


In case you're looking to reinstall a Windows Server 2019, and need to hold to your old data, it is possible by reinstalling the operating system through an .ISO file.
Start off by navigating to the VPS management panel on your browser, where you'll find the necessary tools.
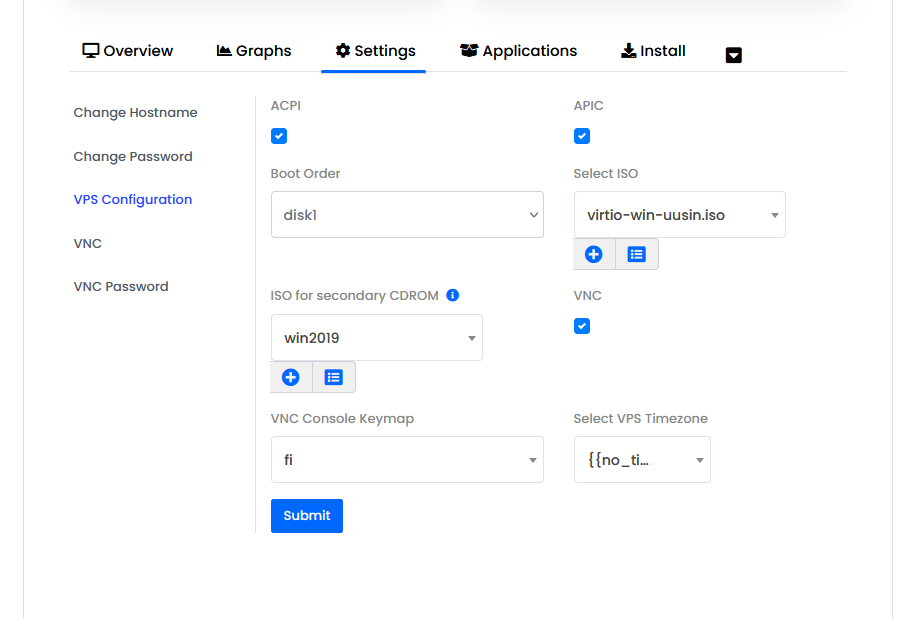
First select ISO, pick virtio-win-uusin.iso. For secondary ISO, pick win2019. Click submit and refresh the page.
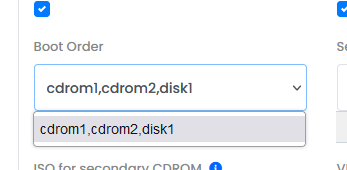
Confirm that the boot order has updated, so that you may proceed.

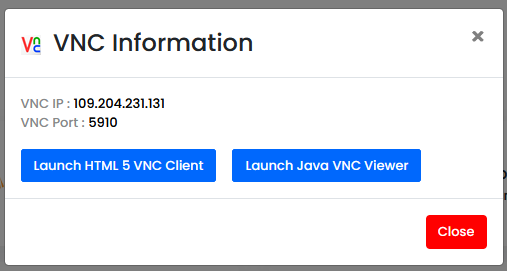
Open your server's VNC view, in this example we're using HTML 5 VNC Client. Next, restart your VPS.

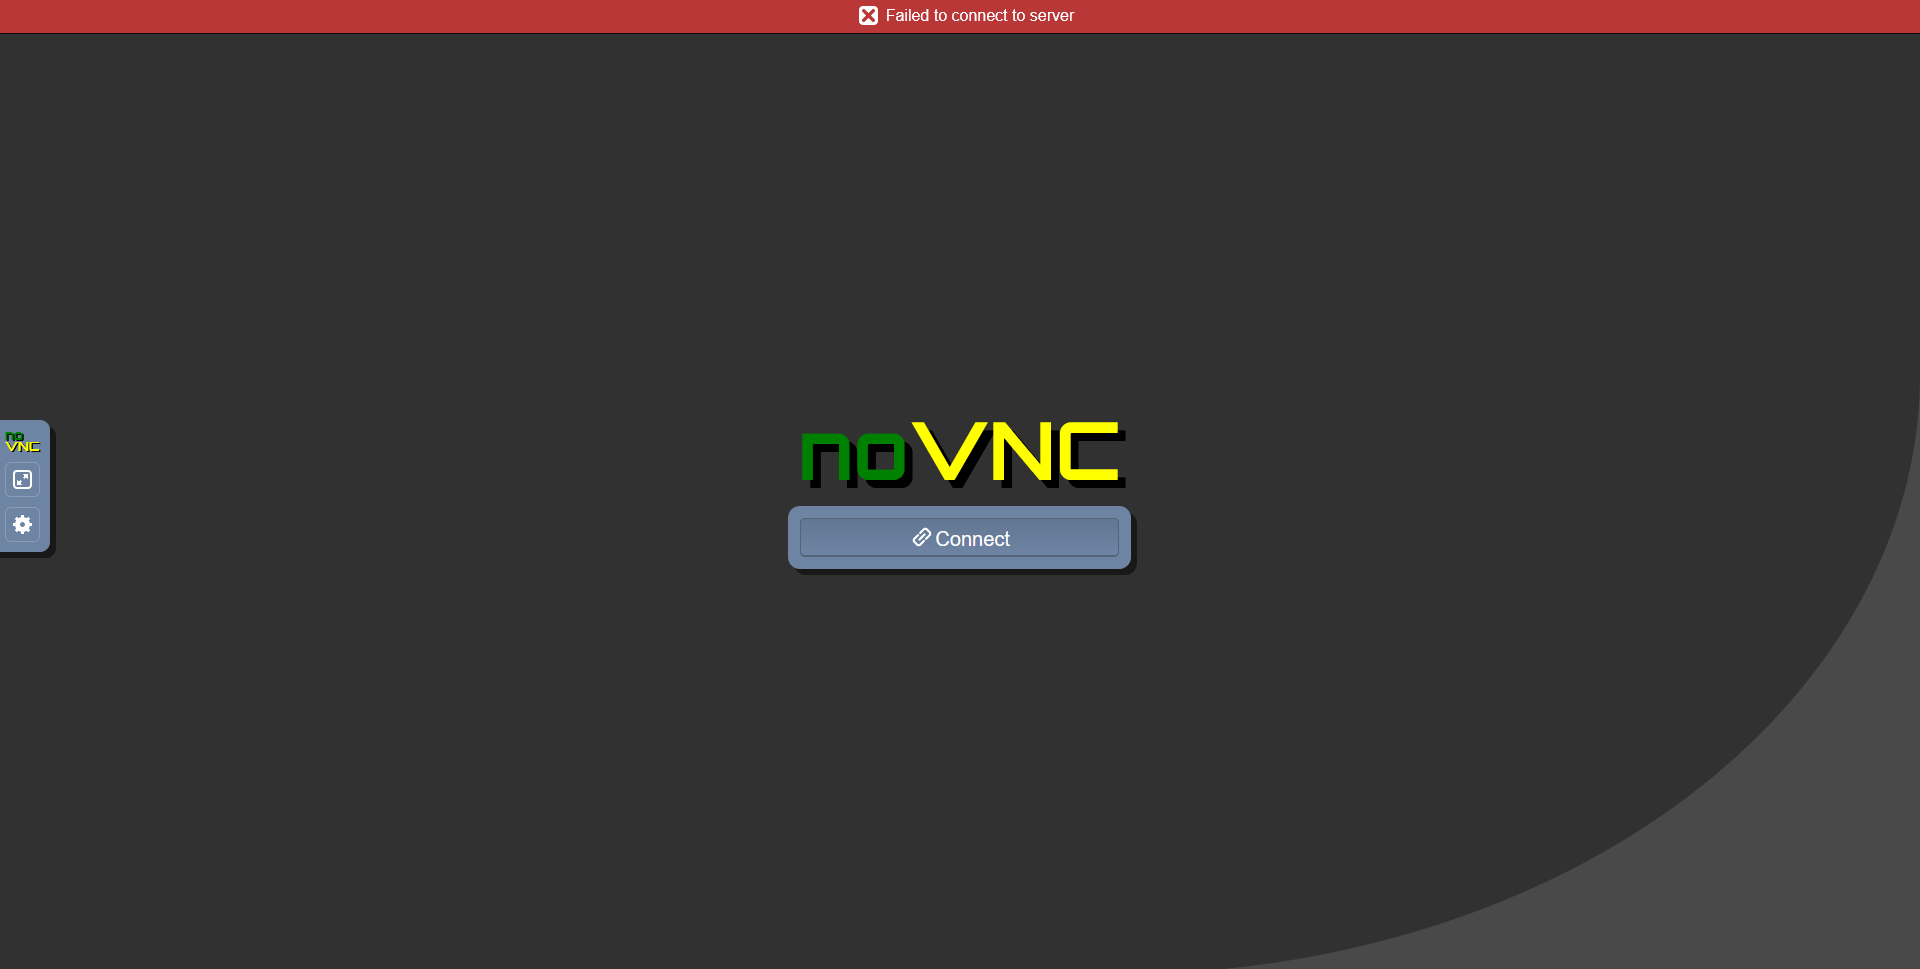
The VNC that should've opened in another window should now look like this. Keep clicking Connect, until you get connected to your server. In the following step, it is important that you act fast.
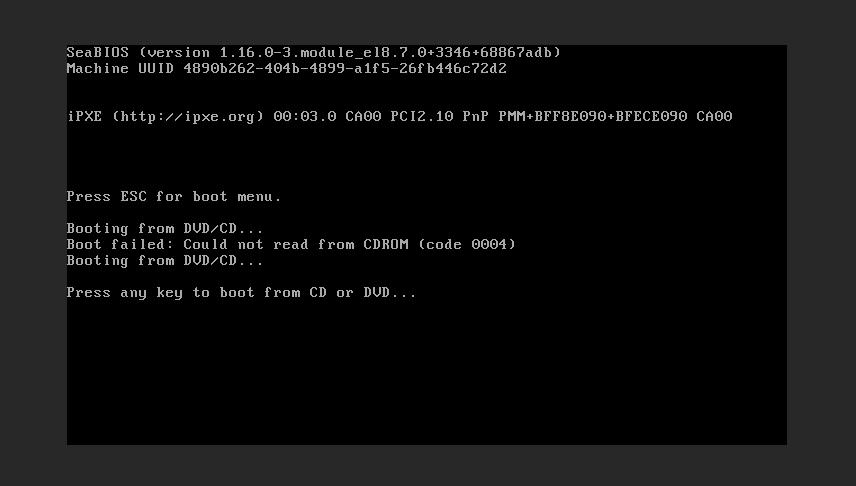
As you get the connection, you should be in this view. Press any key. If you don't see this view, or don't press a key fast enough, you'll be required to reboot the VPS again.
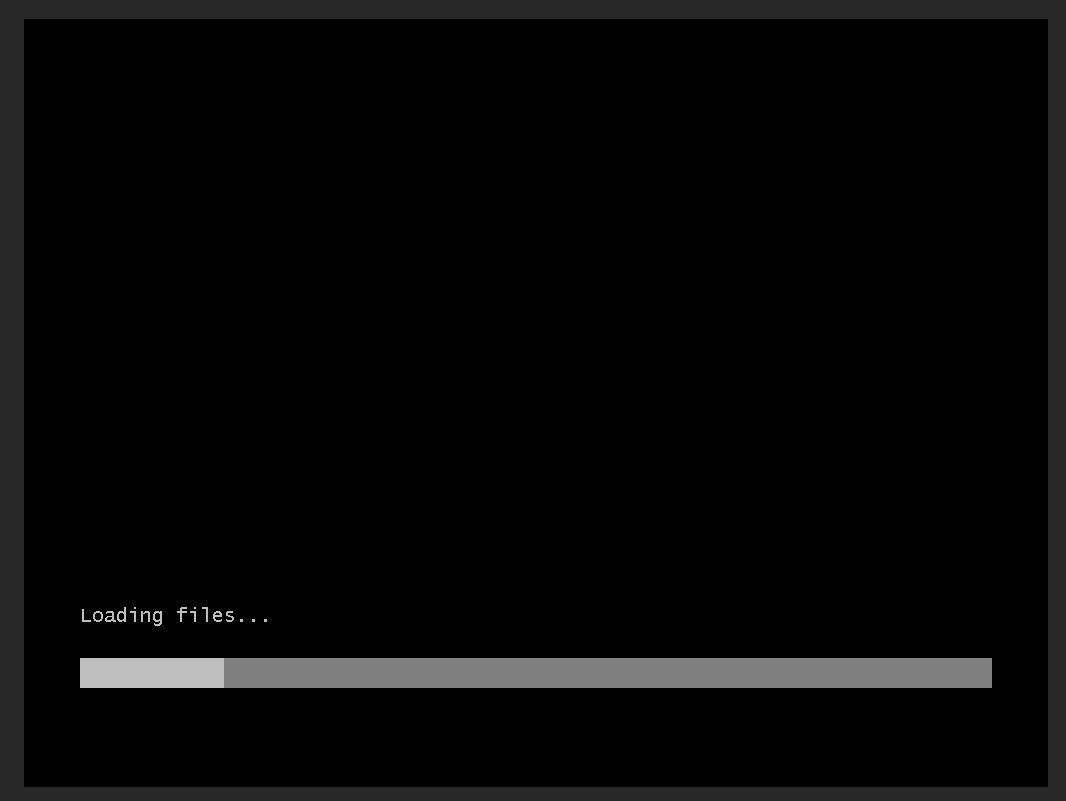
If you were successful in the previous step, the server will start loading files from the .ISO, this may take a while.
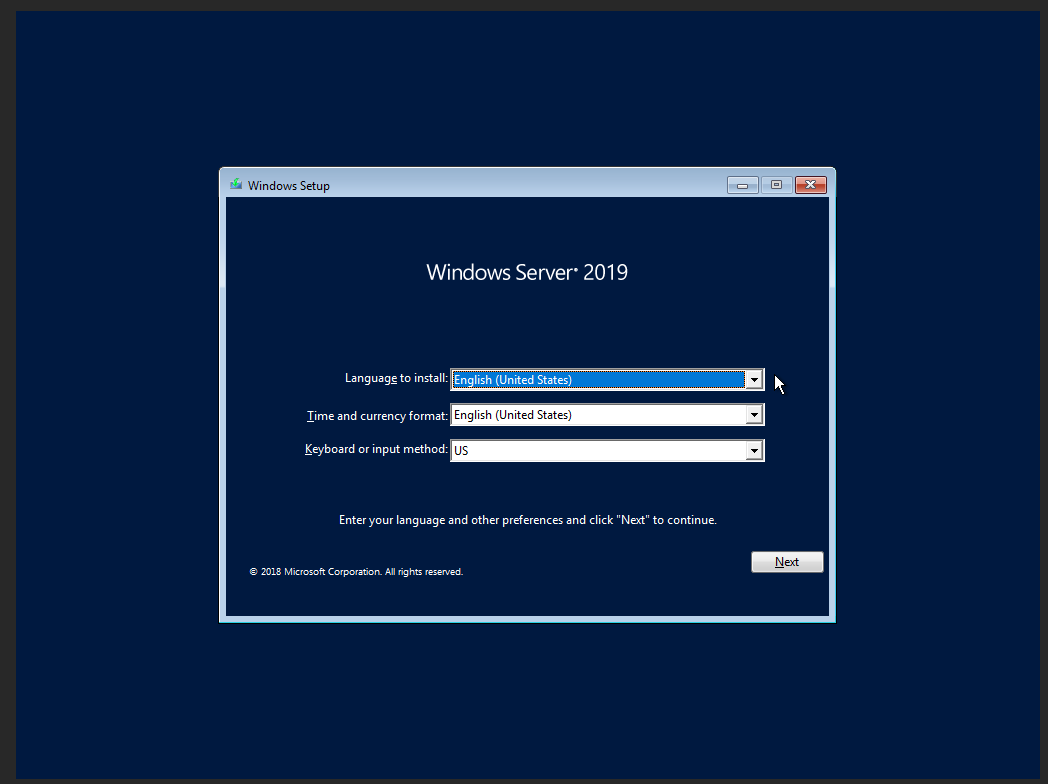
Pick your preferred timezone and keyboard layout and continue with installation.
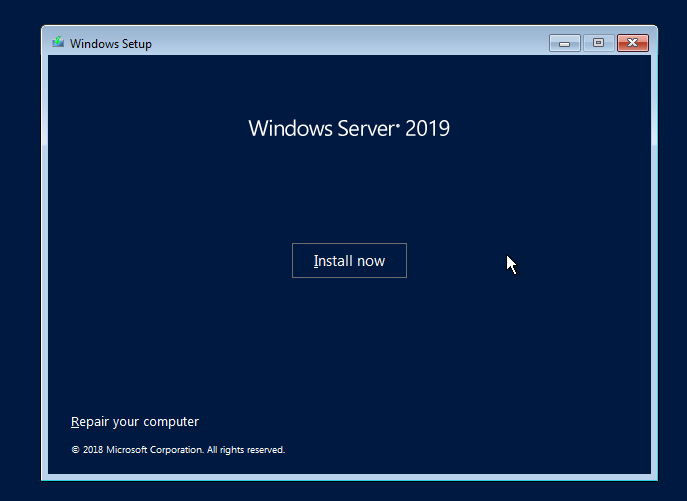
Click Install now and continue.
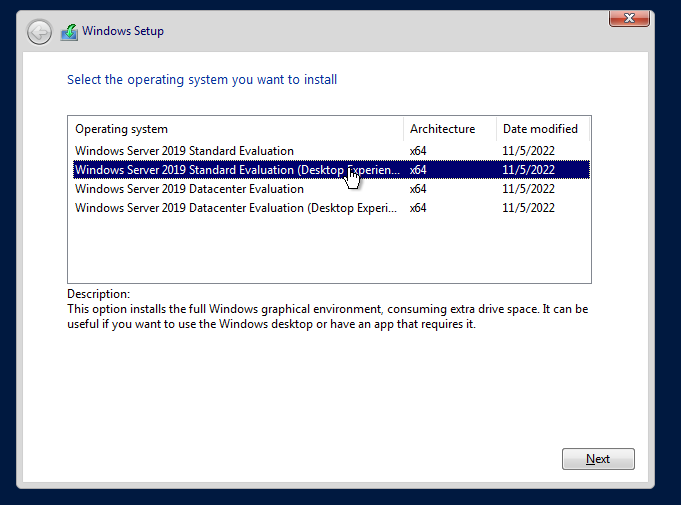
Choose Windows Server 2019 Standard Evaluation (Desktop Experience). Desktop Experience is mandatory in order to have a graphical user interface.
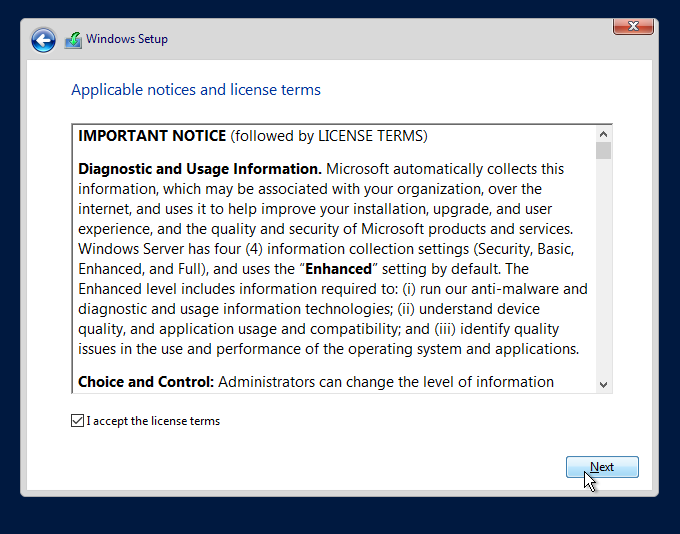
Continue with the installation.
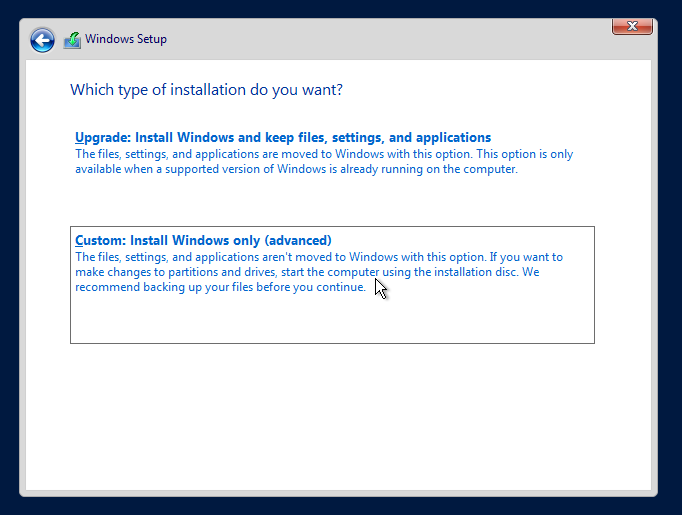
Pick Custom.
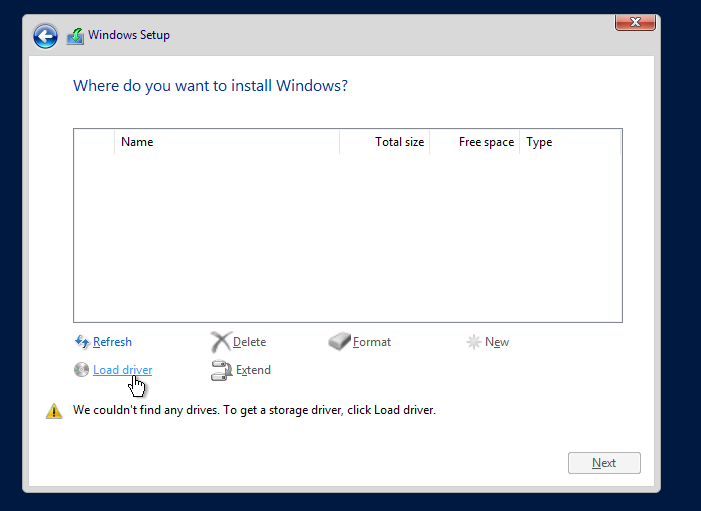
This next view will be empty right now, but this is fine. In order to display your drives and partitions, you will have to load drivers from the other mounted .ISO, which we picked in the beginning. Proceed by clicking Load driver.
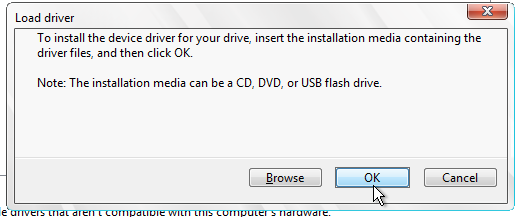
Click OK and continue.
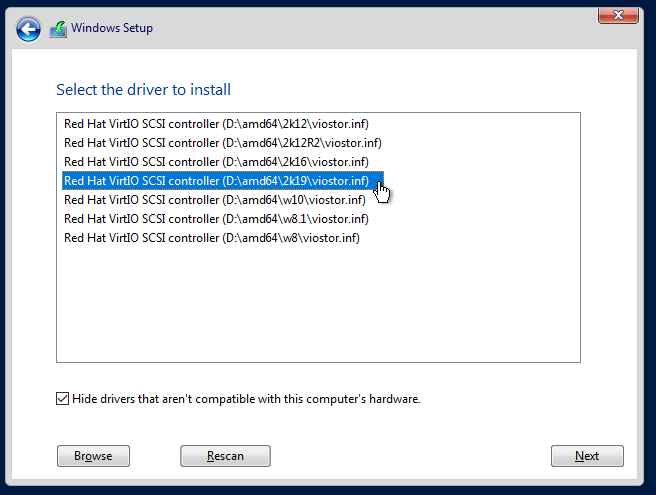
It is crucial here, that you pick the correct drivers, 2k19, as we're using Windows Server 2019. Click Next.
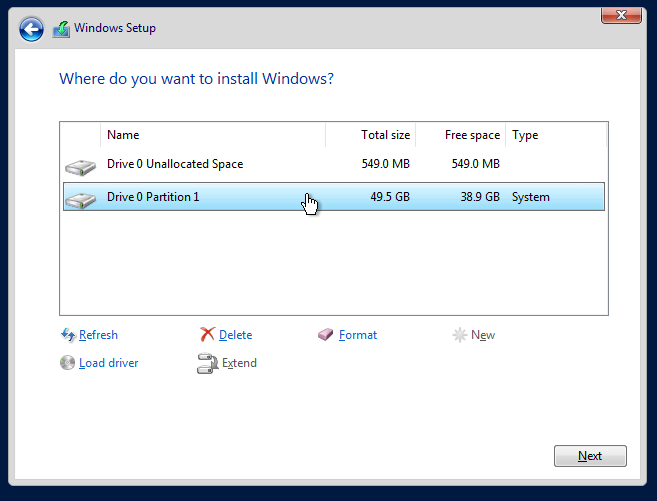
Now that you can see your drives again, we can reinstall the operating system. Pick the System-type partition and click Next.
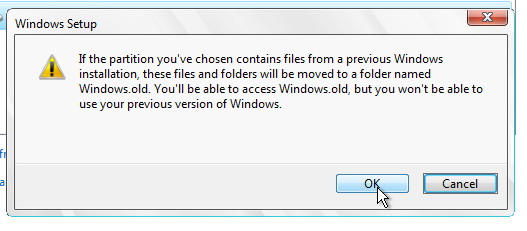
Click OK
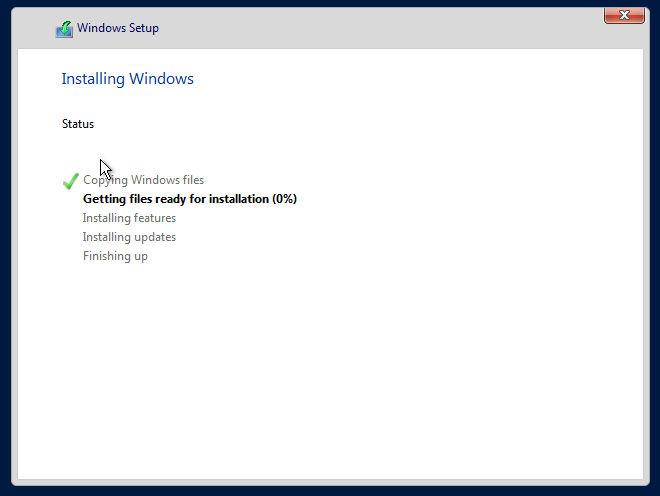
Windows Server will start its reinstallation now, this may take a while. At the end the server will restart automatically.

The server will restart several times, and may ask for user prompt in picking an installation media. Don't do anything in this phase and let it run its course.
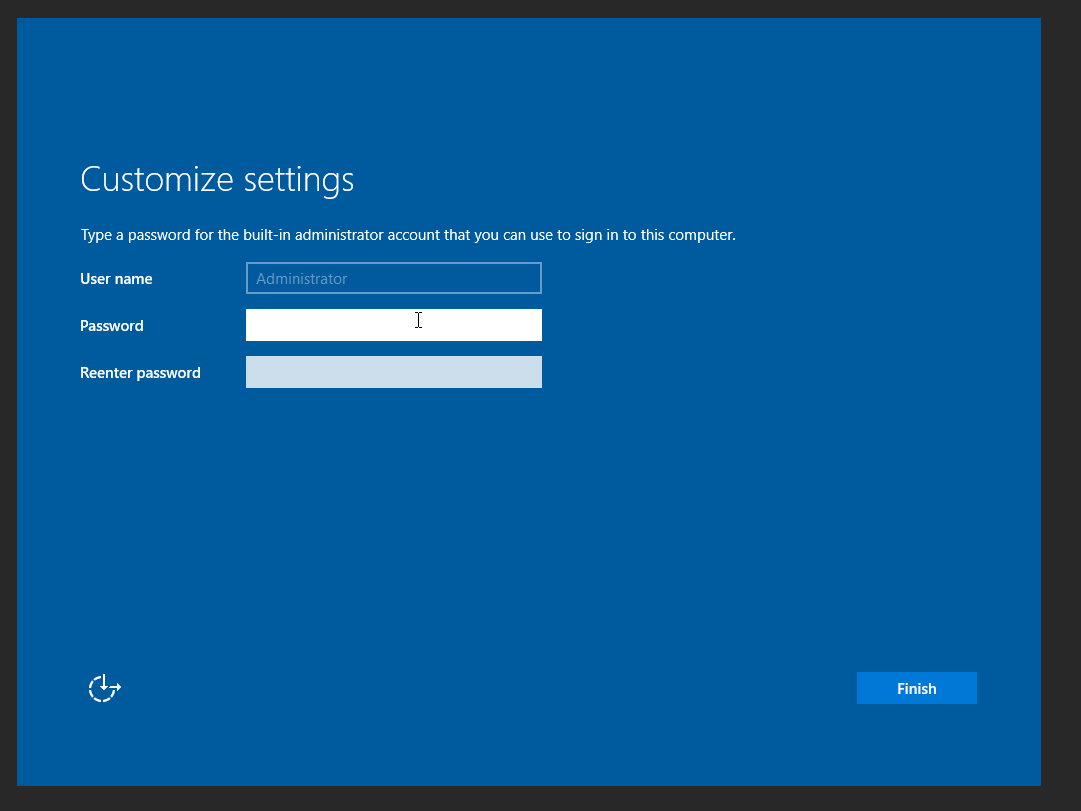
Once you are presented with this view, you may proceed further with the installation. Set a new password for the administrator account and continue.

As you're trying to login, you may be required to press Ctrl+Alt+Del. Open the menu on left to access virtual keys, click on Ctrl and Alt, then press Delete on your physical keyboard and login normally.
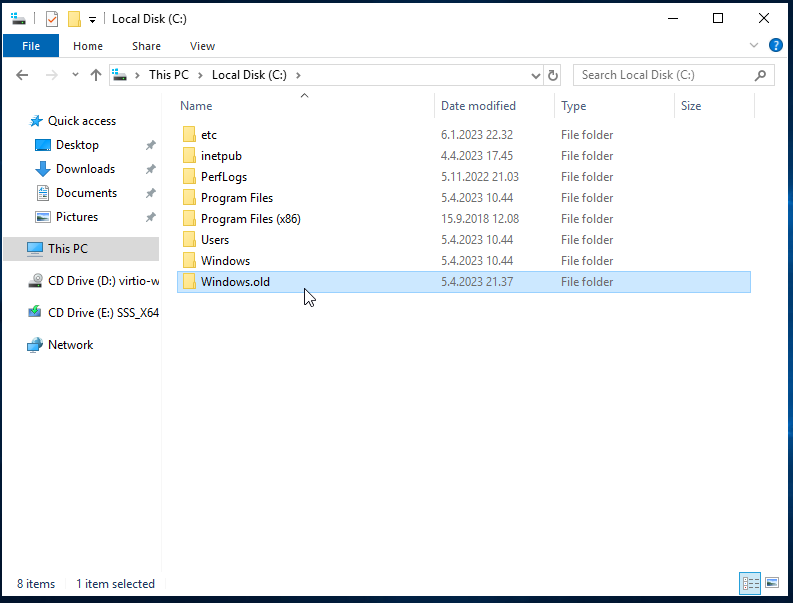
Windows.old folder should be in your C: drive now, containing all your old data.
At this point, the server is still missing all necessary drivers for normal operation, these are found on the .ISO that is mounted on the server.
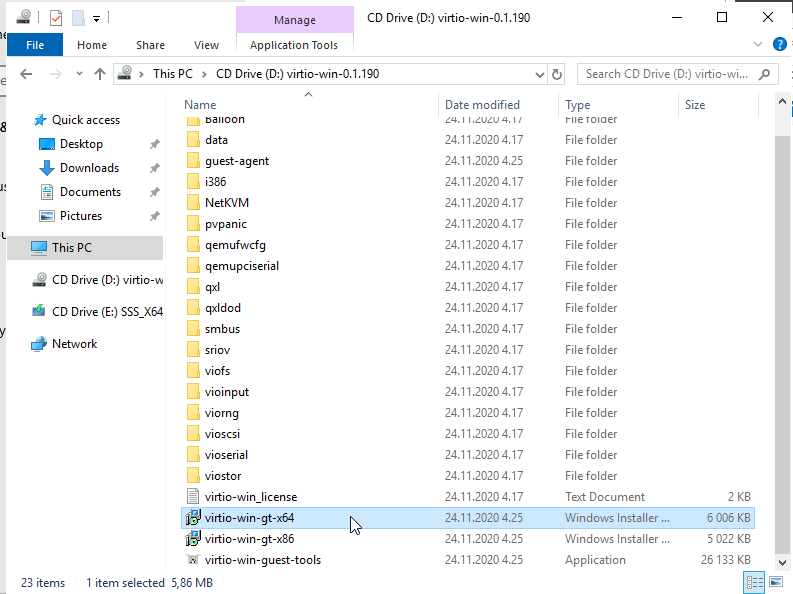
Open the Virtio-win disc, and on the bottom of the list, look for virtio-win-gt-x64 installer and run it.
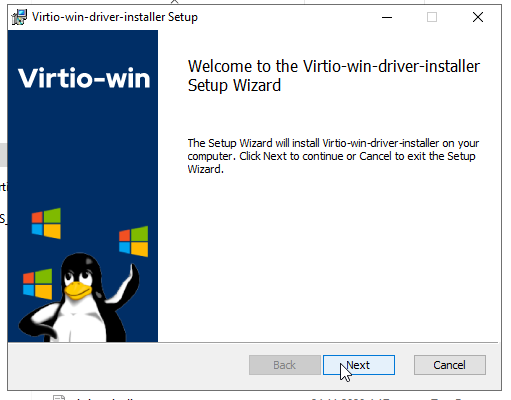
Click Next and continue with the installing.
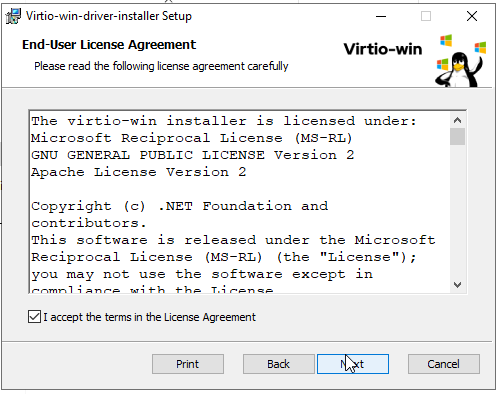
Accept the terms and click Next to continue.
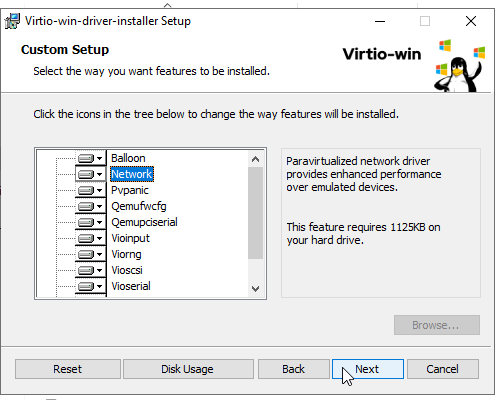
Click Next.
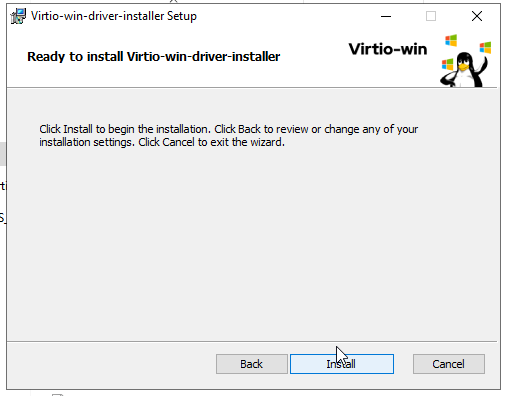
Start the installation.
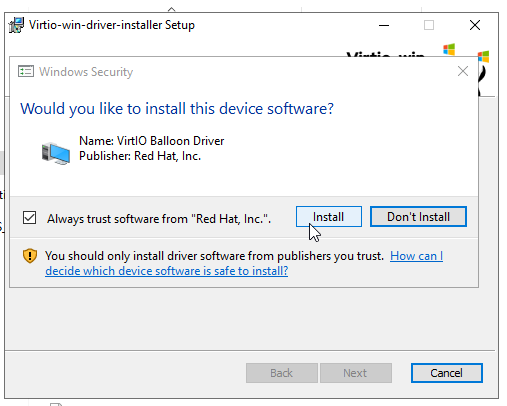
Once you see this, click Install.
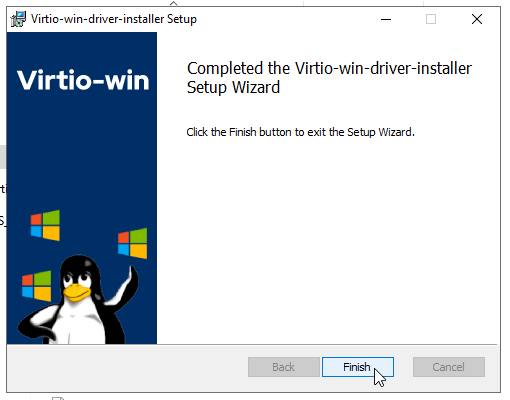
Finish the installer.

In case a notification like this is seen, press No.

Optionally, you may check from command line, that the network card's drivers are functional.
Next we'll setup the remote connections, this step is optional. The server is now in normal operation and should be connected to the internet.
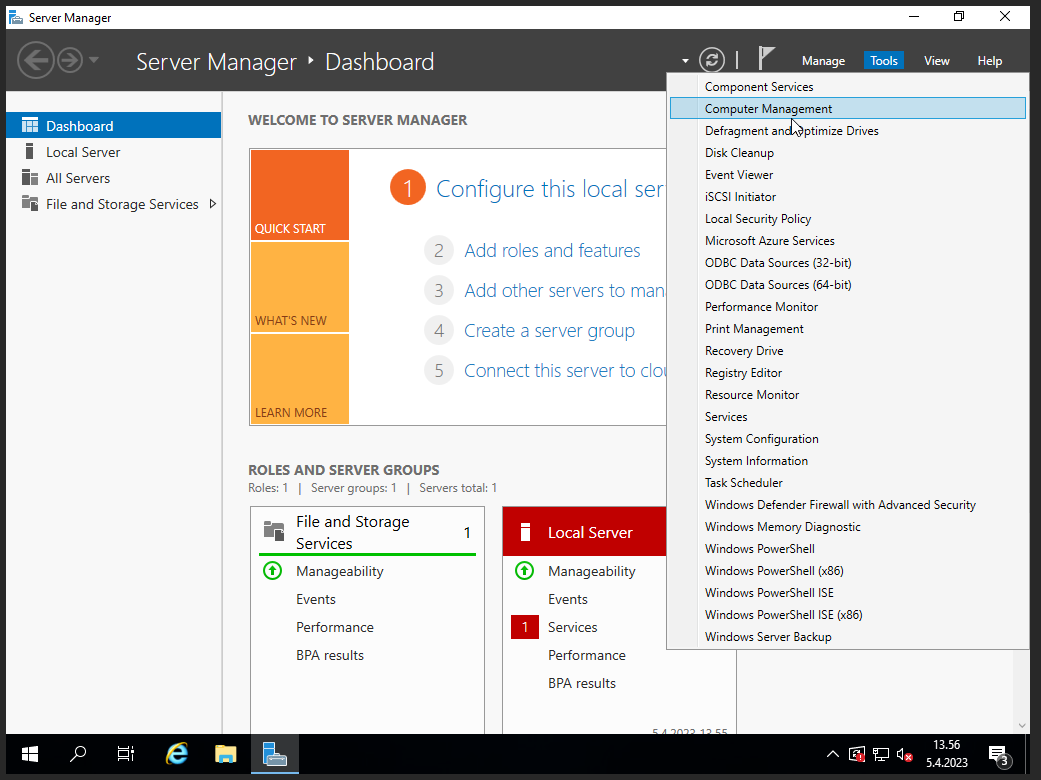
Open Server Manager, and choose Computer Management.
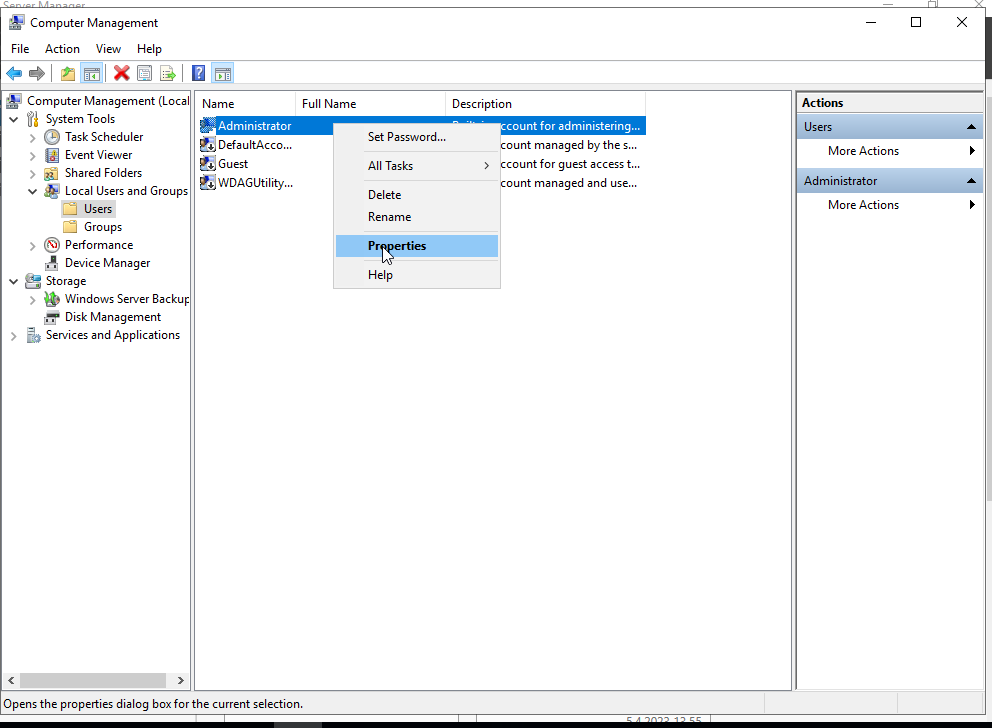
Open the Users menu under Local Users and Groups, and right click on Administrator account, open the Properties.
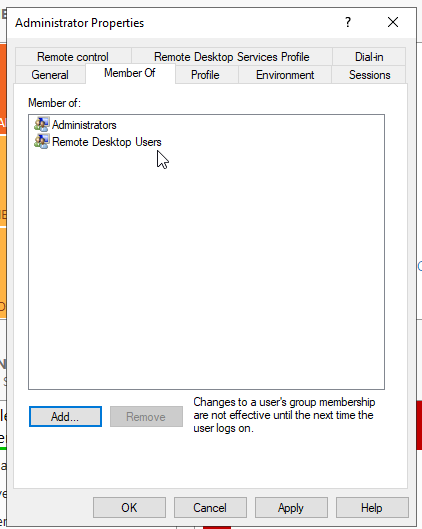
Open Member Of tab, and press Add.
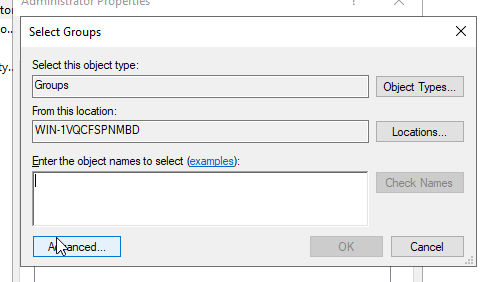
Pick Advanced.
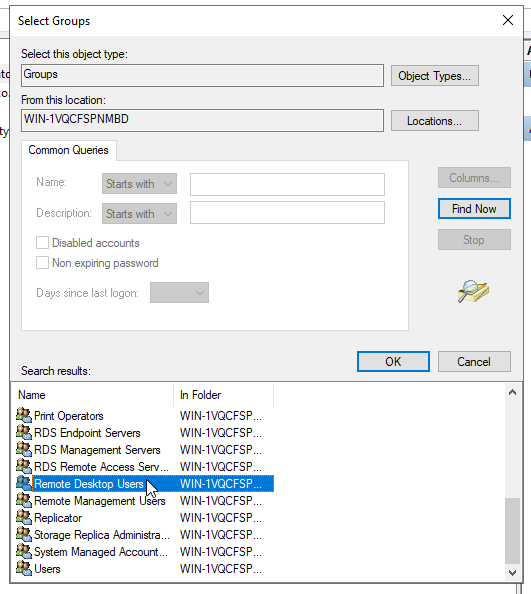
Click Find Now, browse to the bottom of the list, choose Remote Desktop Users and click OK.
After this, we'll still need to allow remote connections from Windows.
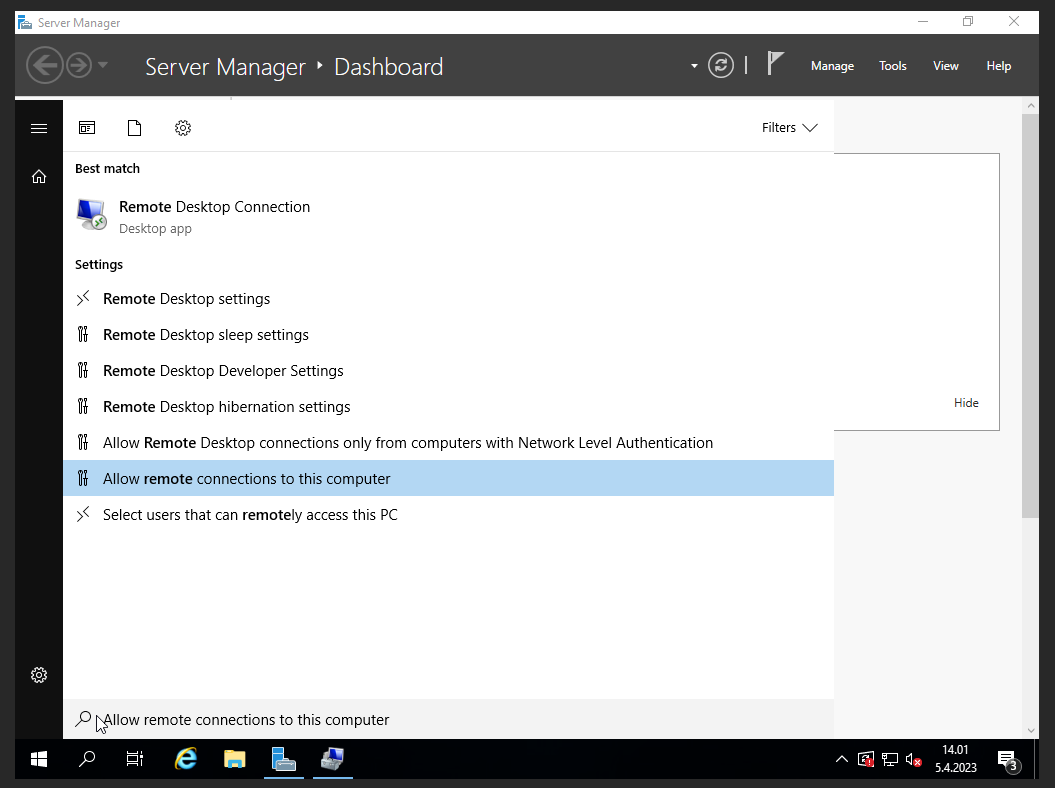
In Start menu, write remote in the search and choose Allow remote connections to this computer
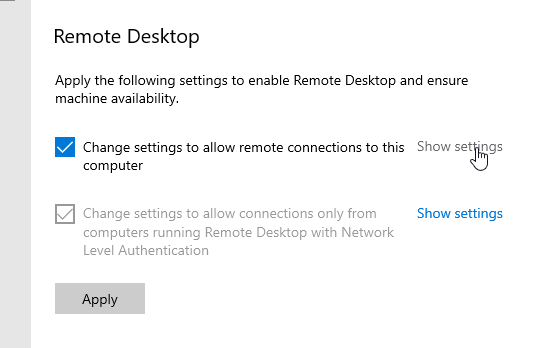
Choose Show settings.
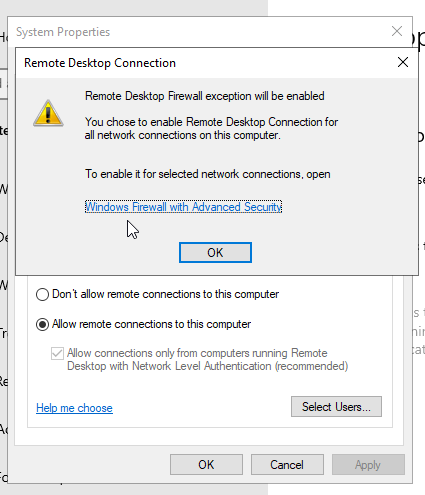
Choose Allow remote connections to this computer option, a window should open up, click OK, then click OK again to enable the new settings. After this you should be able to connect to your server remotely in a normal way using other client programs.

