Instructions for Rocky remote desktop acces
Download TigerVNC https://sourceforge.net/projects/tigervnc/files/stable/1.14.1/

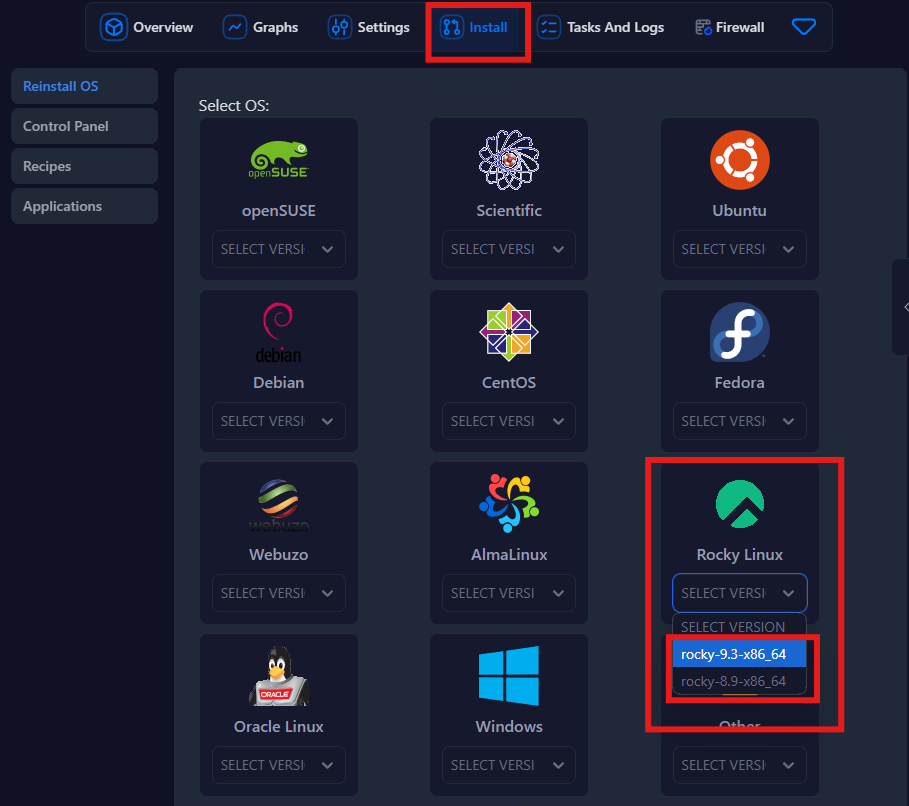
Go to the Install section then click below "Rocky Linux", choose the desired version.
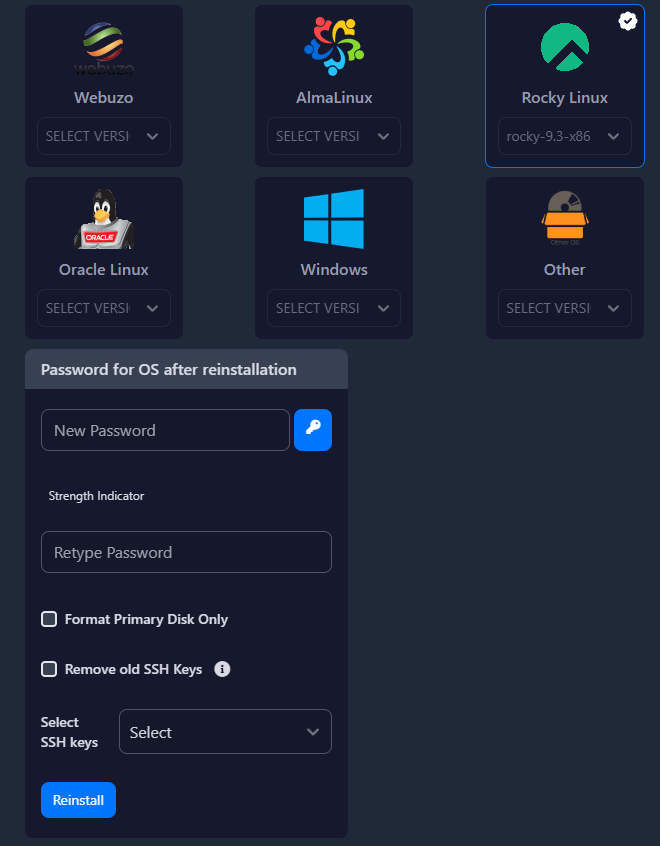
When you've chosen your version, create a password at Password for OS after reinstallation. Click "Reinstall".
Then go to the Settings section and from there go to VNC, create a password at VNC Password and then click "Change VNC Password".
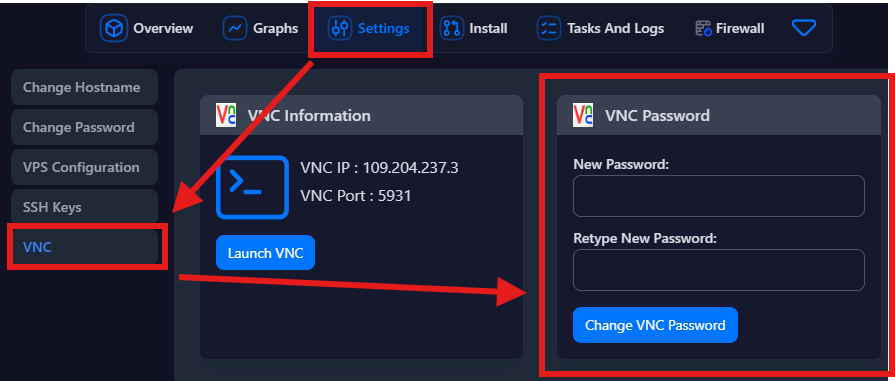
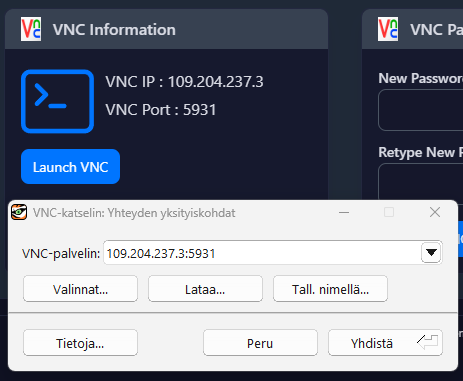
When the operating system has been installed open TigerVNC and put in VNC-palvelin: VNC IP ja VNC Port ( : between them) click "Yhdistä↵".
Type in the password. Click "Valmis↵".

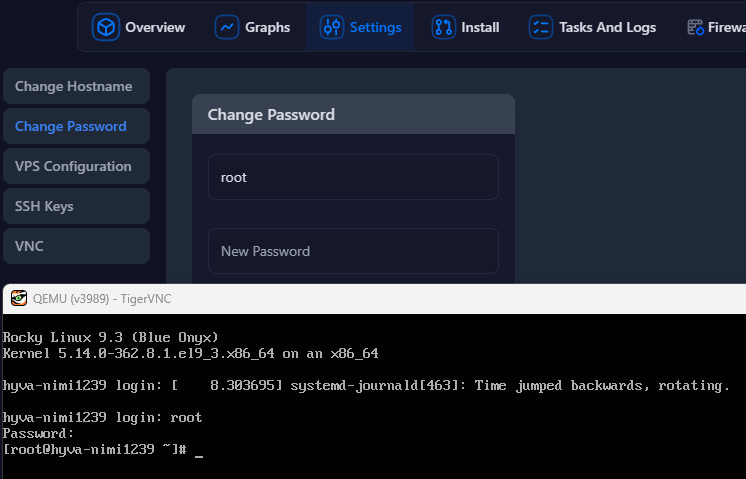
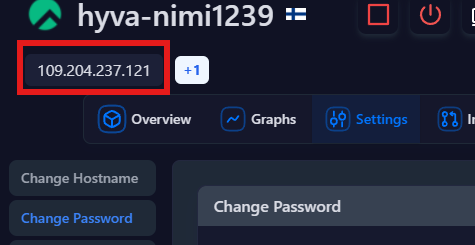
Type in the name that can be found at Settings > Change Password to login, password is the one made in the install section (Picture 2.)
Next type in the commands so we cant get a GUI :
dnf groupinstall "Server with GUI"(This might take a few minutes)
Then we set the GUI mode to be the default:
systemctl set-default graphical

sudo reboot
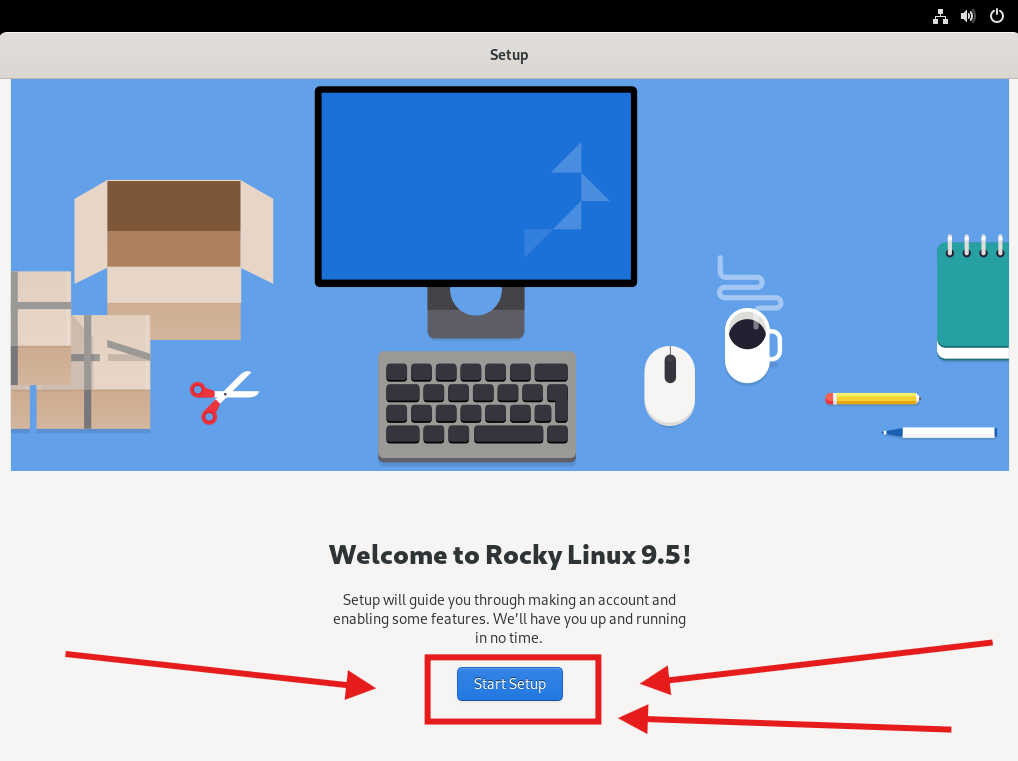
Now it should look like this. Click "Start Setup".
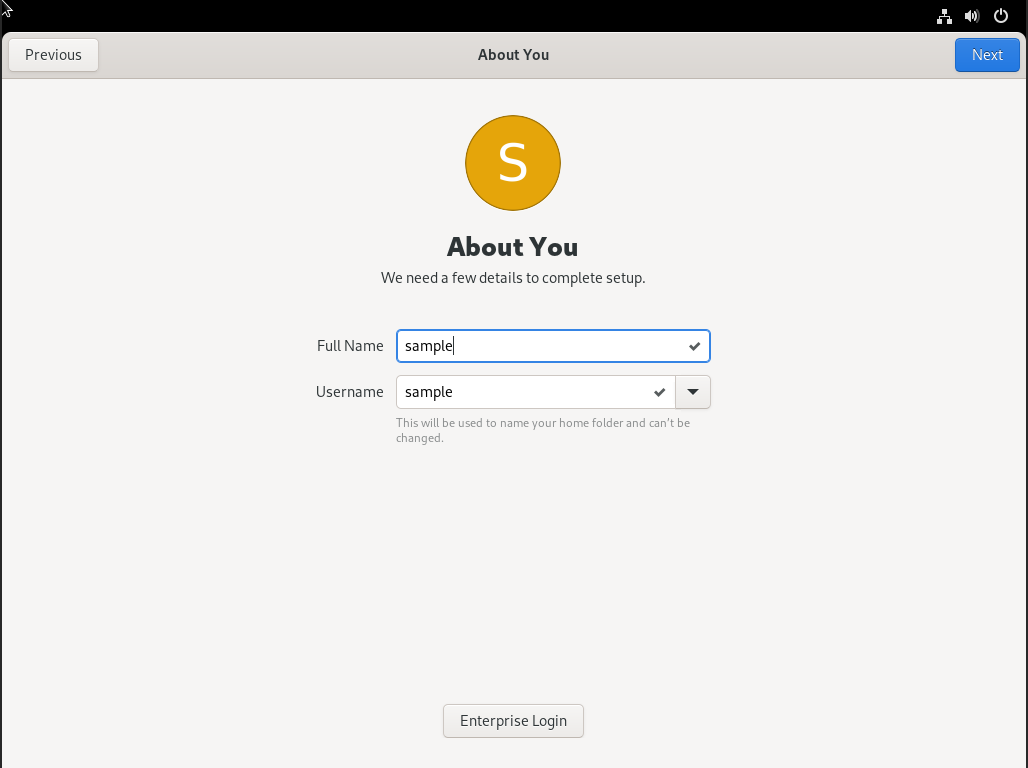
Click the top right butten until you get here. Type the name you want and click "Next".
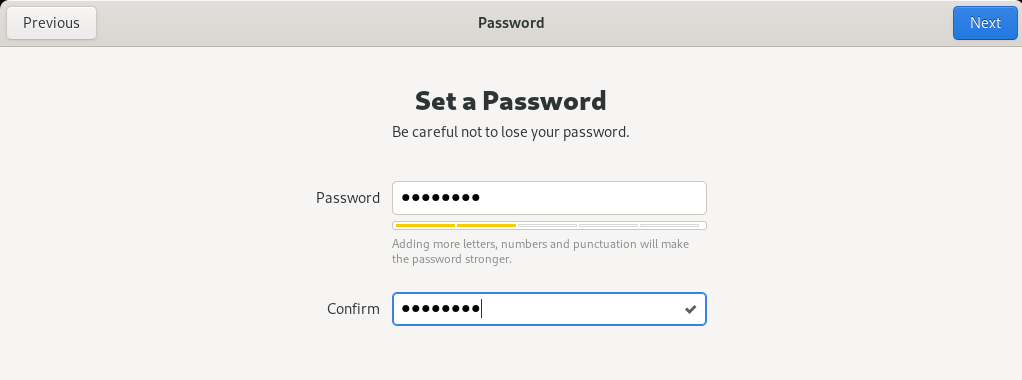
Create a password. Click "Next".
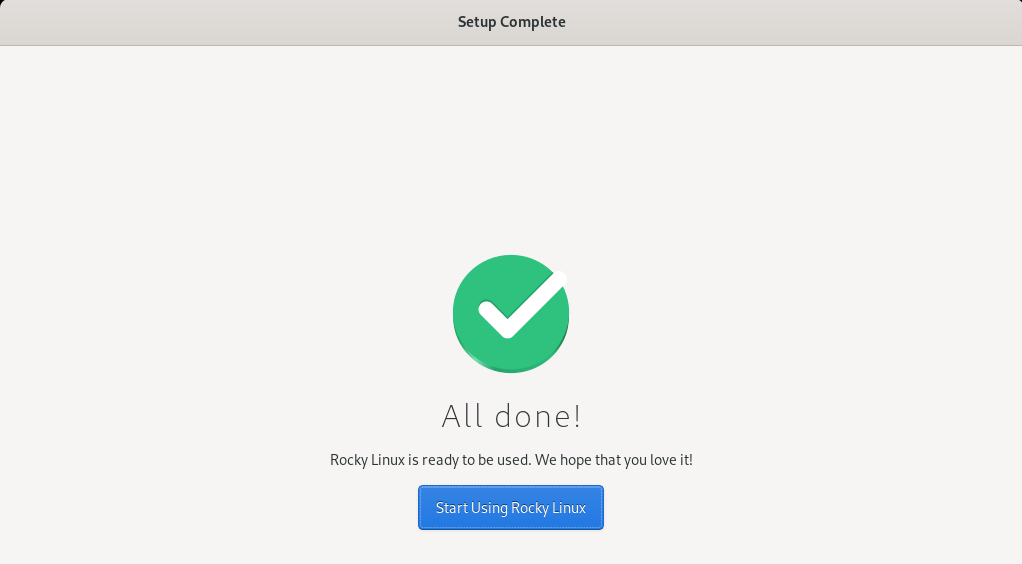
Click "Start Using Rocky Linux".
Click "No Thanks".

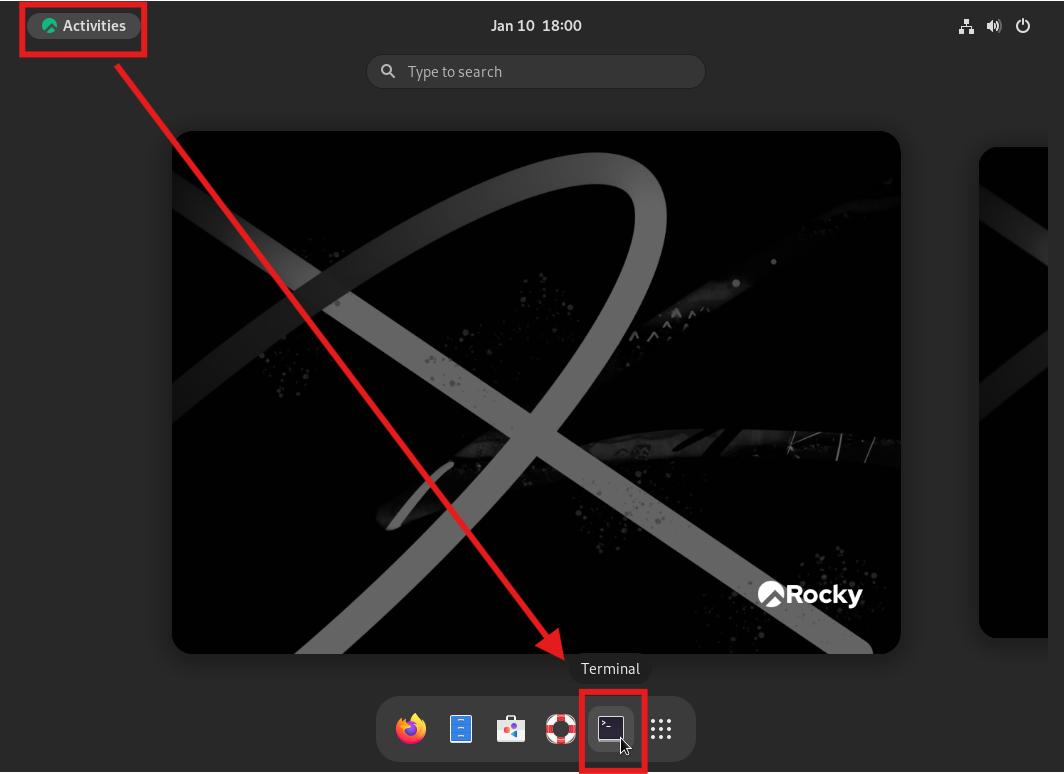
Click "Activities" from the upper left corner and then open Terminal.
Type these coomands to the terminal:
Update your system
sudo yum update && sudo yum upgrade
Install EPEL-repository
sudo dnf install -y epel-release
Install xrdp packets and enable them
sudo yum install xrdp

systemctl start xrdp

systemctl enable xrdp
Open firewall port and reload it
sudo firewall-cmd --permanent --add-port=3389/tcp

sudo firewall-cmd --reload
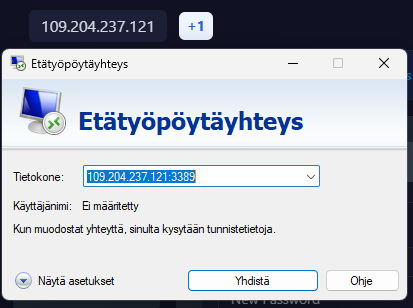
Now logout of your linux machine and open remote desktop type the vps-server ip and the just opened port (3389) to the Tietokone: section
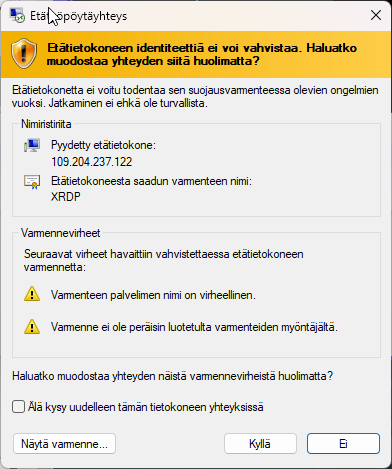
Click "Kyllä".
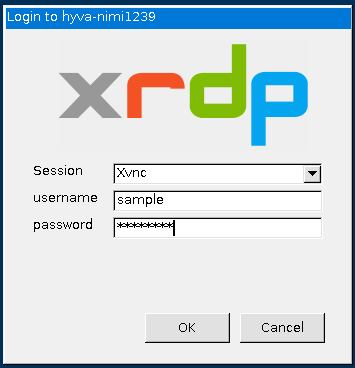
Put in your linux username and password. Click "OK".