Instructions for Setting Up Your Own paper Minecraft Server on Almalinux
In this guide, we explain how to set up your own Minecraft server using the KDE Plasma graphical interface.
Guide for Remote Desktop Management if You Haven’t Installed It on Your VPS Yet
Install a browser
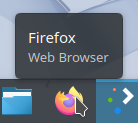
Search for software and go to the software center.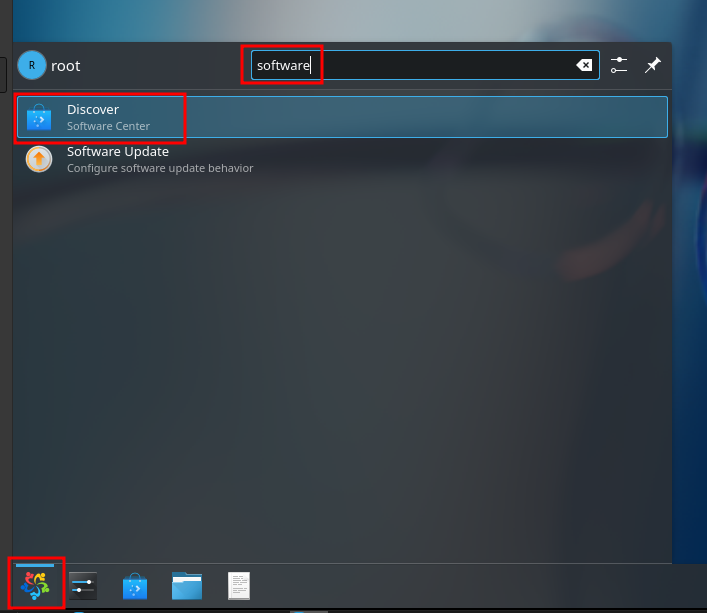
Search for Firefox there.
Then press the Install button next to Firefox.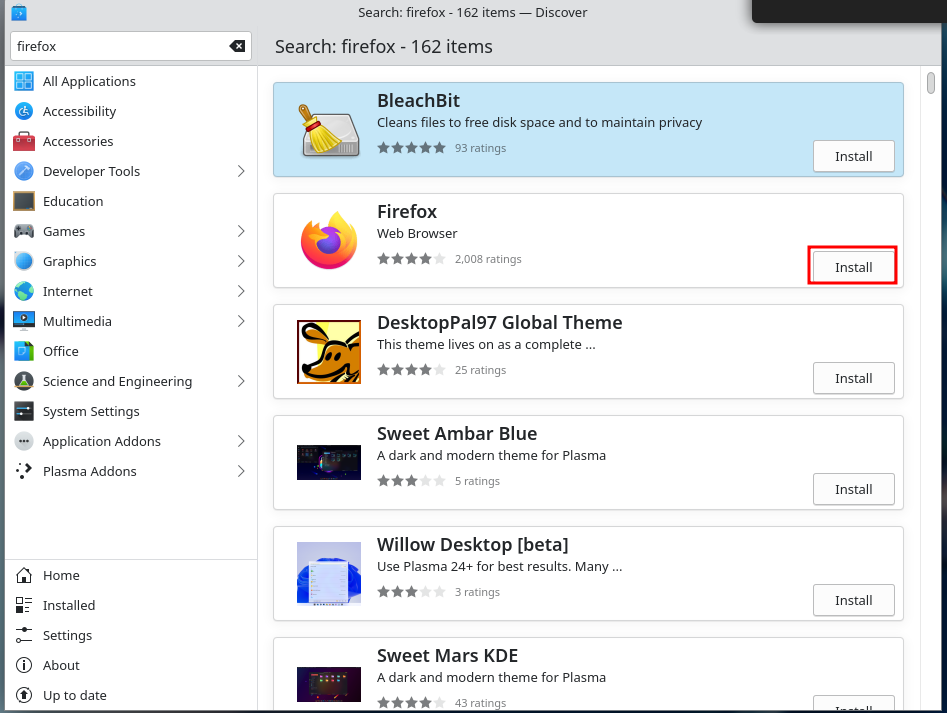
Install Java
The Minecraft server requires Java to run. Open your Firefox browser and go to: https://www.oracle.com/java/technologies/downloads/
Go to Java downloads -> JDK 21 -> Linux
Click on the link and download the "x64 RPM Package".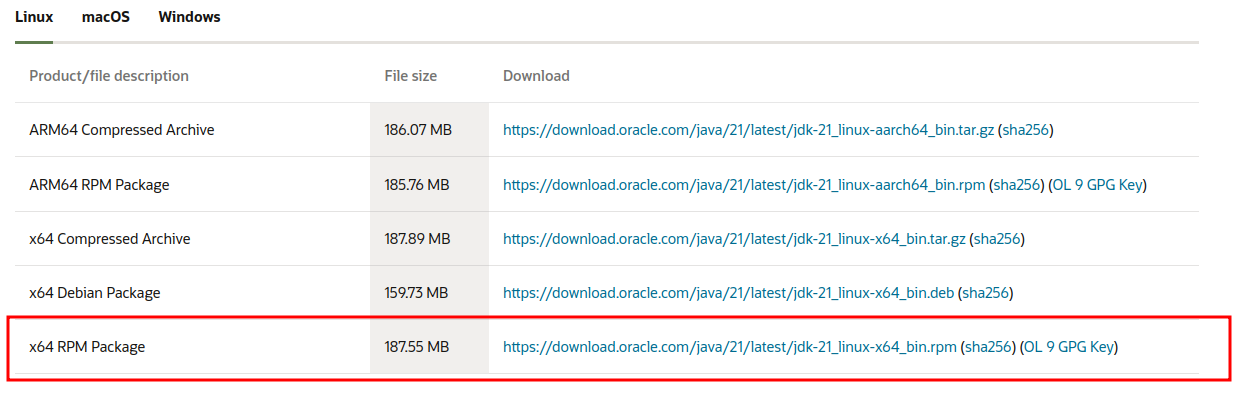
Next, click the folder icon for the downloaded file.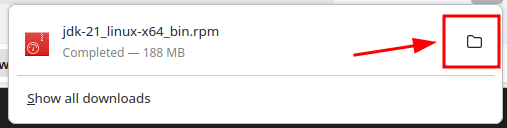
Double-click the file.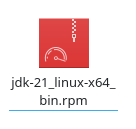
Click "Install".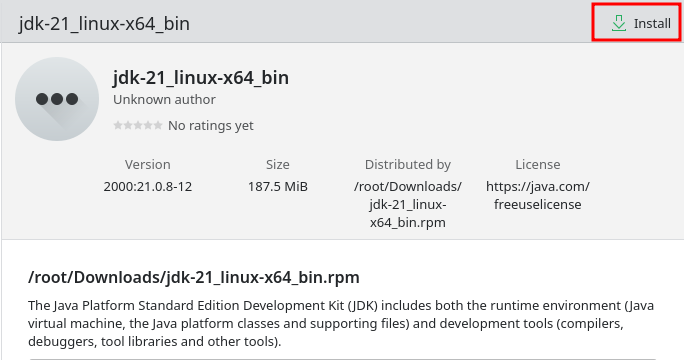
Configure Firewall Settings
Open firewall settings:

From public > Ports, click "+ Add".

Put 25565 as your port, then click "OK".

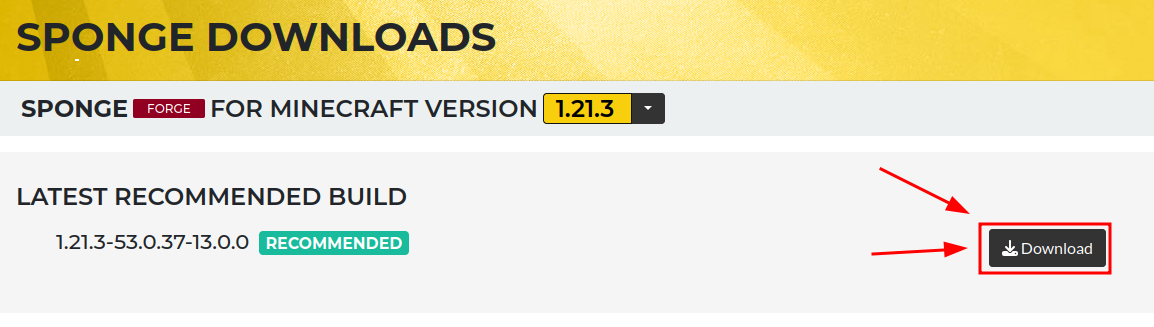
Which Forge version should I download?
Visit the Spongeforge website to see what version is recommended and download the same version of Forge.
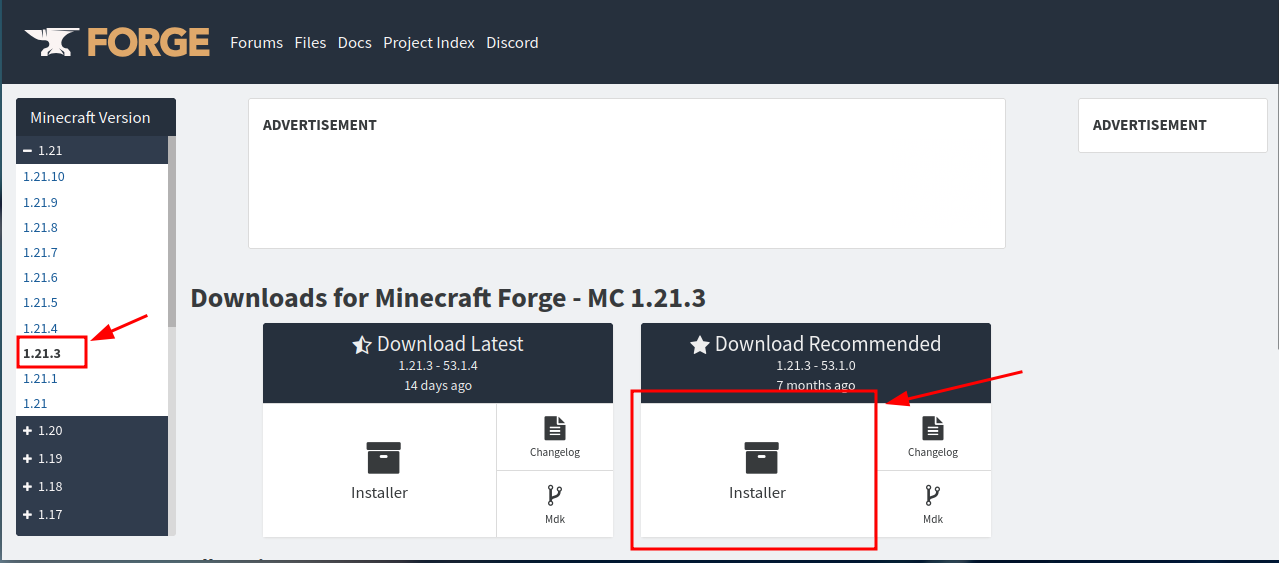
From the image above you can see that the currently recommended SpongeForge version is 1.21.3, so in the next section we will download Forge 1.21.3.
Download the Server Software.
First, open your browser again and go to: https://files.minecraftforge.net/net/minecraftforge/forge/ Go to Minecraft Version on the left and find 1.21.3 and click on it
after which you can click on Download Recommended under Installer
A tab like this will open for you, after a few seconds you can press the SKIP button in the upper right corner.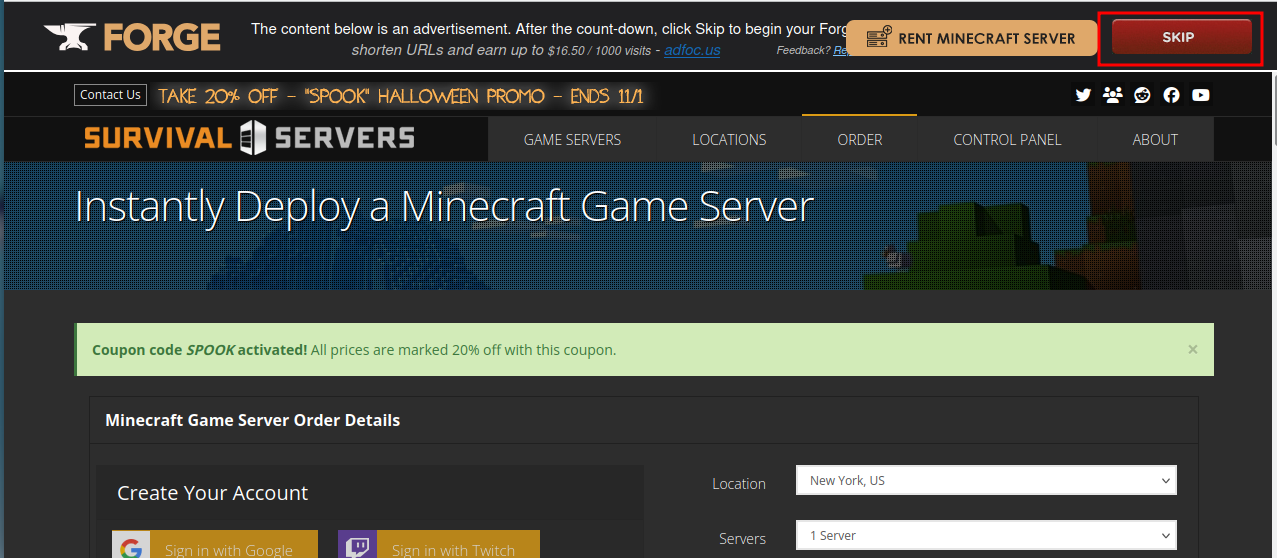
Create a folder on your desktop by right-clicking, Create new > Folder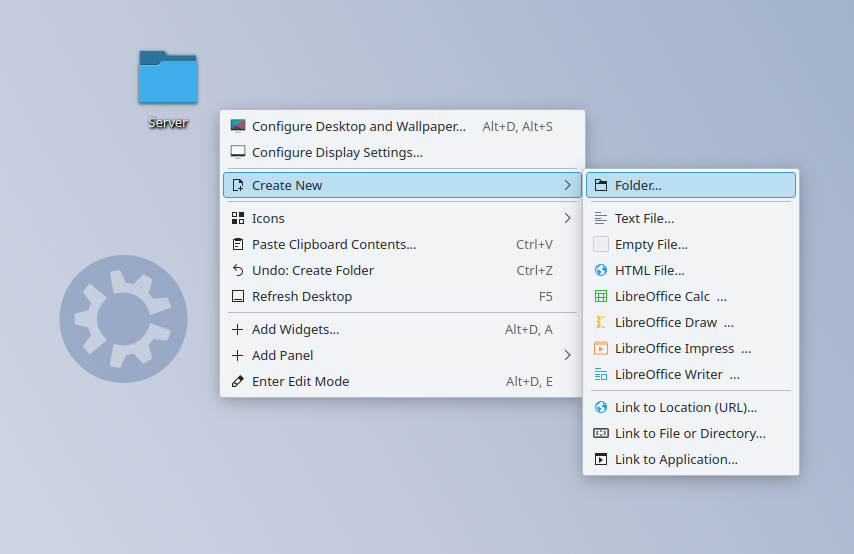
Move the downloaded file to the created folder.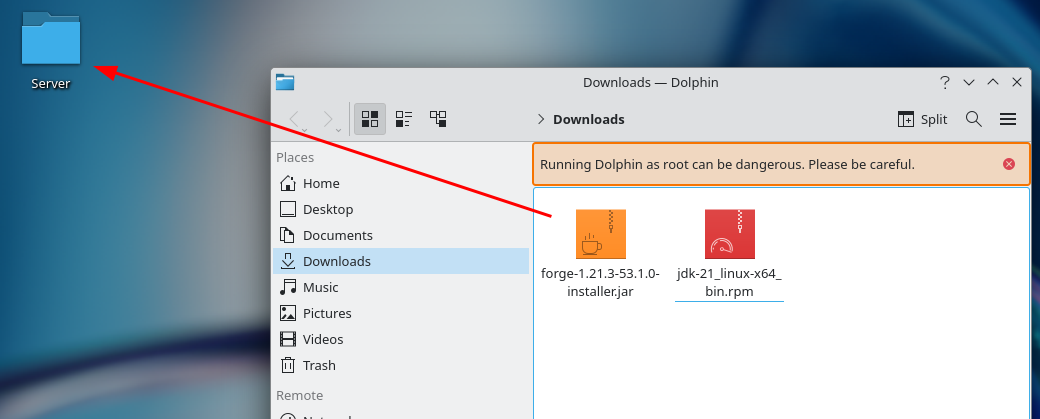
Press the Move Here button.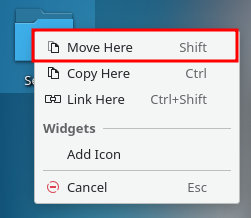
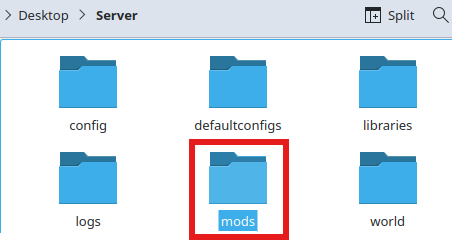
Then you can check the folder to see if the file was actually included.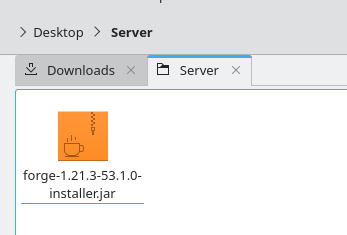
Open the console and navigate to the folder:
cd Desktop
cd Server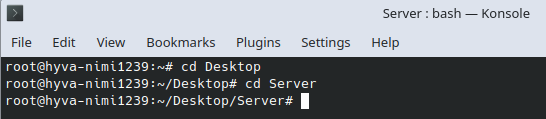
Install the server:
java -jar [forge file name].jar --installServer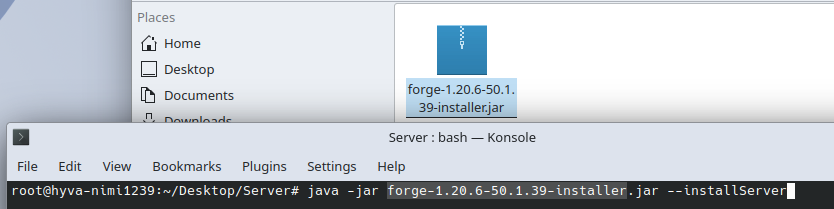
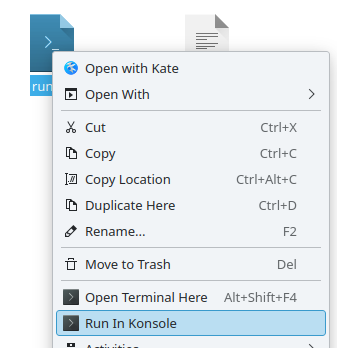
Many files will now appear in the folder, one of them being "run.sh", right click it and then click "Run in Konsole"
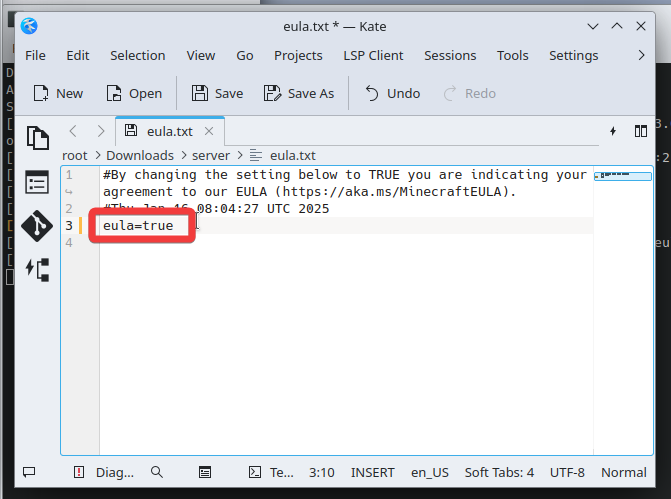
A new console window will open, and more files will begin to appear in the folder. However, the server startup will fail because you need to accept the EULA.
Close the console, find and open the file named "eula.txt".
Edit the text so that the third line reads "eula=true" instead of "eula=false". Save and close the file following the earlier instructions.
Start the server again: Right-click run.sh and select "Run in Konsole".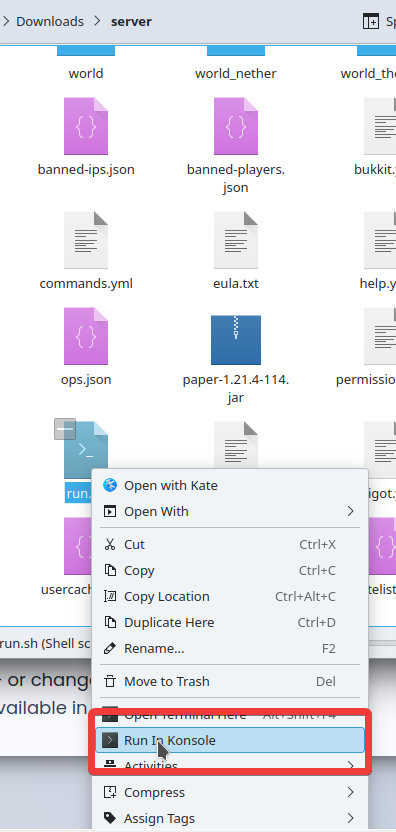
If the server runs successfully, the console window will look like this: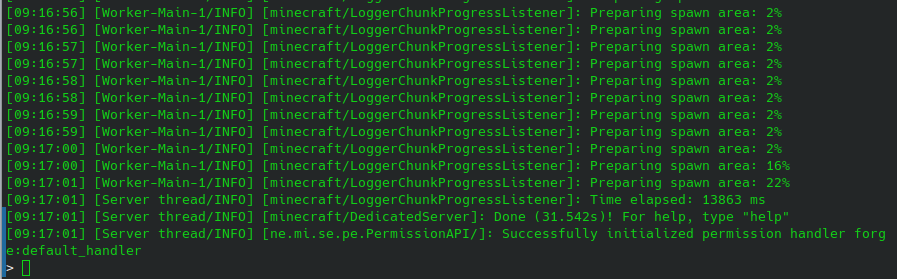
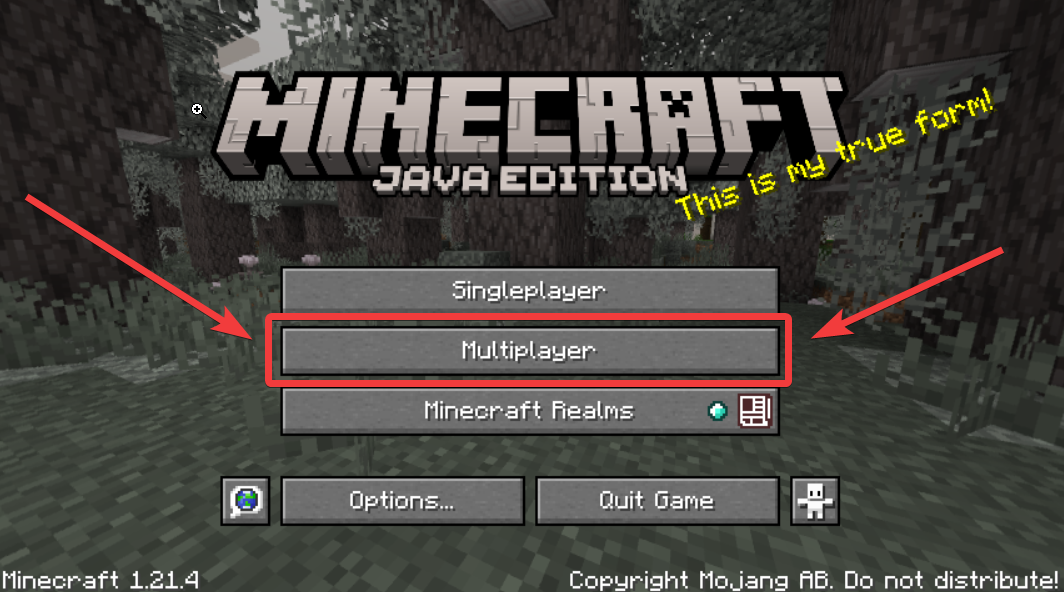
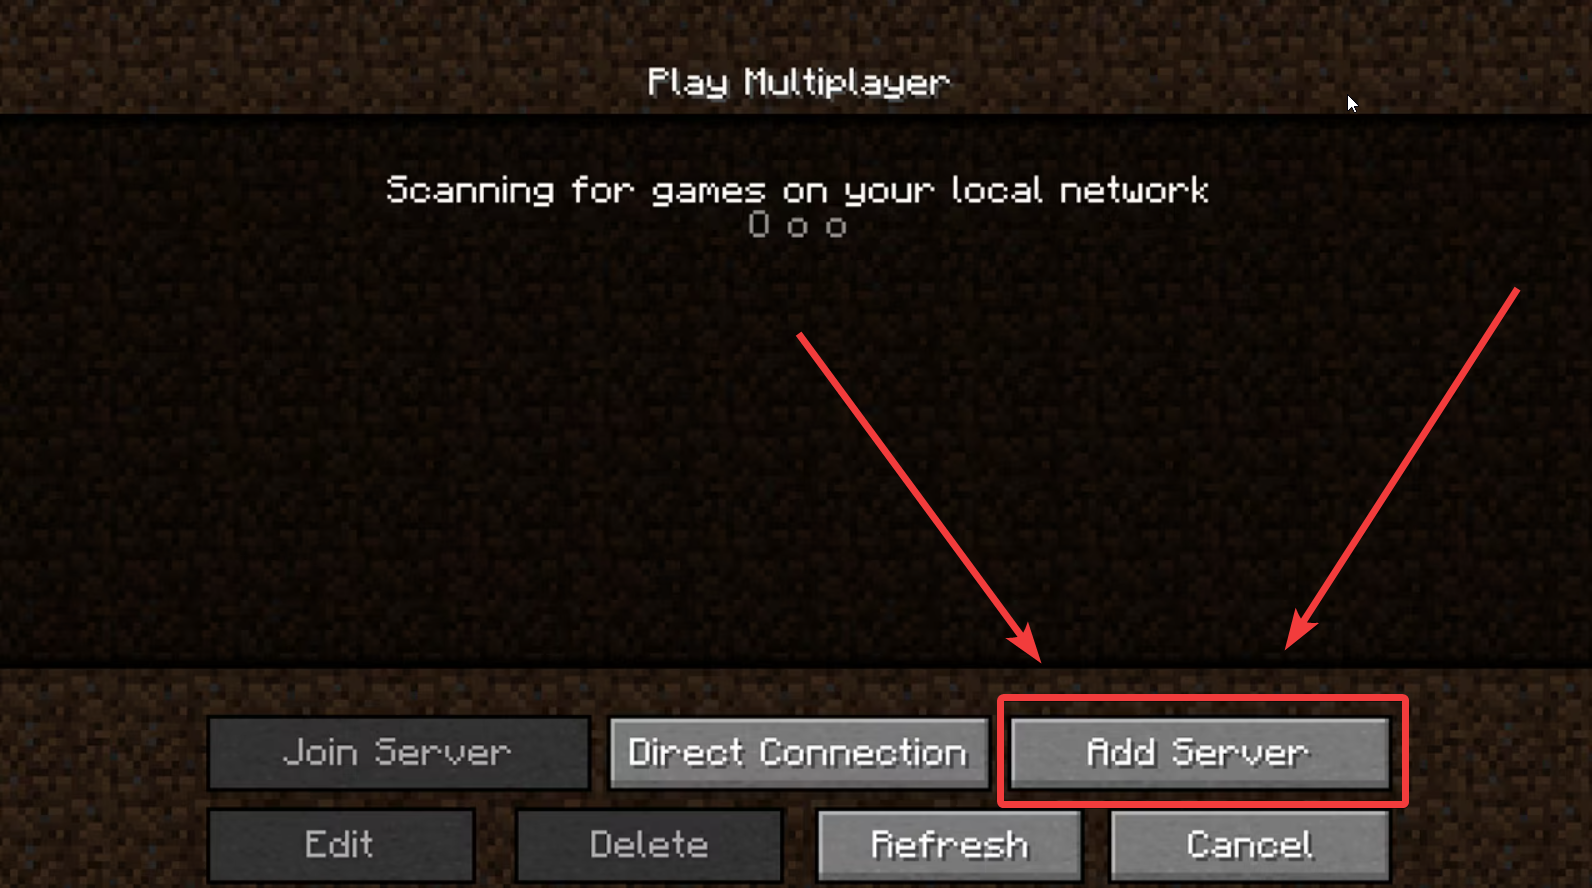
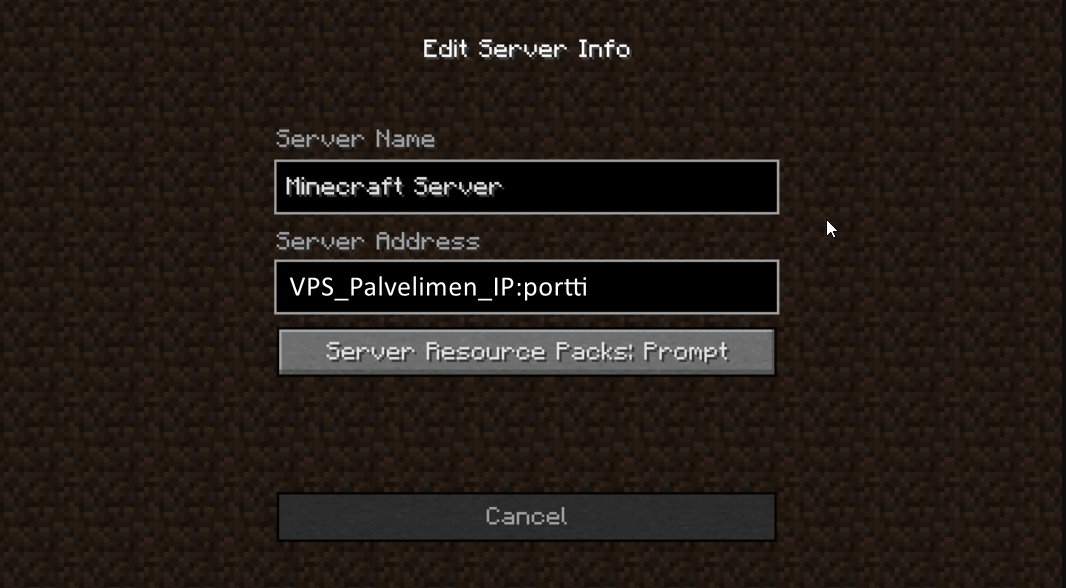
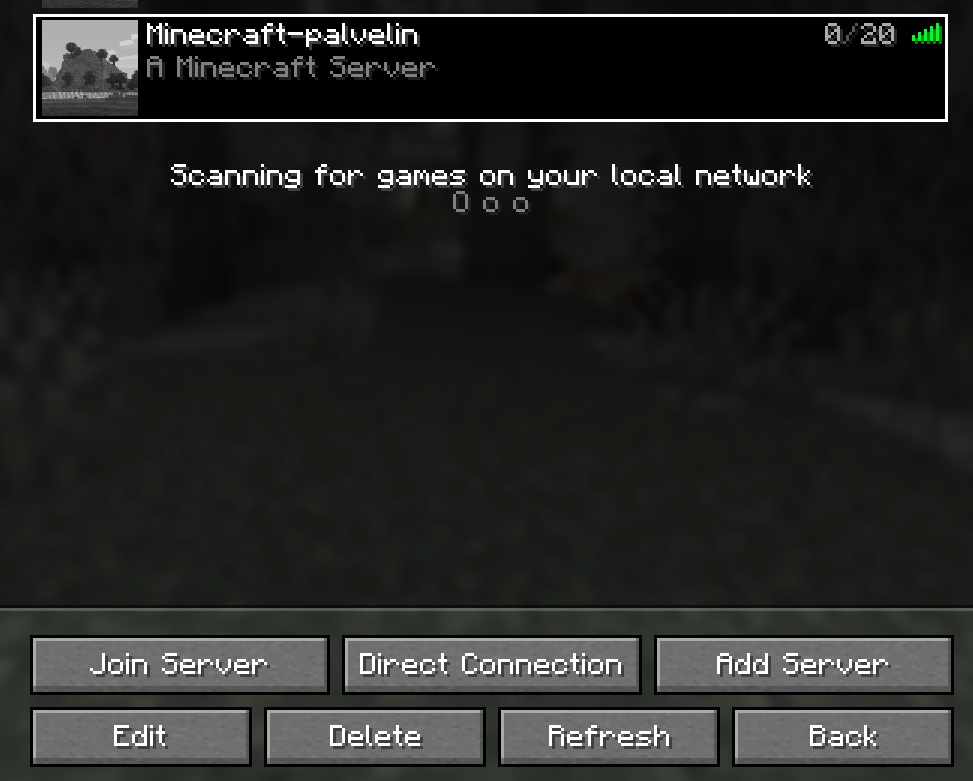
Joining the Game
First, open Minecraft and click on "Multiplayer."