


1. In this guide, I will guide you on how to install and use Sitepad.
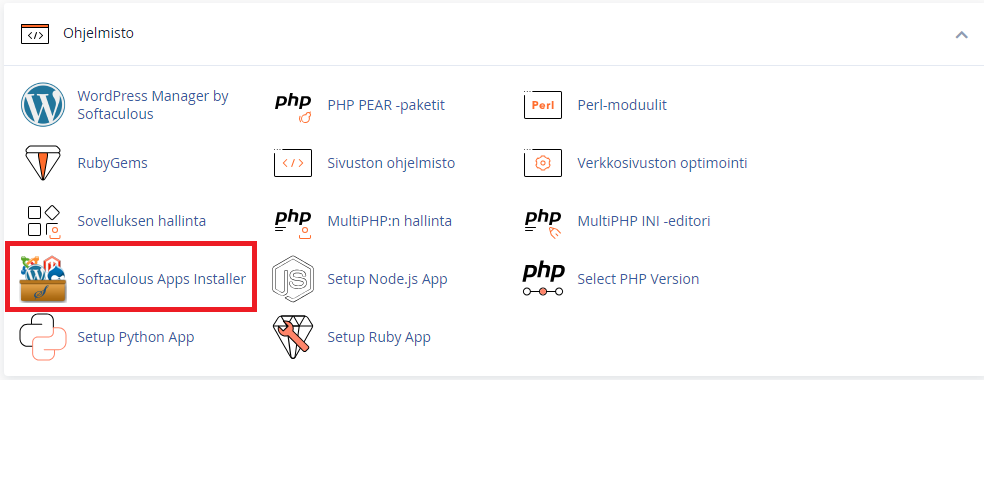
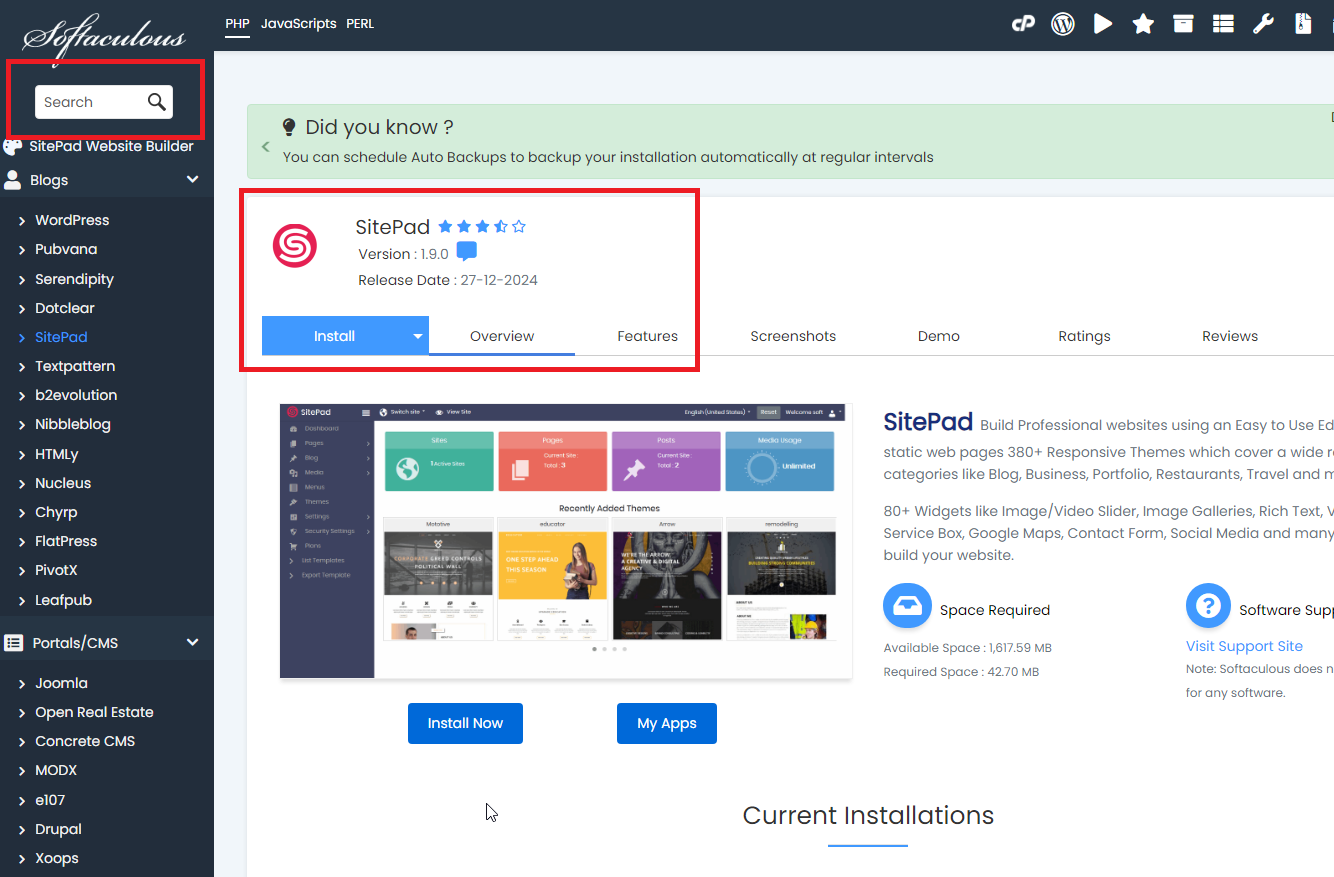
2. First, log in to cpanel, find the software section, there you will find Softaculous Apps Installer, then you can access the app store. In the top left corner you will find the search section, search for Sitepad.
Once you find Sitepad, you will see an Install button, click on it.
3.After pressing Install you will get to the Sitepad page settings, edit the settings you want from there, when you are ready scroll down the page and press Install.
4.Now that Sitepad is installed, you can access your own page with the address you specified, e.g.: domain.tietokettu.net/sp
5. A page that looks like this will open, click Get Started to proceed.

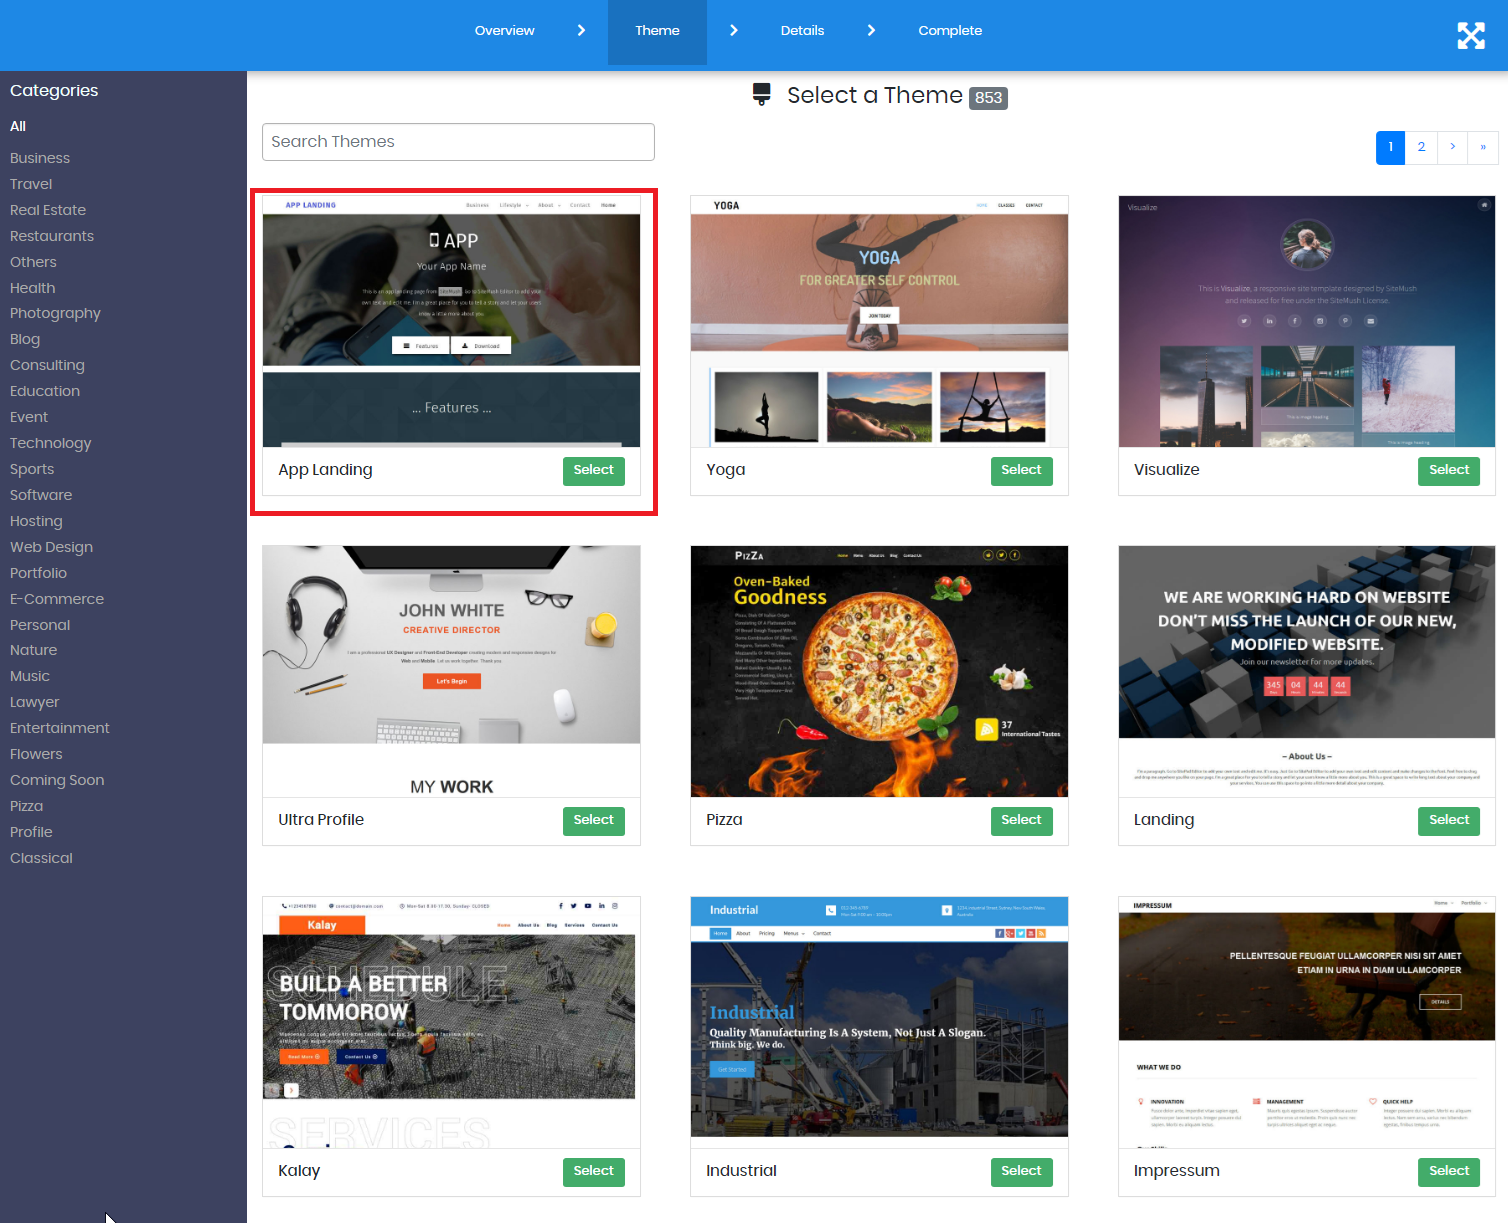
6. A page opens where you can choose your own theme, this guide uses the theme ''App Landing'' click select.
7. A page opens where you can edit the desired information for your page. When you have edited the information you want, press Proceed with Install.

8. A window will open asking if you want to use images only by sitepad.

9.After pressing Yes, your sitepad page will open and it will look like this.

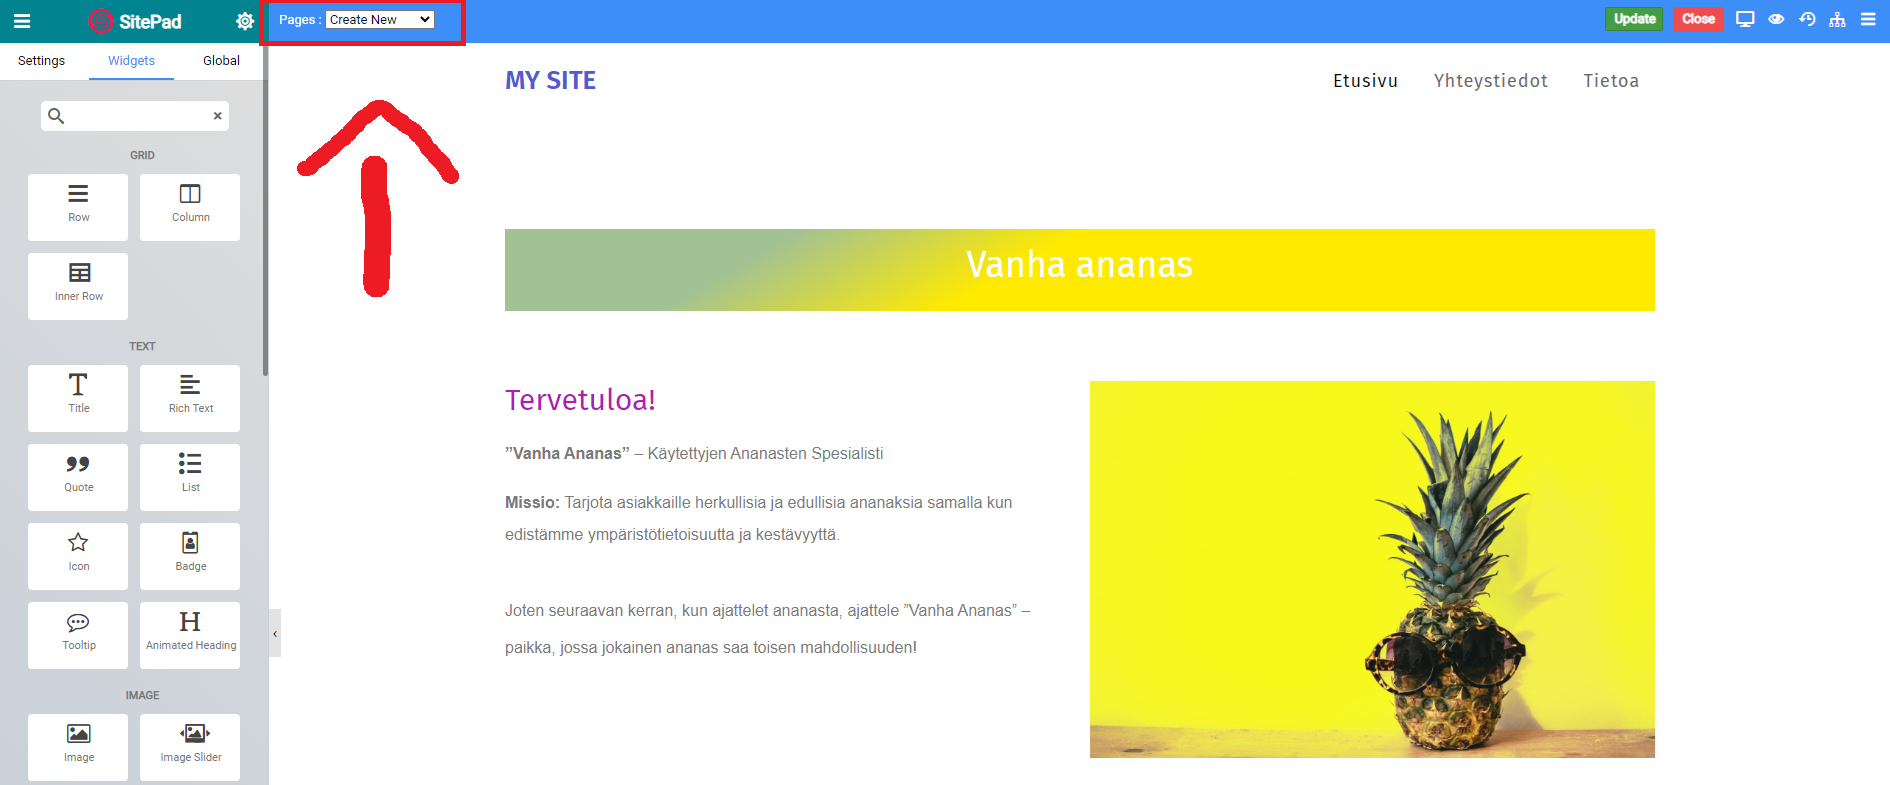
10. Let's start building the "Old Pineapple" page as an example, start by entering the name of the page.

11. From this point you can enter the desired title for your home page.
By clicking on the picture of the pen, a larger menu of editing tools opens, by clicking on the picture of the trash can you can delete the section in question, by clicking the up/down arrow you can move the section in the direction you clicked. Press the image of the trash can and the section will disappear.

12. On the left side, click X to get a menu from which you can choose different widgets.
From there we select 'Row' below the old pineapple and after that 'column', you can move these widgets from the menu by holding the mouse on the left and dragging to the desired location.
After this we add 'Rich text' to the left section and 'image' to the right


13. Your page should look something like this, at this point we click on the ''+'' sign below the 'rich text' box and add three (3) 'rich text' boxes below it.

14.At this stage, we add the text we want to the left boxes, and an image to the right box.

15. Next, we want to add buttons to the navigation bar (Home page, information and contact information).
Select 'Create new' from the menu
16. Next, a page like this will open, from there you can add or delete pages. In this guide, we will add the pages (Home page, information and contact information) the easiest way is to change the name of the page and add if any page is missing.

17. Next, on the front page, we add one empty space 'row' below the text and image, below this we add two (2) 'columns' next to each other, the same way the text and image are.
On the left side we add two (2) 'rich text', one phone number, address and email box.
Let's put rich text, address, phone number, e-mail, rich text in order from top to bottom.
Left side should look like this:

18. If you want to make links from the information you want, open the settings and select ''make link''. Next, we want to change this information, we click create new page again, from the top, and the Dashboard page opens. From here we go to settings - editor settings. This is how you can change the information you want.
You can change your e-mail from the same settings, but from the "contact form" section.

19. Now that the names, addresses and others have been added, we add the 'navigation menu' and 'button' buttons to the right box.
From the button settings, a link is only placed on the Facebook homepage.
The button style is changed to blue for the Facebook logo.
The icon will be changed to Facebook's own logo image.

How to change Button image to Facebook logo.
Open icon settings.
Select 'Brand' and enter 'facebook' in the search bar

At this point it should look like this.

20. Click on the three lines in the upper left corner, then ''customize''
Let's go back in the page settings and click on 'site identity' and here you can change the page title.


21. Next, we can close the new editor page that just opened and go back to the old page, here we change the page 'information' from the menu at the top

22. Let's remove all boxes and add 'rich text' and 'image' note. not next to each other but below.
23. At this point, we repeat steps 17, 18, 19.
24. It should look roughly like this. Now we have the 'information' page ready and we can move to the 'Contact' page in the same way as we moved to the information page.

25. Let's start by removing every box on the page again.
Let's add two (2) 'columns' to the page.
In the left box, add 'title' at the top and below this five (5) 'rich text'
Add 'image' to the right box

26. When this is added we add the 'google maps' widget below these.
For this you will need an API key
Log in with your google credentials and you will get an API key, you may have to identify yourself with your bank credentials.
https://developers.google.com/maps/documentation/embed/get-api-key
After you have received the API key, go to your Dashboard - settings - editor settings - integrations and here you can see where to put the api key.


27. Here we repeat again points 17, 18, 19
Next, on the front page we add one empty space 'row' below the text and image, below this we add two (2) 'columns' next to each other in the same way as the text and image are.
On the left side we add two (2) 'rich text', one phone number, address and email box.
Let's put rich text, address, phone number, email, rich text in order from top to bottom.
Now that the names, addresses and others have been added, we add the 'navigation menu' and 'button' buttons to the right box.
From the button settings, a link is only placed on the Facebook homepage.
The button style is changed to blue for the Facebook logo.
The icon will be changed to Facebook's own logo image.
28. When you have done these, you have made an easy 'Old Pineapple' page.


