


This guide assumes that you already have a working Windows Server 2019 installation, and know how to connect to it remotely. If not, we have guides specificly on these topics.
- How to reinstall Windows Server 2019
- Connecting to a VPS server with remote desktop connection. (Windows)
Connect to your server using Remote Desktop.
In order to setup an FTP-server, you will first need a webserver software on your server, in this case, we're using Microsoft IIS.
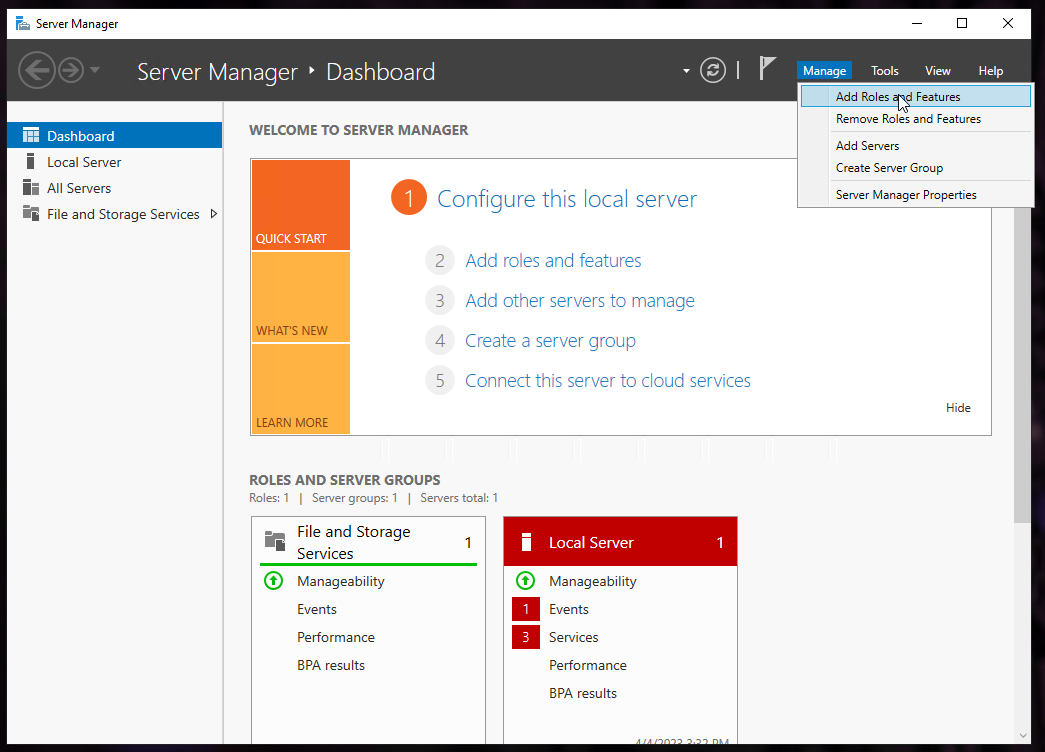
Select Add Roles and Features from your Server Manager.
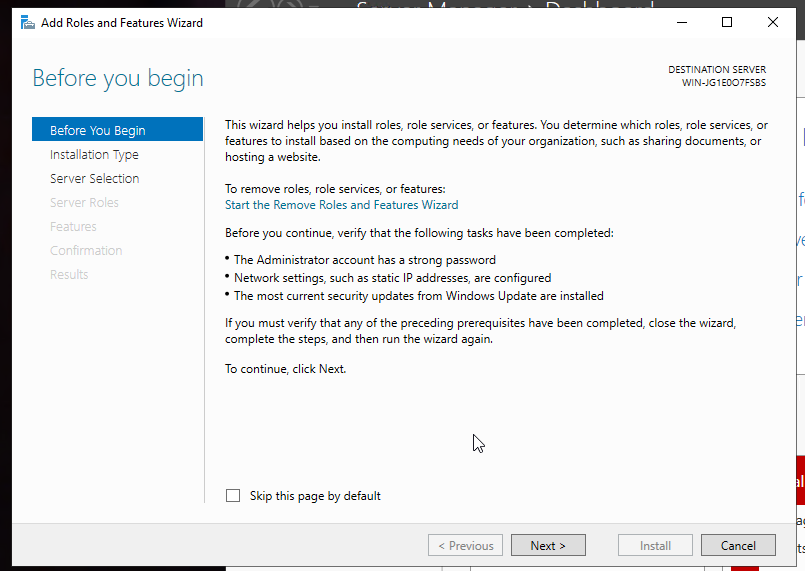
Click next.
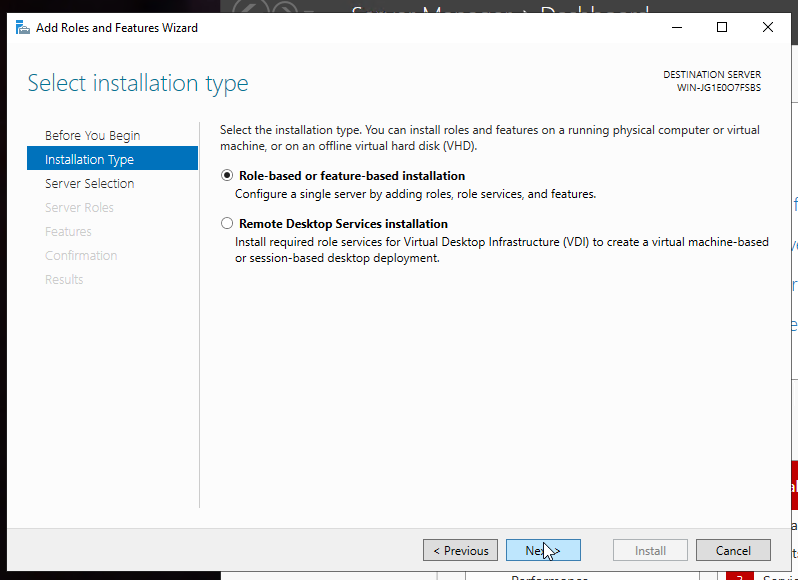
Keep the Role-based selection and click Next.
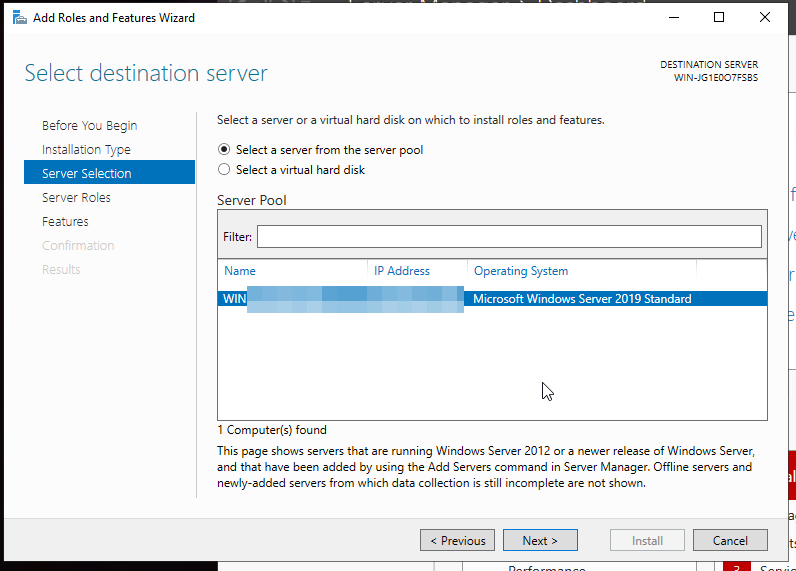
Continue by clicking Next.
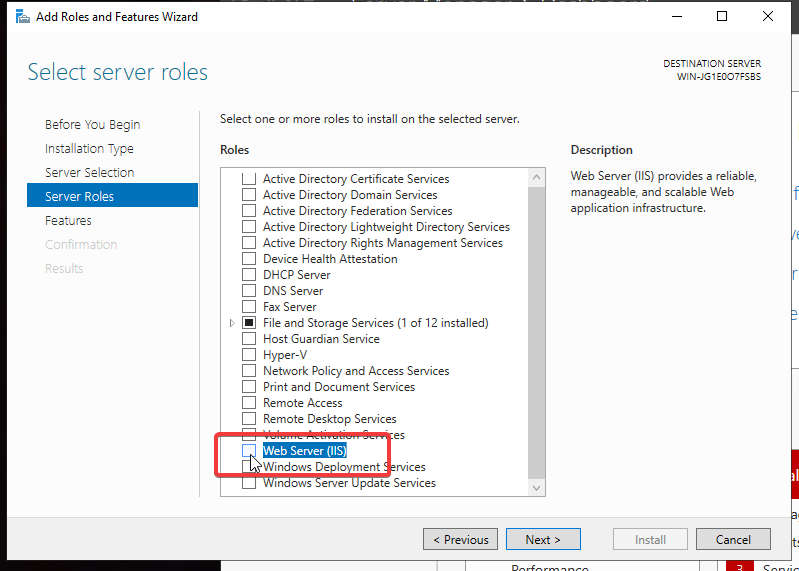
In the following view, scroll to the bottom of the list and select Web Server (IIS).
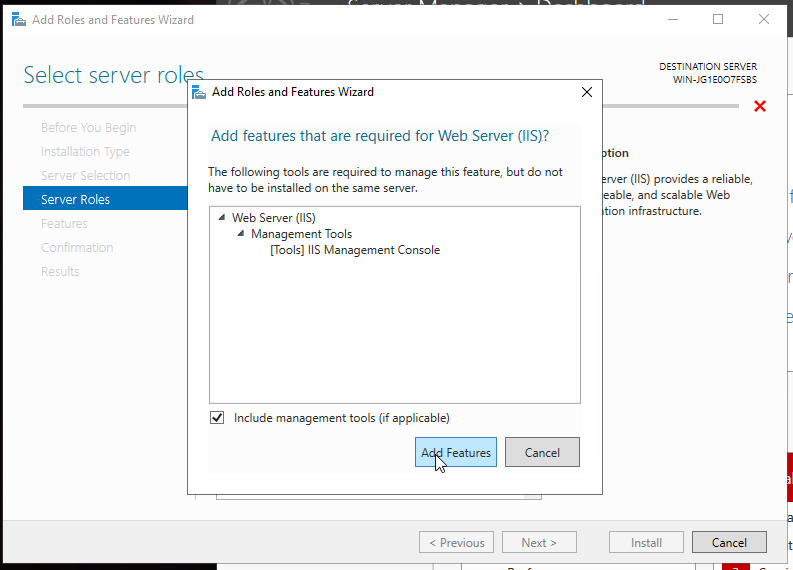
Include the management tools and continue.
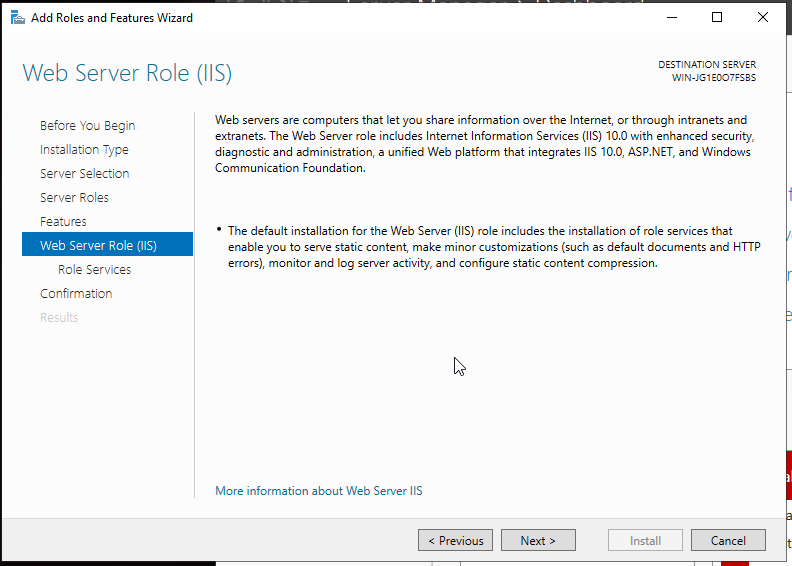
Click Next to continue.
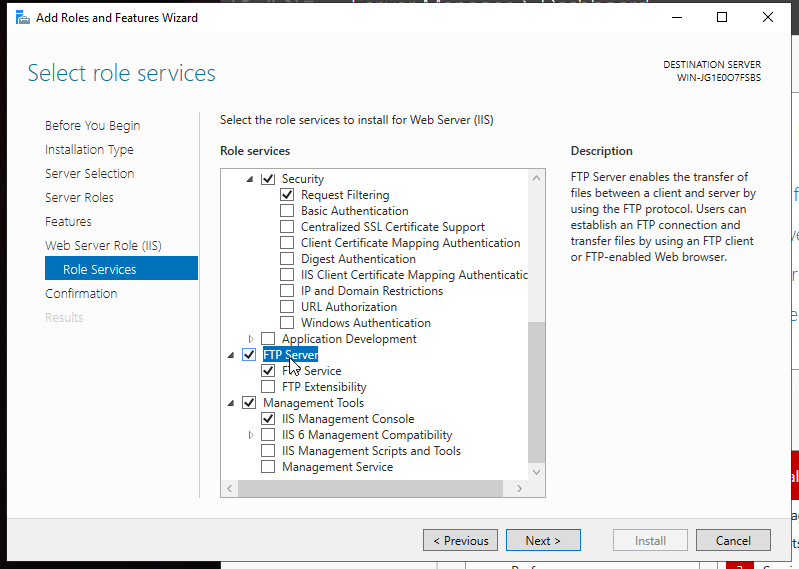
During IIS configuration, remember to select FTP Server. FTP Extensibility is not a requirement in this example.
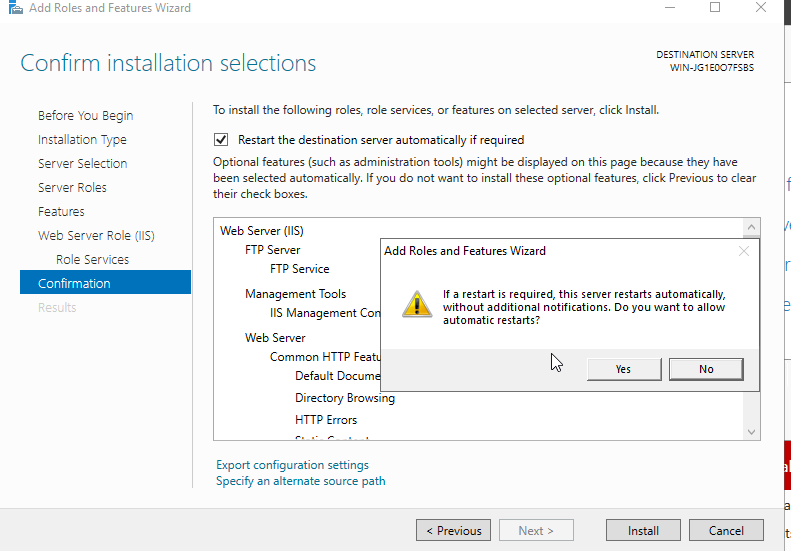
There will be a popup if you have "Restart..." selected, this is not a problem. In case of IIS installation, there should be no need for the server to restart.
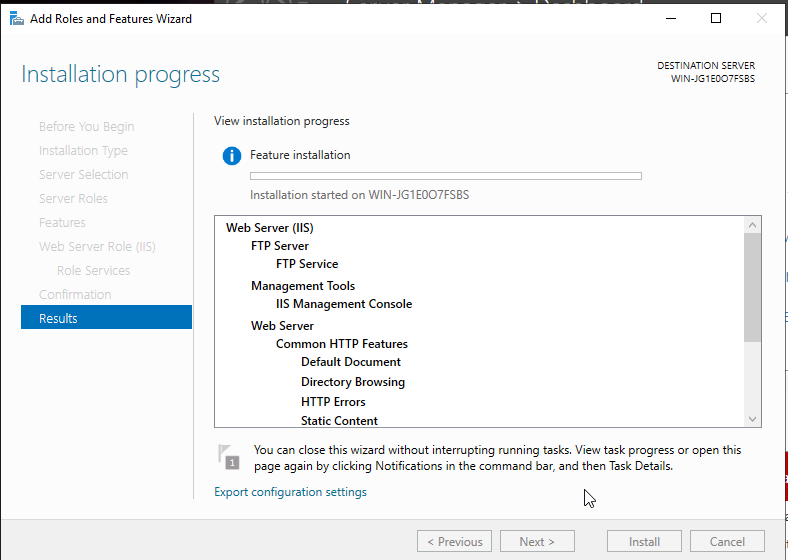
IIS will be installed now, and this may take a moment.
Next we'll create a secondary user on the server (note: this is optional)
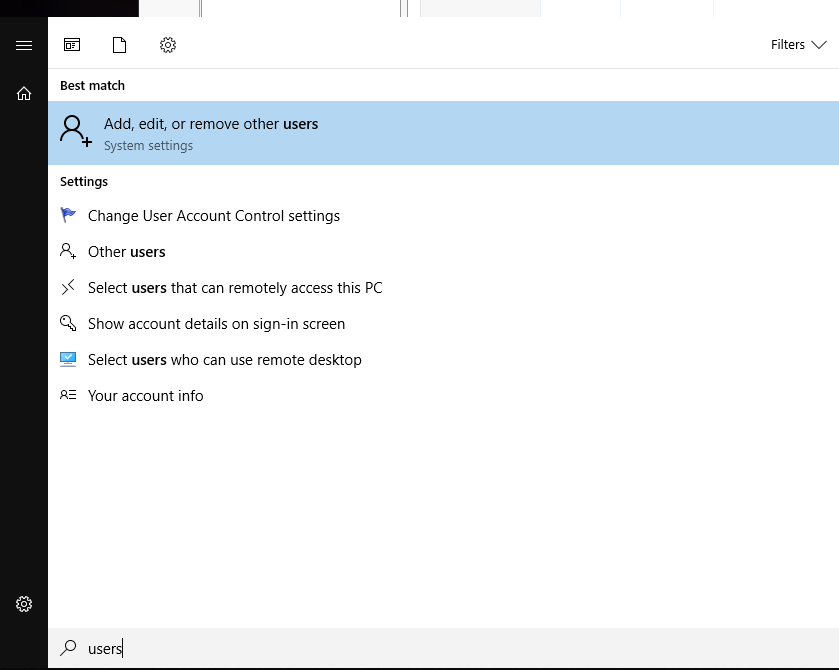
Write users in start-menu searchbar and select Add, edit, or remove other users
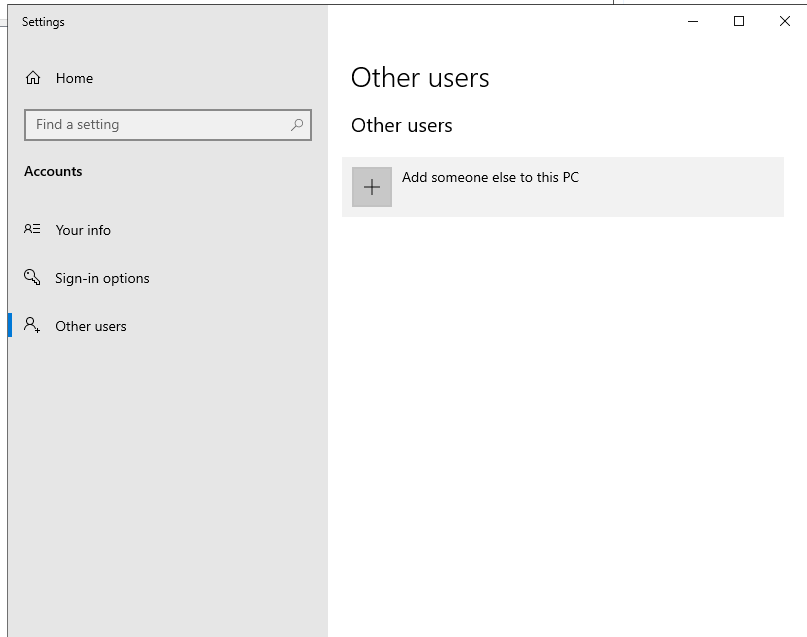
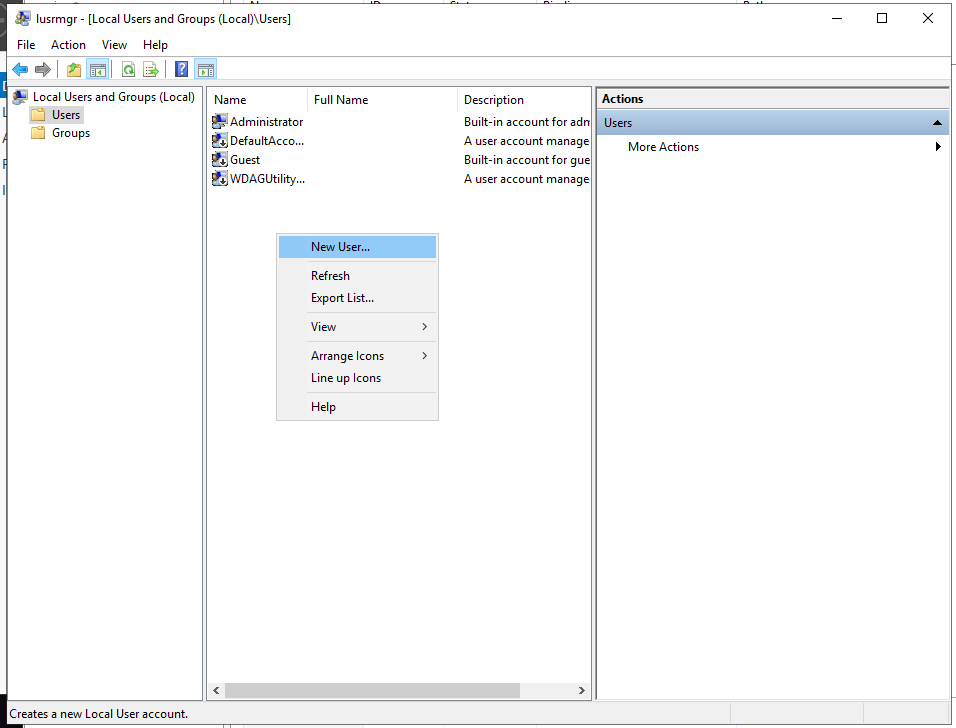
Let's create a new user. From the menu on the left, select "Users", then, as shown in the image below, right-click and select "New User".
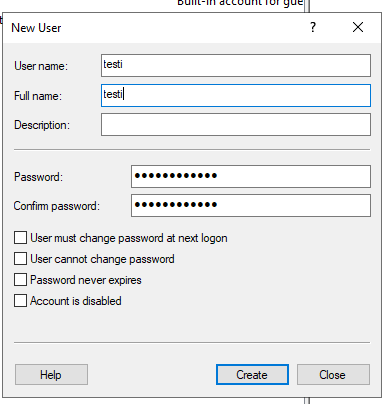
Fill in your desired username (User name), full name (Full name), and password (Password). Finally, click "Create".
Remember to use a strong password!
Next we'll have to add permissions to use remote connection on the new user.
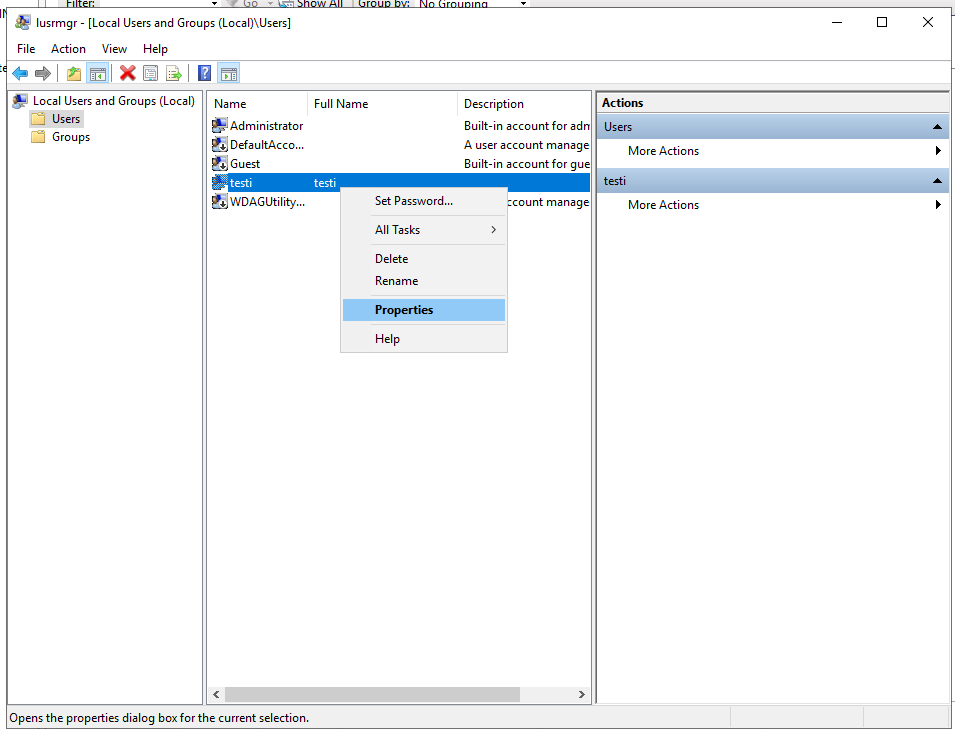
Open the user's properties.
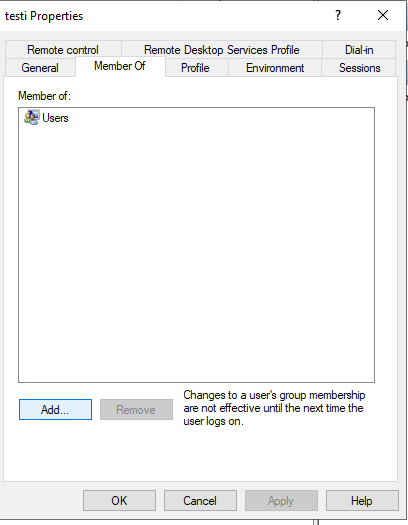
Under Member Of tab, choose Add.
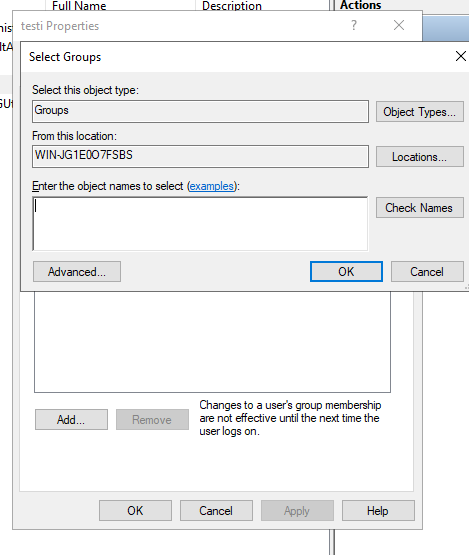
In this view, choose Advanced.
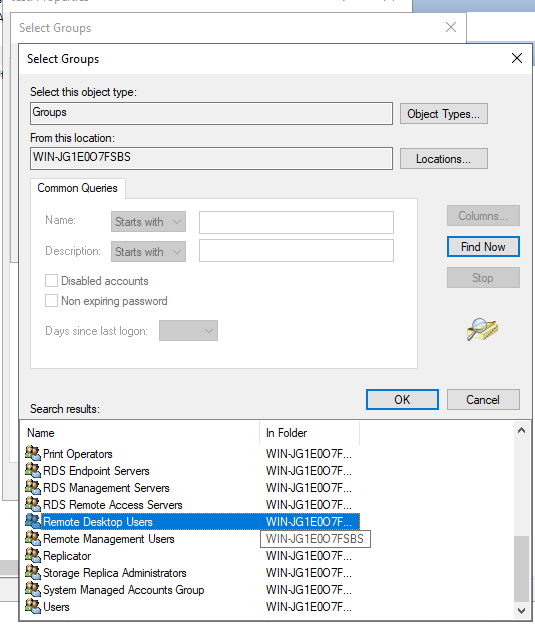
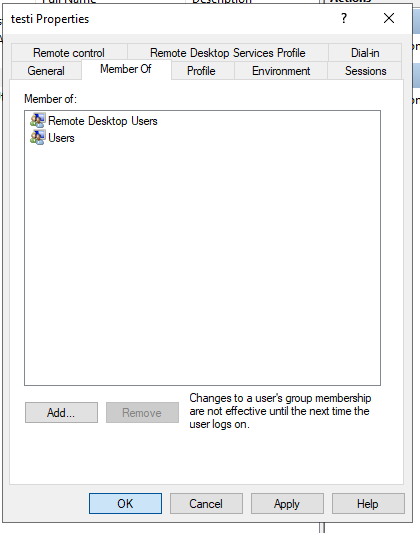
Add the user to Remote Desktop Users group.
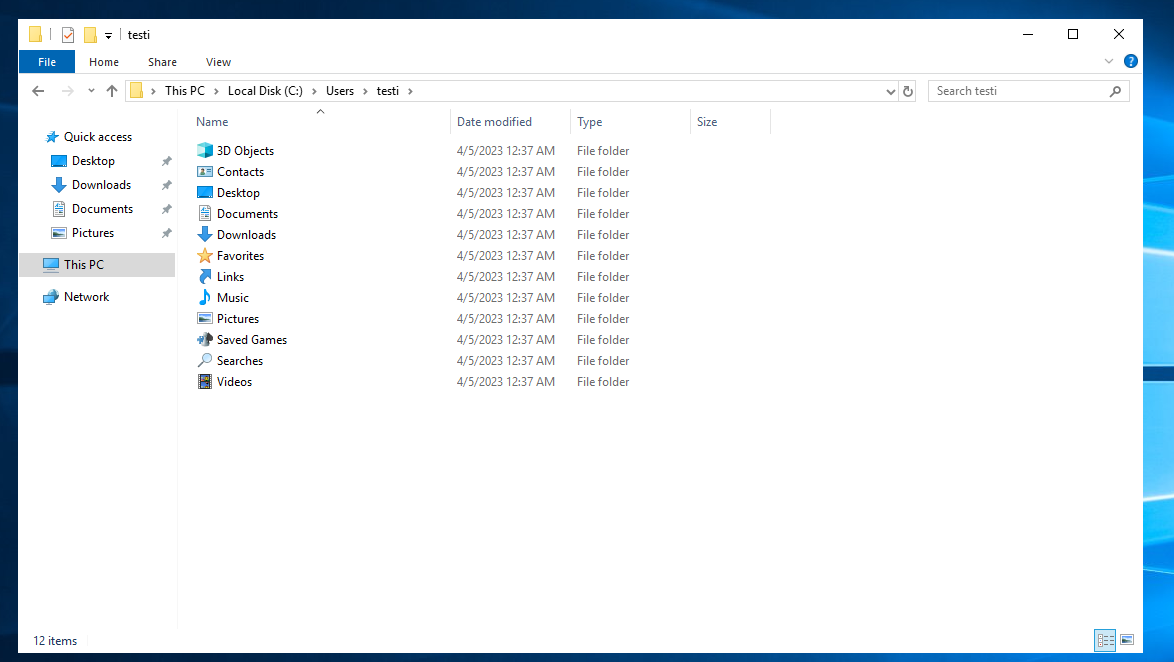
Log out of the administrator account and log in with the user you just created. This will allow Windows to create home directories for the new user.
The view should be like this now.
Log back into the administrator account.
The FTP connection will next be directed to the user's home directory, in this case "testi".
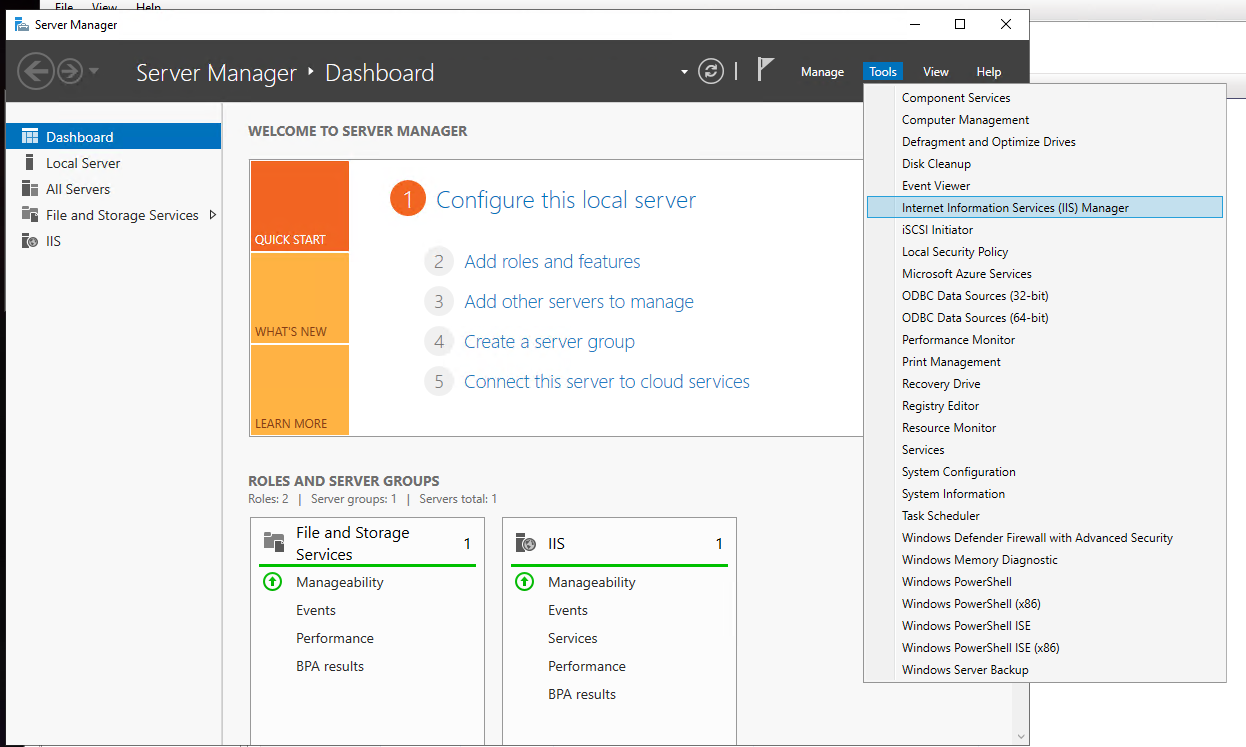
Continue by opening the IIS management panel.
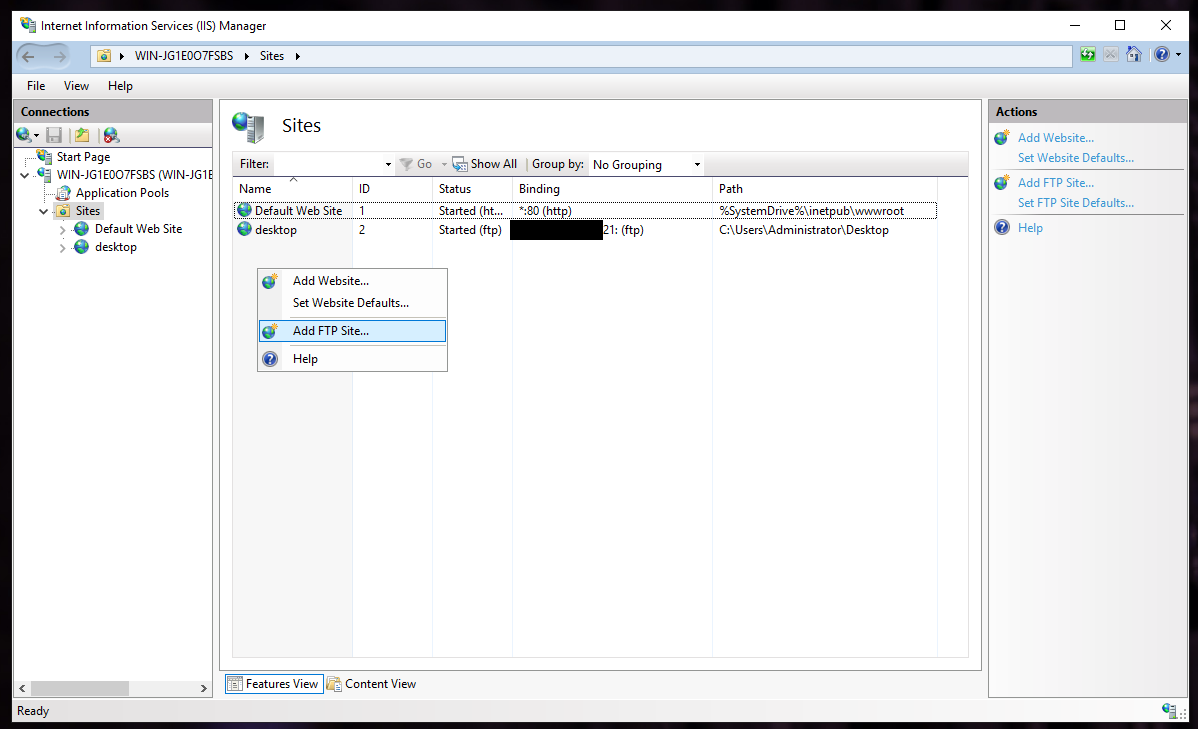
From the left panel in the window, open submenus until you get to this view, and have Sites-category selected. Either right click, or choose from the right panel Add FTP Site.
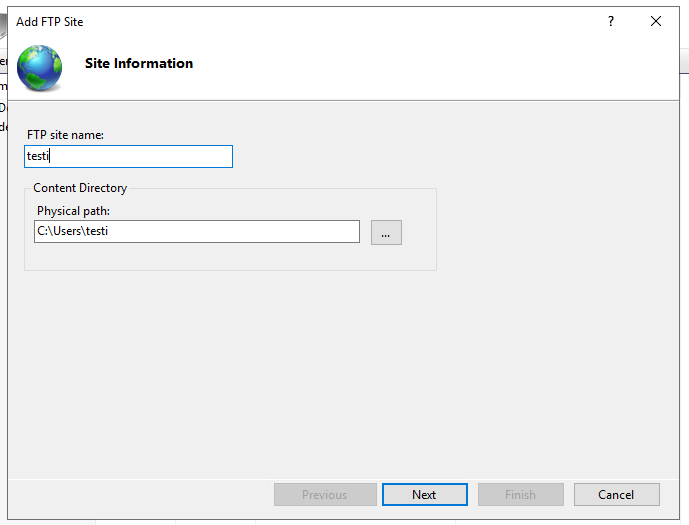
Let's define a new name (this is a descriptive name in the list), and the path for the user's home directory.
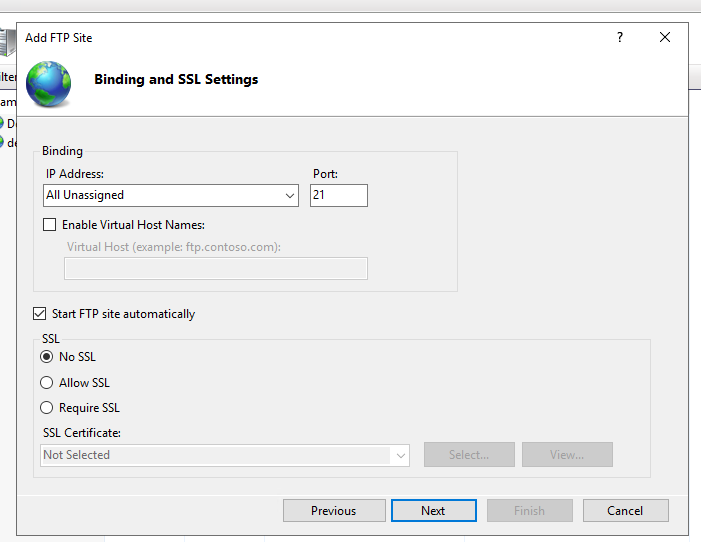
Choose your IP-address from the drop-down menu, keep the port as 21. In the example, we do not use SSL.
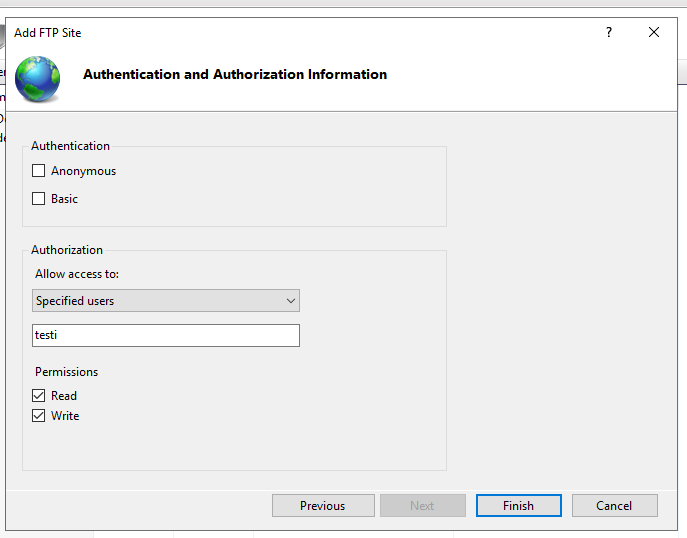
Check both selection boxes under Authentication (note: not selected in this screenshot!), under Authorization, allow access to specified users, and write your chosen user account, then give it both Read and Write permissions.
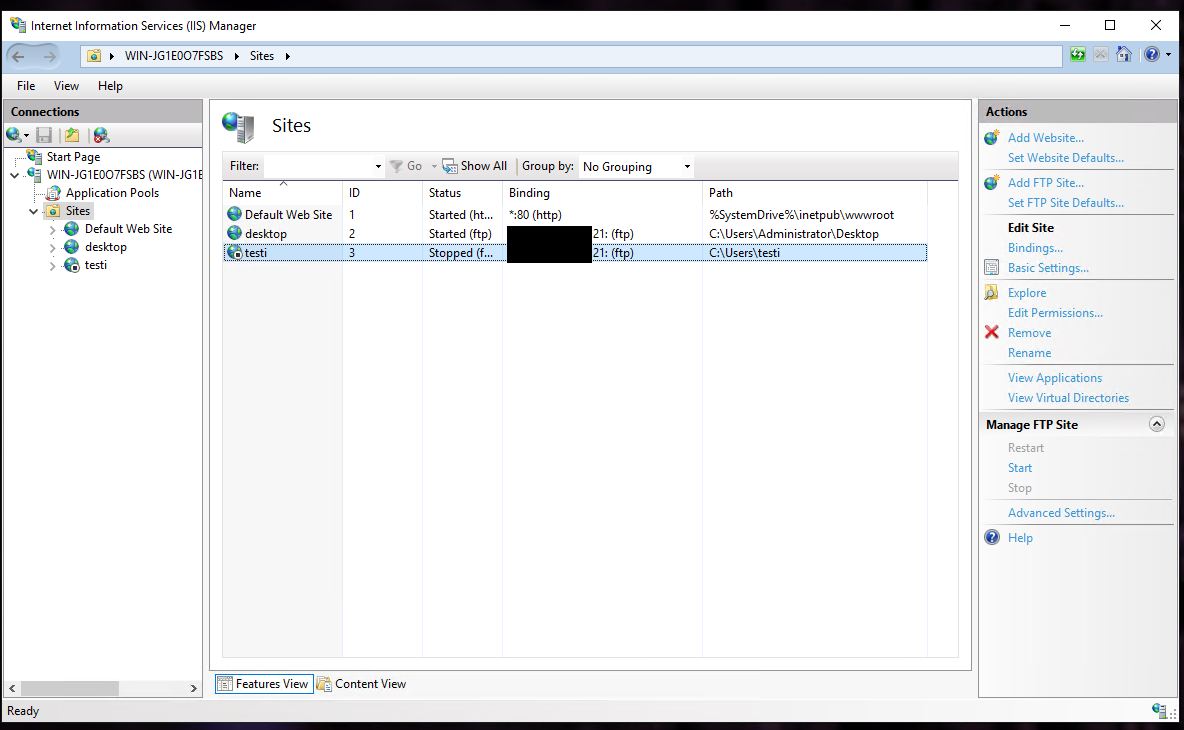
If the status says Started, great. If not, start the server from the menu on the right.
Next, you will need an FTP client on your computer (e.g., WinSCP or FileZilla).
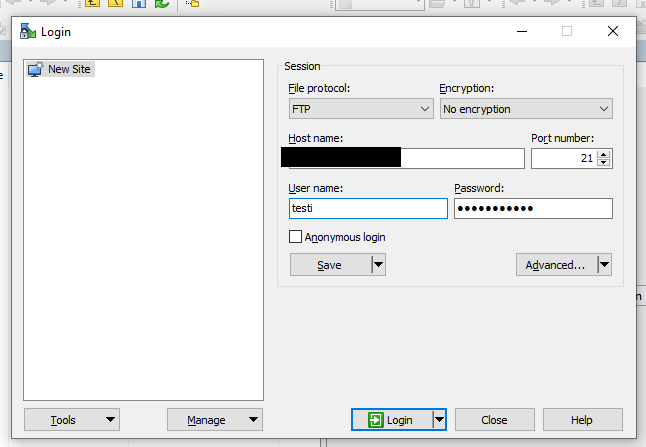
You'll be able to login to your newly created fileserver using your credentials, under Host name, write your server's IP-address (or alternatively, domain if you use one). Check that the port is 21.
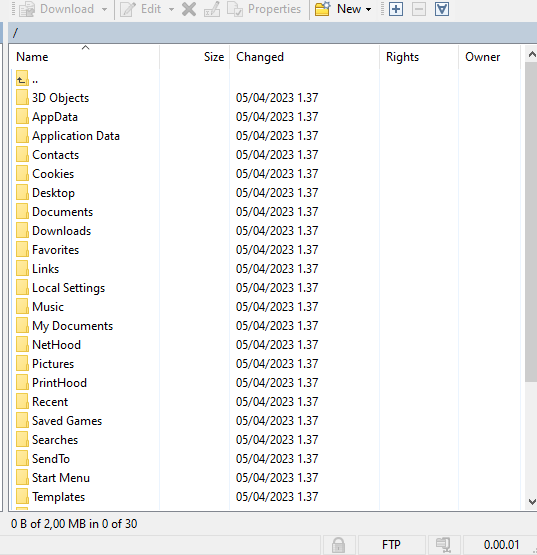
If everything is in working, you should be able to see your folders and files now.
It is possible, that the firewall is blocking the connection, if so, check the settings again. However, IIS by default should configure the firewall automatically and open all respective ports.

