Jos koet tarpeelliseksi asentaa Windows Server uudestaan, ja on tarvetta säilyttää vanhat tiedot, se on mahdollista asentamalla käyttöjärjestelmä uudestaan levykuvasta (ISO-tiedosto).
Navigoi aluksi selaimellasi VPS:n hallintapaneeliin, jossa otat käyttöön tarvittavat työkalut.
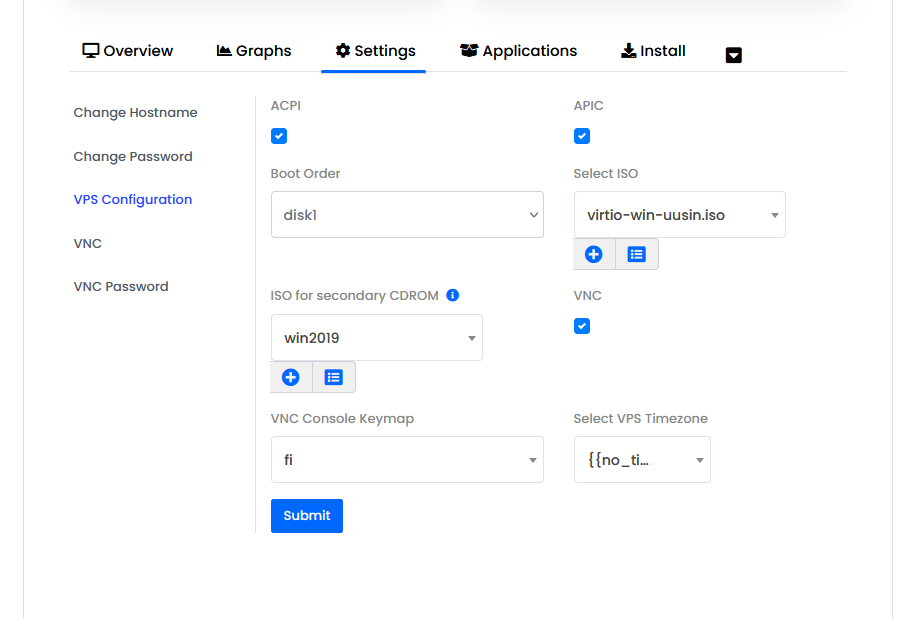
Valitse ensimmäiseksi ISO-tiedostoksi virtio-win-uusin.iso, ja toiseksi (secondary) win2019. Paina submit ja päivitä sivu.
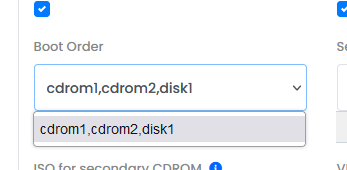
Tarkista, että boot order on päivittynyt, jotta voit jatkaa eteenpäin.

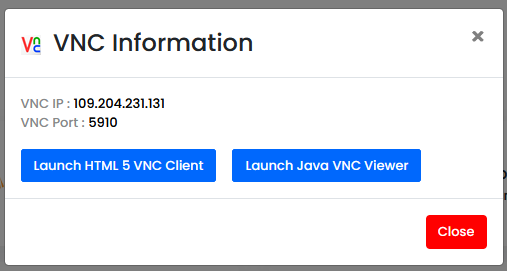
Avaa palvelimesi VNC-näkymä, tässä esimerkissä käytetään HTML 5 VNC Clienttiä. Käynnistä seuraavaksi palvelin uudestaan.

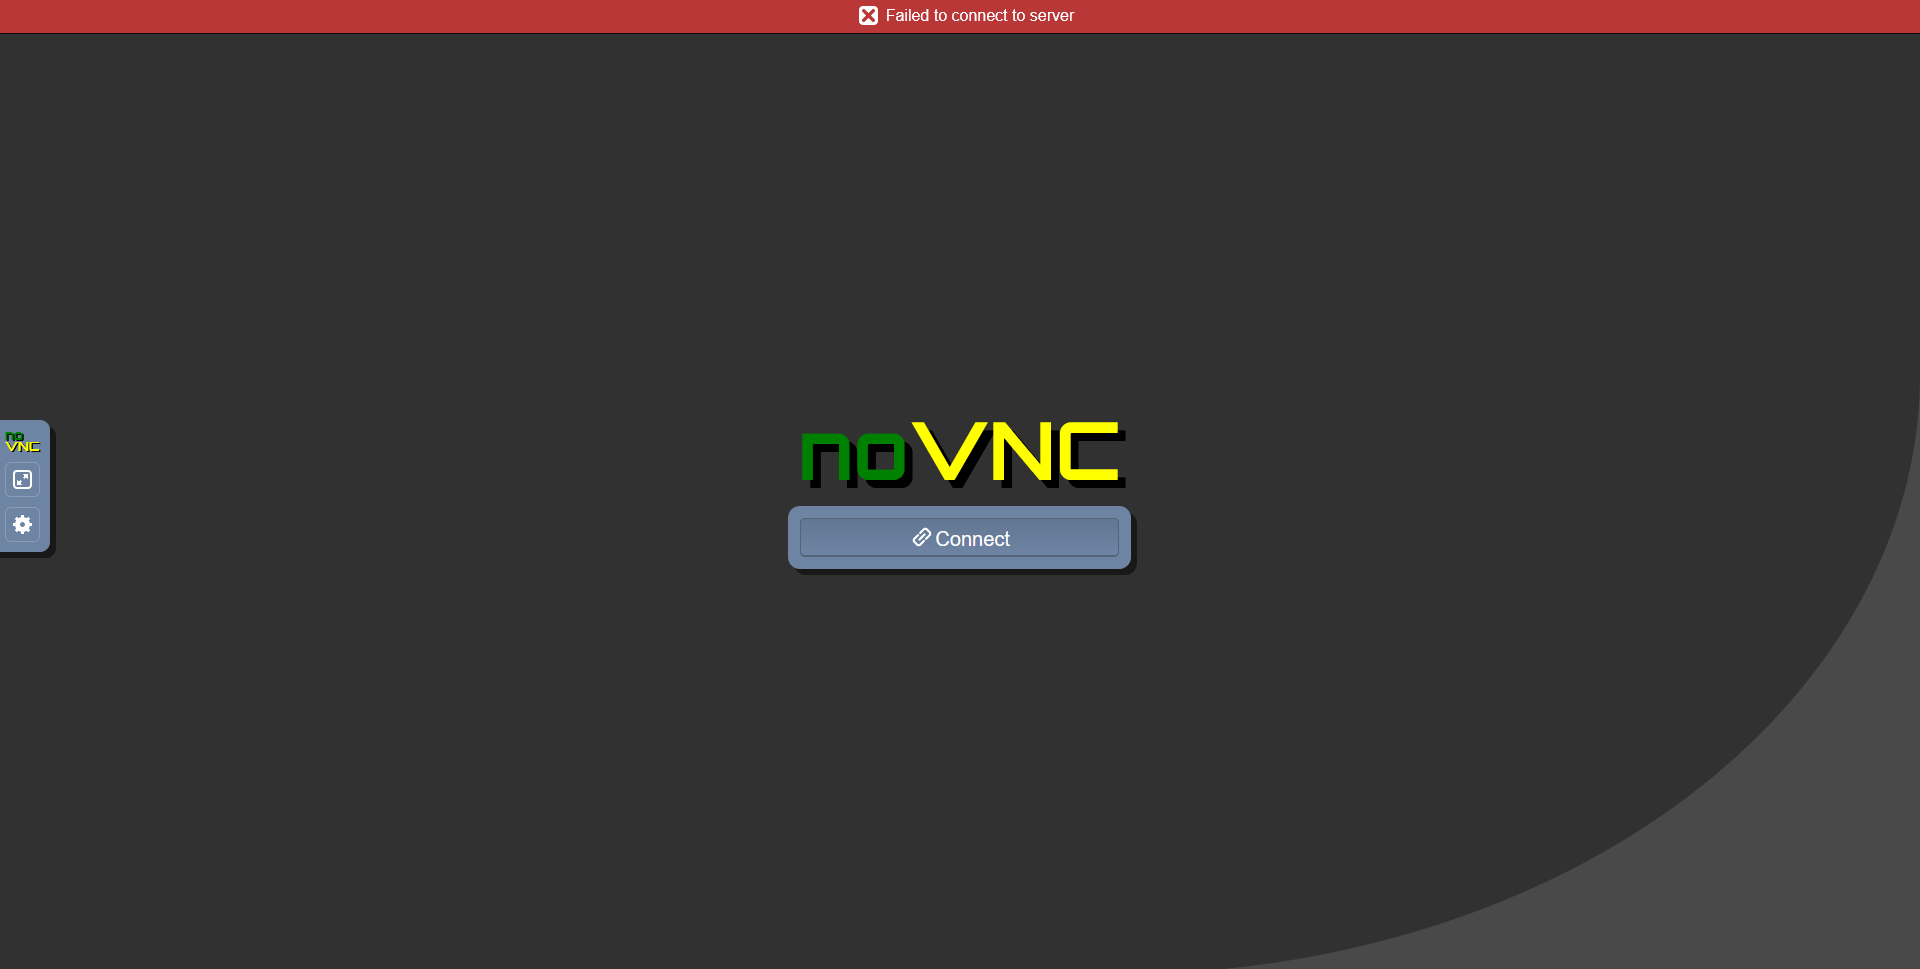
VNC-näkymän tulisi näyttää nyt tältä, paina Connect-nappia, kunnes saat yhteyden palvelimeesi, ja toimi nopeasti seuraavassa vaiheessa.
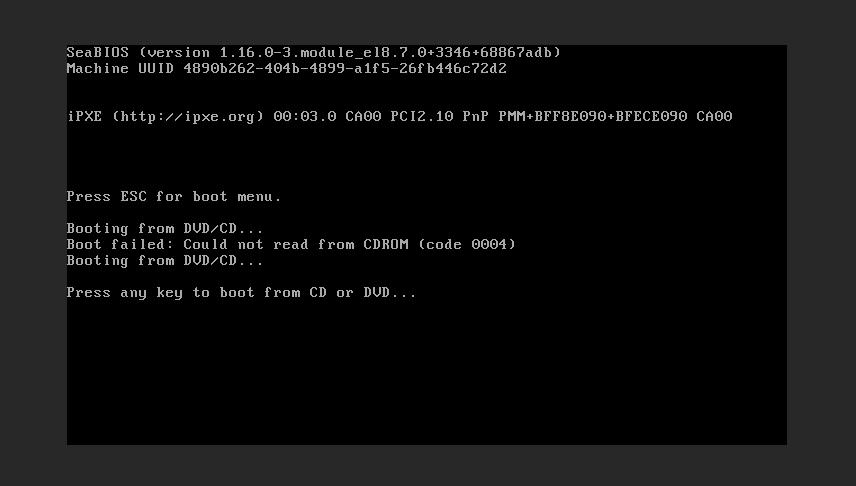
Saadessasi yhteyden, pitäisi aueta vastaavanlainen näkymä. Paina mitä tahansa näppäintä. Jos et näe tätä ruutua, tai et ehdi painamaan näppäintä, tarvitsee sinun käynnistää palvelin uusiksi.
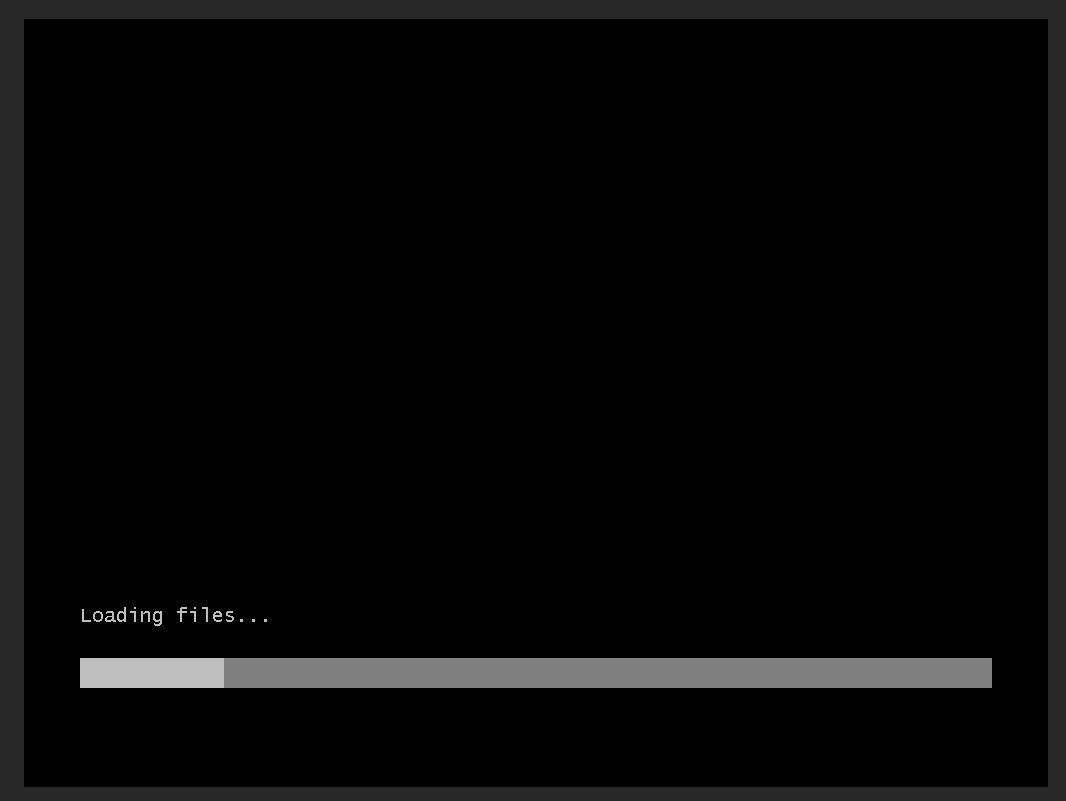
Jos edellinen vaihe onnistui, palvelintietokone lataa seuraavaksi levykuvan tiedot. Tämä voi kestää hieman.
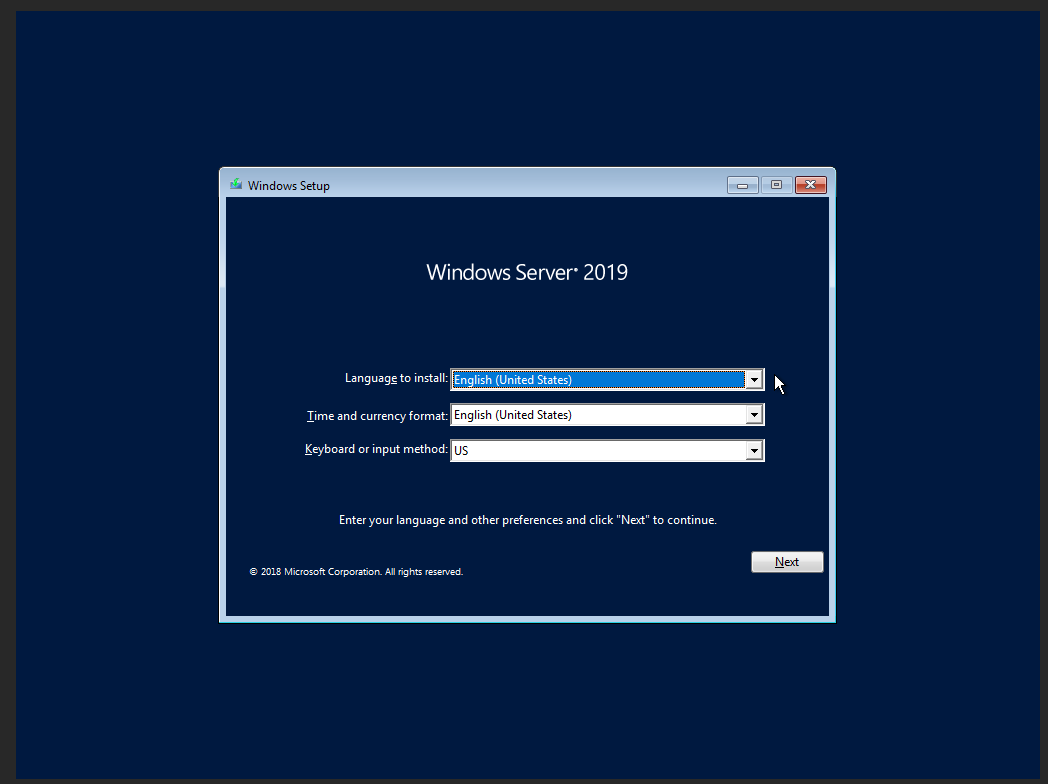
Valitse haluamasi aikavyöhyke ja näppäimistö, ja jatka asennusta.
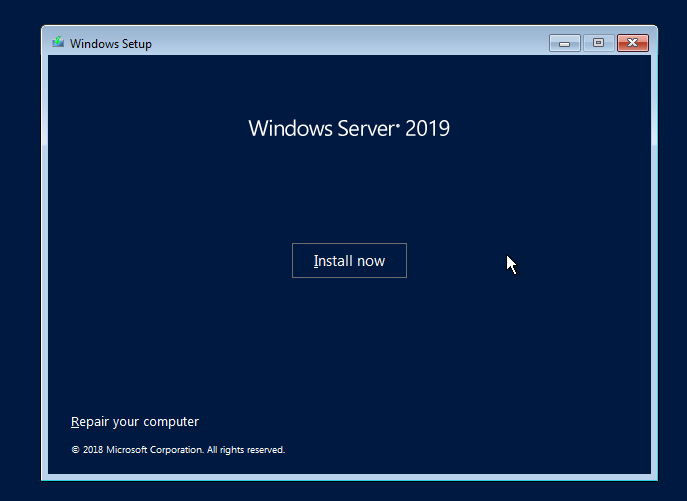
Paina Install now ja jatka eteenpäin.
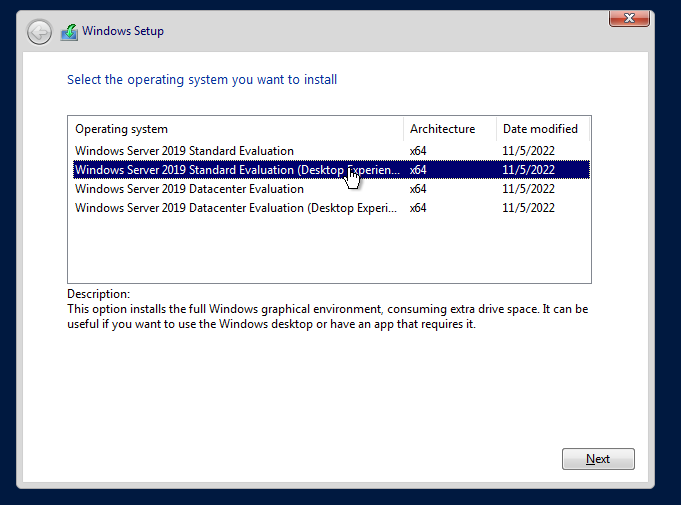
Valitse Windows Server 2019 Standard Evaluation (Desktop Experience). Desktop Experience on pakollinen saadaksesi käyttöjärjestelmälle graafisen käyttöliittymän.
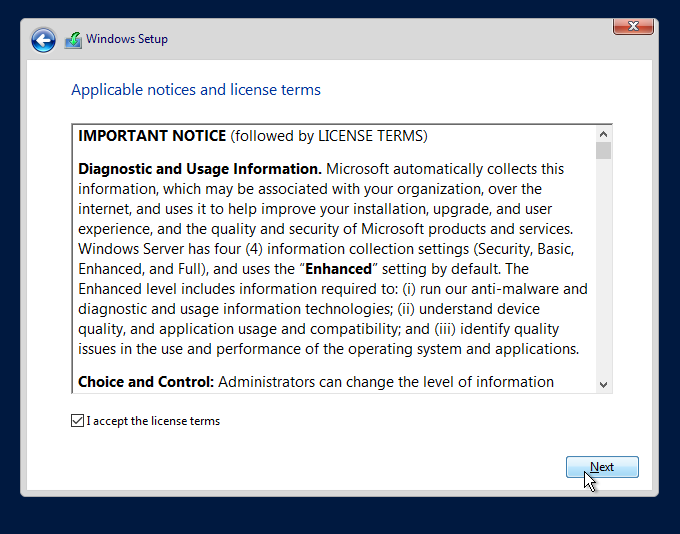
Jatka asennusta.
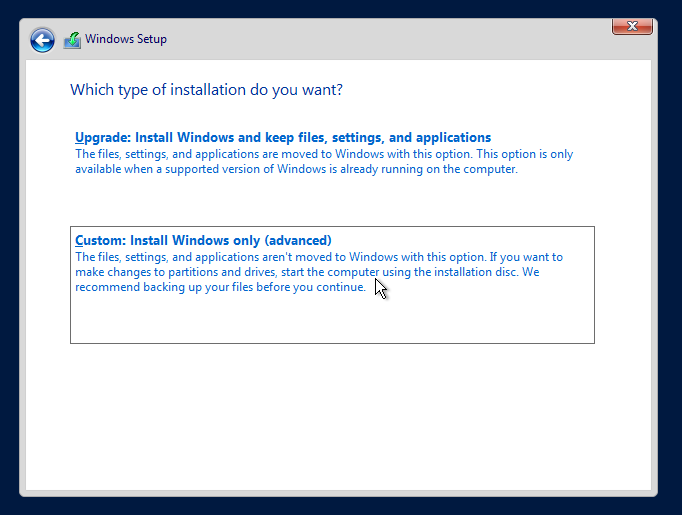
Valitse Custom.
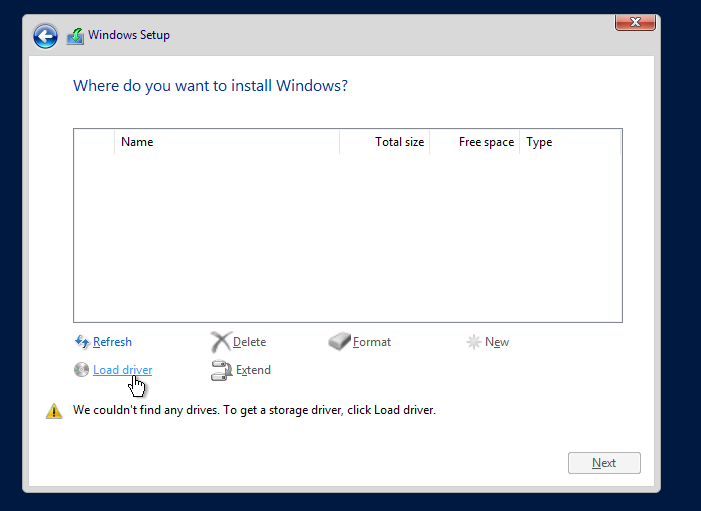
Seuraava näkymä on tyhjä, mutta ei hätää. Jotta levyasema saadaan näkyville tarvitsee ladata ajurit toiselta levykuvalta, mikä valittiin jo alustuksessa, jatka valitsemalla Load driver.
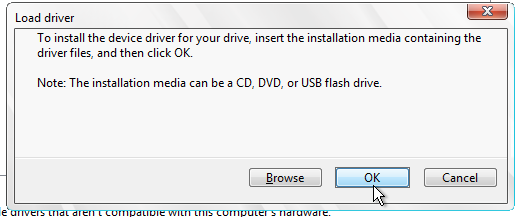
Paina Ok ja jatka eteenpäin.
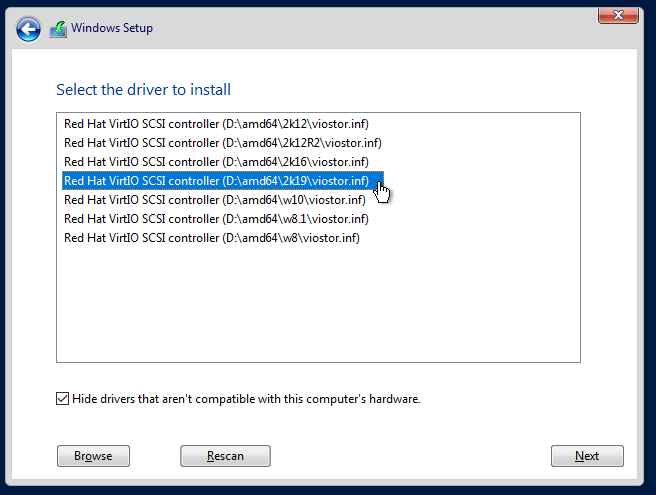
On tärkeää, että valitset oikean vaihtoehdon tässä kohtaa, eli 2k19, koska kyseessä on Windows Server 2019.
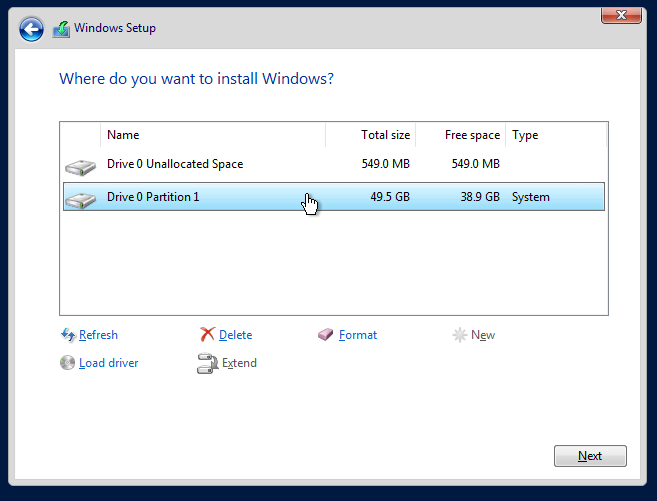
Levy on nyt valittavissa ja käyttöjärjestelmä voidaan asentaa uusiksi. Valitse System-tyypin osio, ja paina Next.
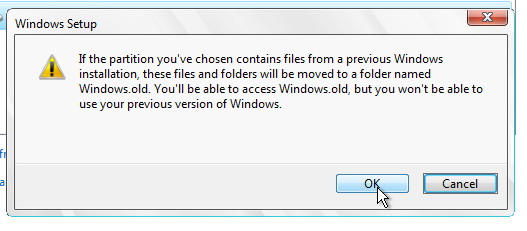
Paina Ok.
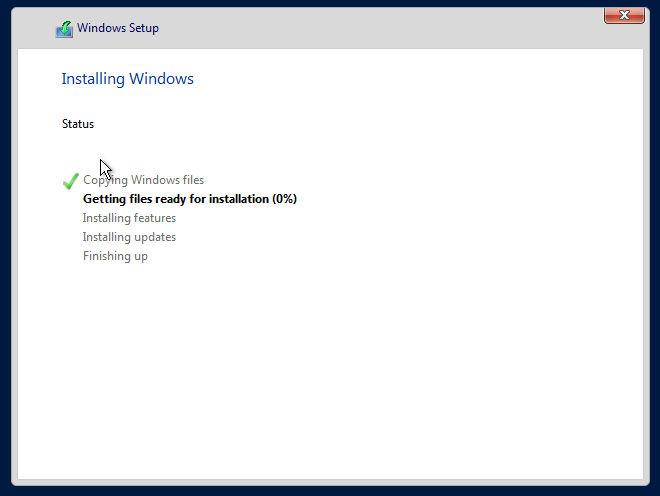
Windows Serverin uudelleenasennus alkaa, tämä vaihe voi viedä hieman aikaa. Lopuksi palvelin käynnistyy uudelleen itsestään.
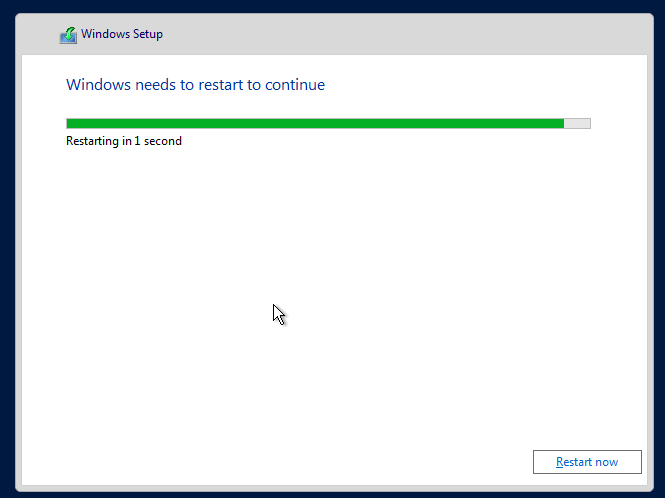
Kone käynnistyy uudestaan muutaman kerran, ja saattaa kysyä valitsemaan asennusmediaa. Älä vielä tee mitään tässä vaiheessa.
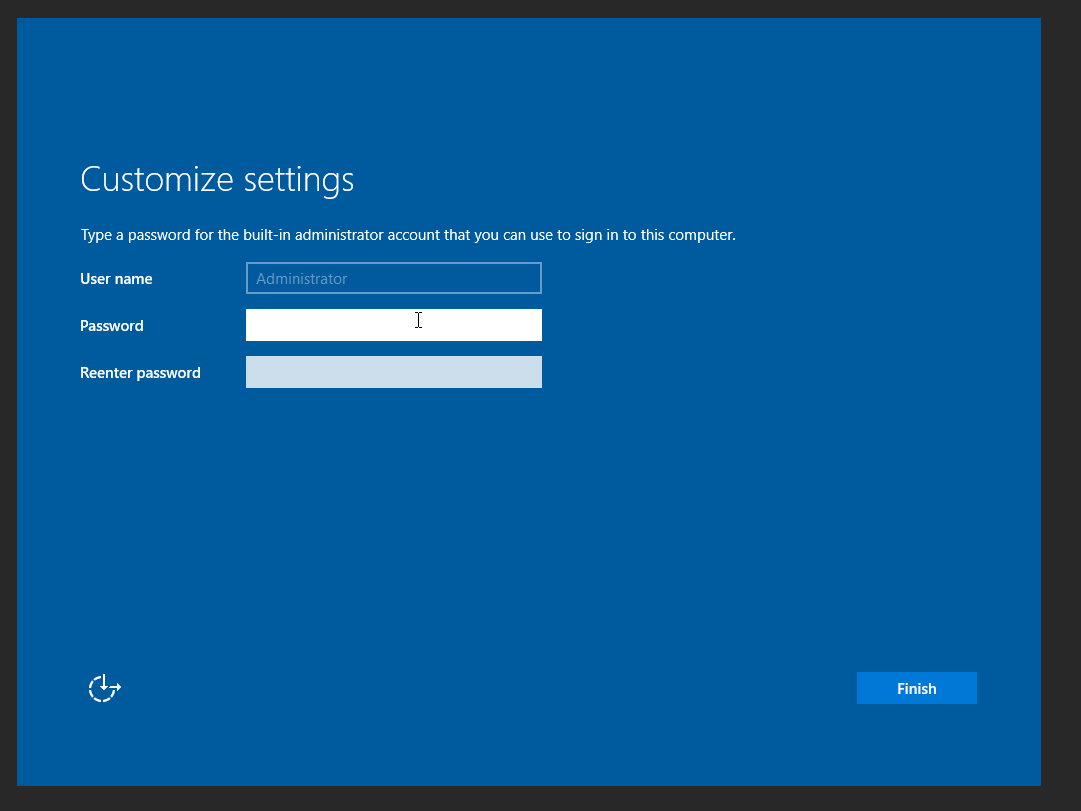
Kun edessäsi on vastaavanlainen näkymä, voit jatkaa asennusta.
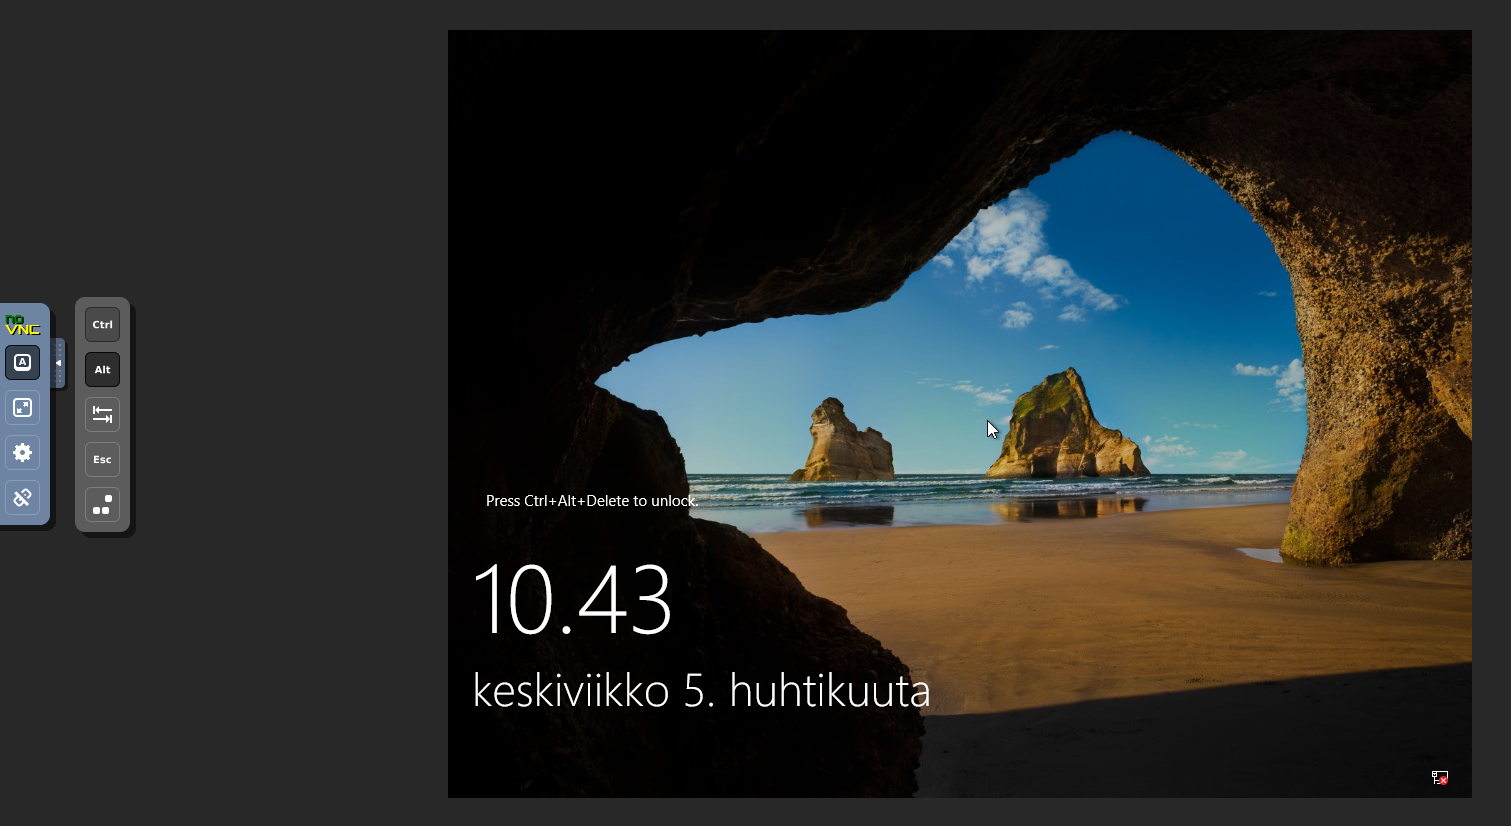
Kirjatumisen yhteydessä, voi olla tarpeen painaa Ctrl+Alt+Del näppäinyhdistelmää. Ota vasemmasta sivuvalikosta auki virtuaalinäppäimet, paina Ctrl ja Alt valituksi ja paina Deleteä omalta näppäimistöltäsi, jotta pääset kirjautumaan sisään.
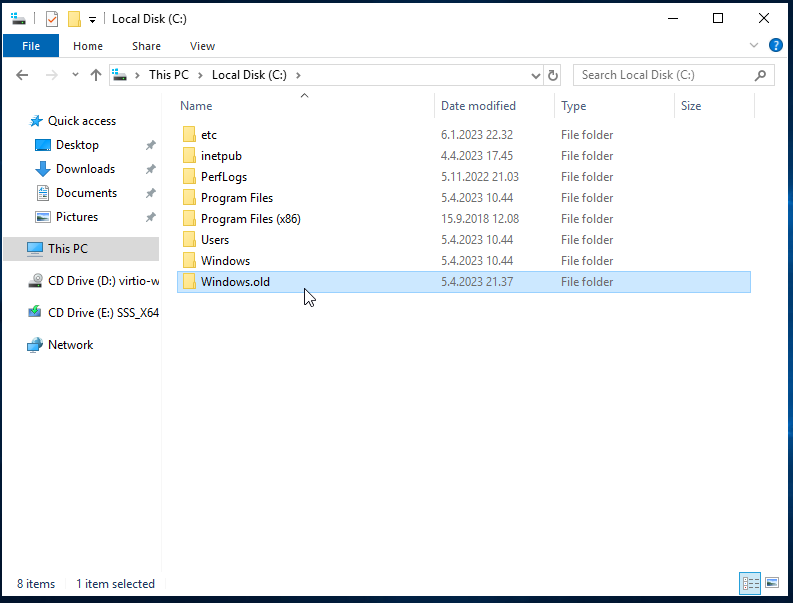
Windows.old kansio pitäisi nyt löytyä C: asemalta, josta pääset käsiksi vanhoihin tietoihin.
Tässä kohtaa palvelimelta uupuu vielä tarpeelliset ajurit normaaliin toimintaan, ne löytyvät levyasemalle liitetyltä levyltä.
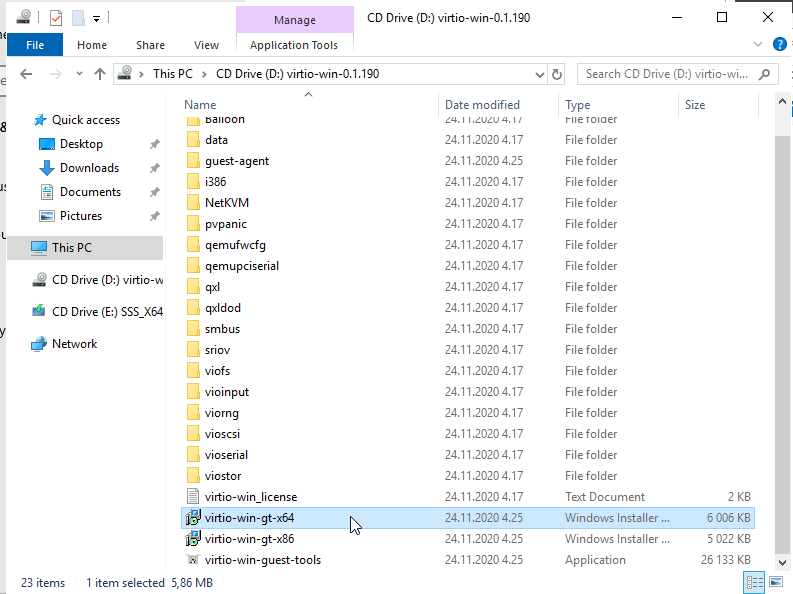
Avaa Virtio-win levy, ja listan pohjalta hae virtio-win-gt-x64 asennustiedosto, ja suorita se.
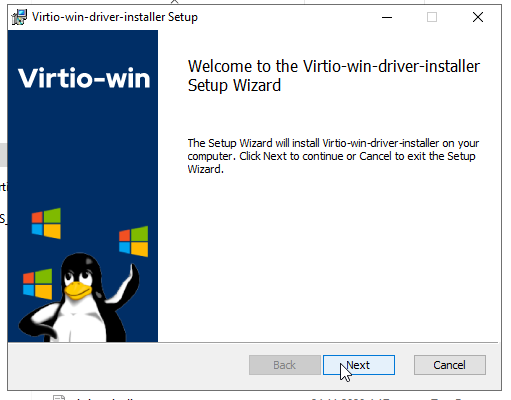
Paina Next, ja jatka asennusta eteenpäin.
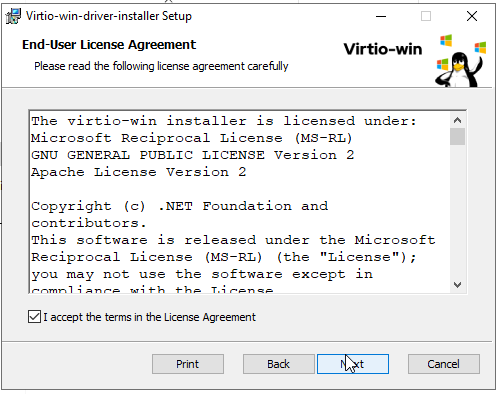
Hyväksy käyttöehdot ja paina Next.
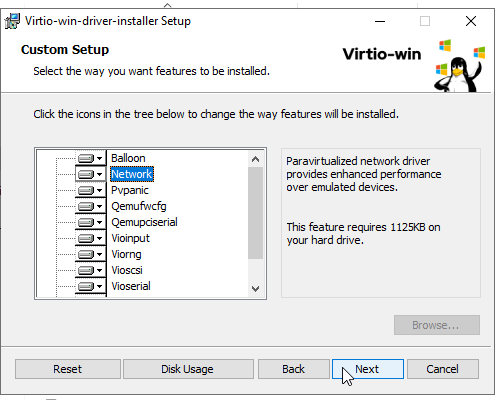
Paina Next.
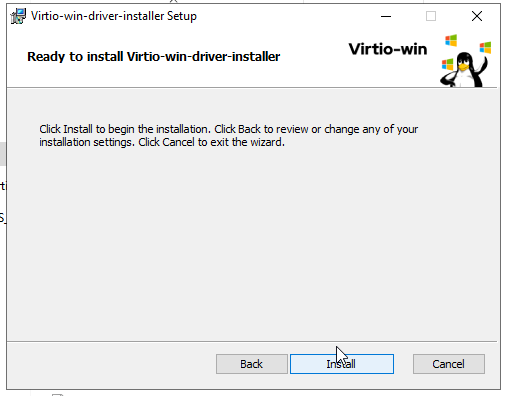
Asenna ajurit.
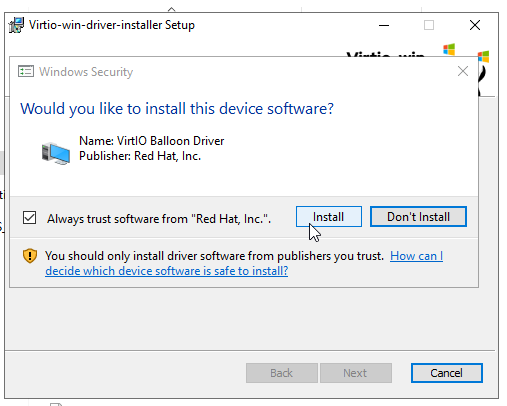
Paina Install tässä kohtaa.
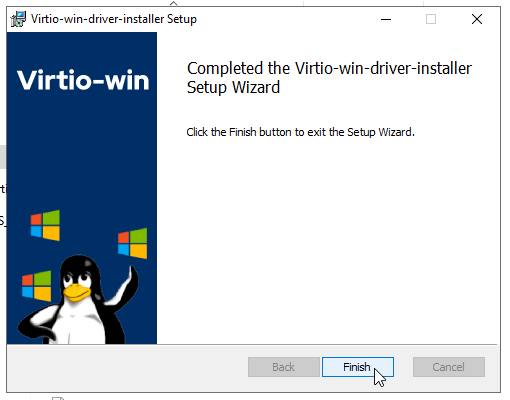
Viimeistele asennus.
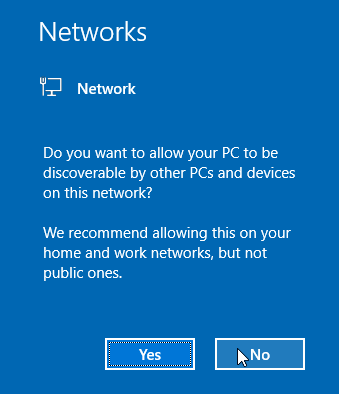
Paina No, jos vastaava ilmoitus ilmestyy.
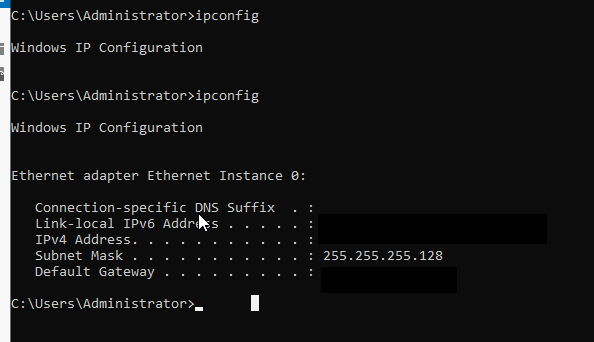
Halutessasi voit tarkistaa komentoriviltä, että verkkokortin ajurit toimivat nyt.
Seuraavaksi laitetaan vielä etäyhteys kuntoon, tämä on valinnainen vaihe. Palvelin on muuten nyt normaalisti käytettävissä ja yhdistänyt internetiin.
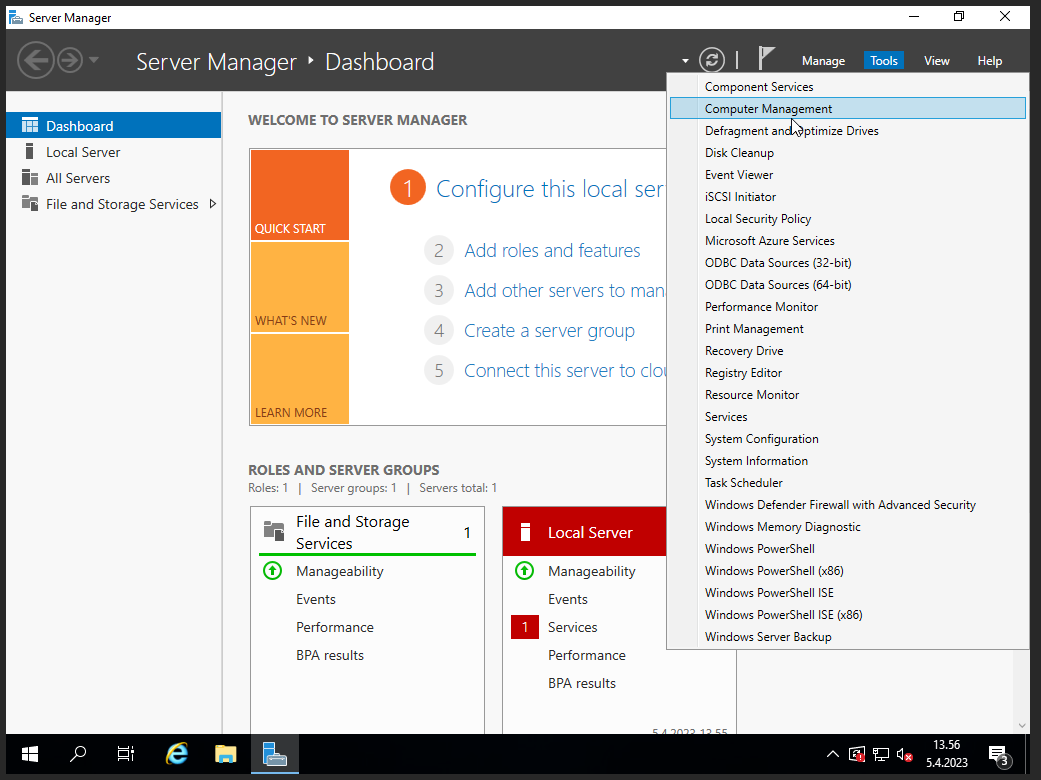
Avaa Server Manager, ja ota Computer Management auki.
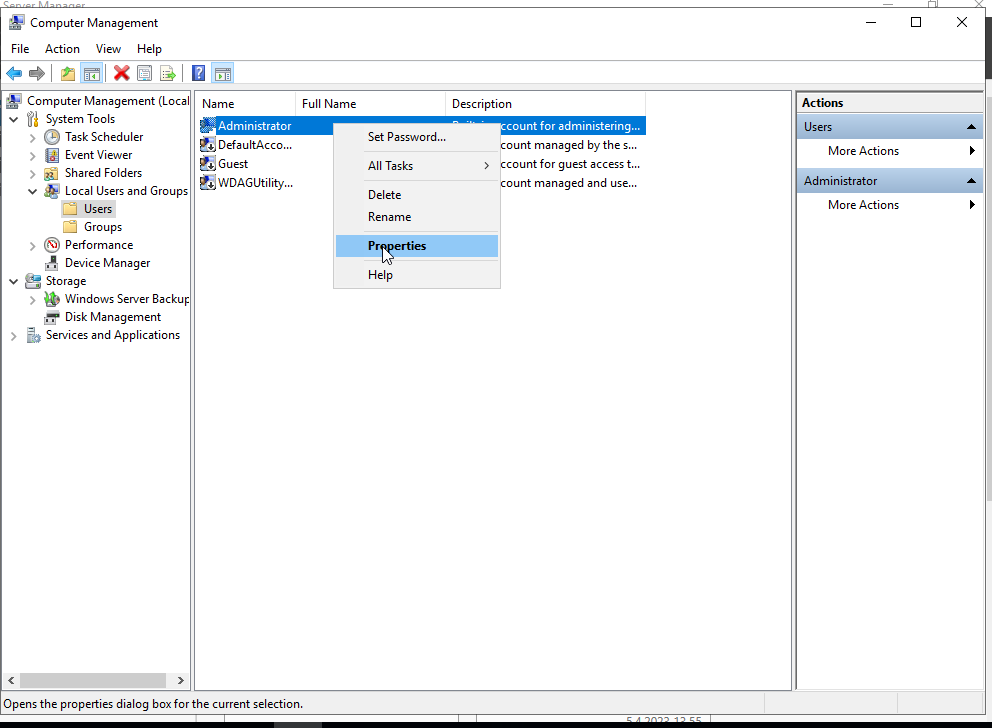
Ota alavalikoista Users auki, ja Administrator-käyttäjän asetukset auki.
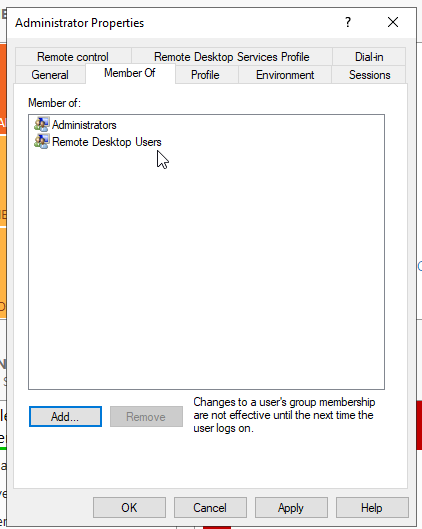
Valitse Member Of välilehti, ja paina Add.
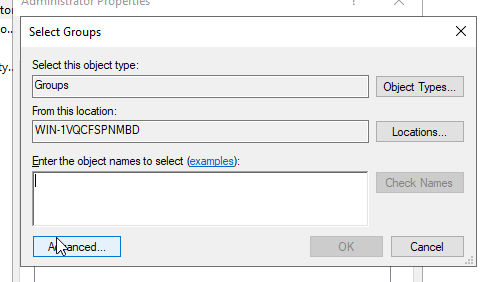
Valitse Advanced.
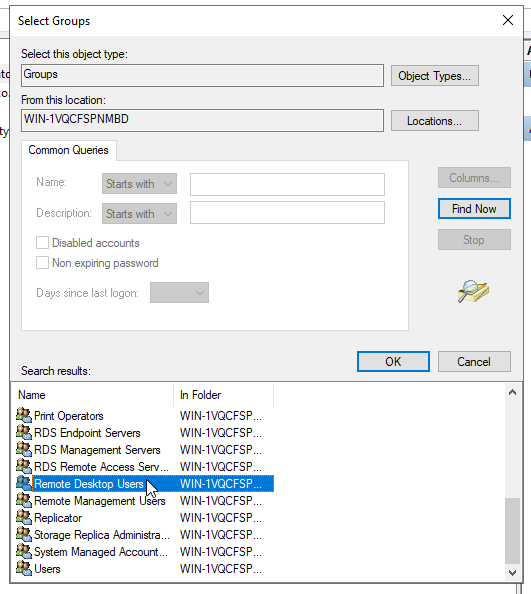
Paina Find Now, ja selaa listan pohjalle, valitse Remote Desktop Users ja paina OK.
Tämän jälkeen pitää vielä Windowsista sallia etäyhteydet.
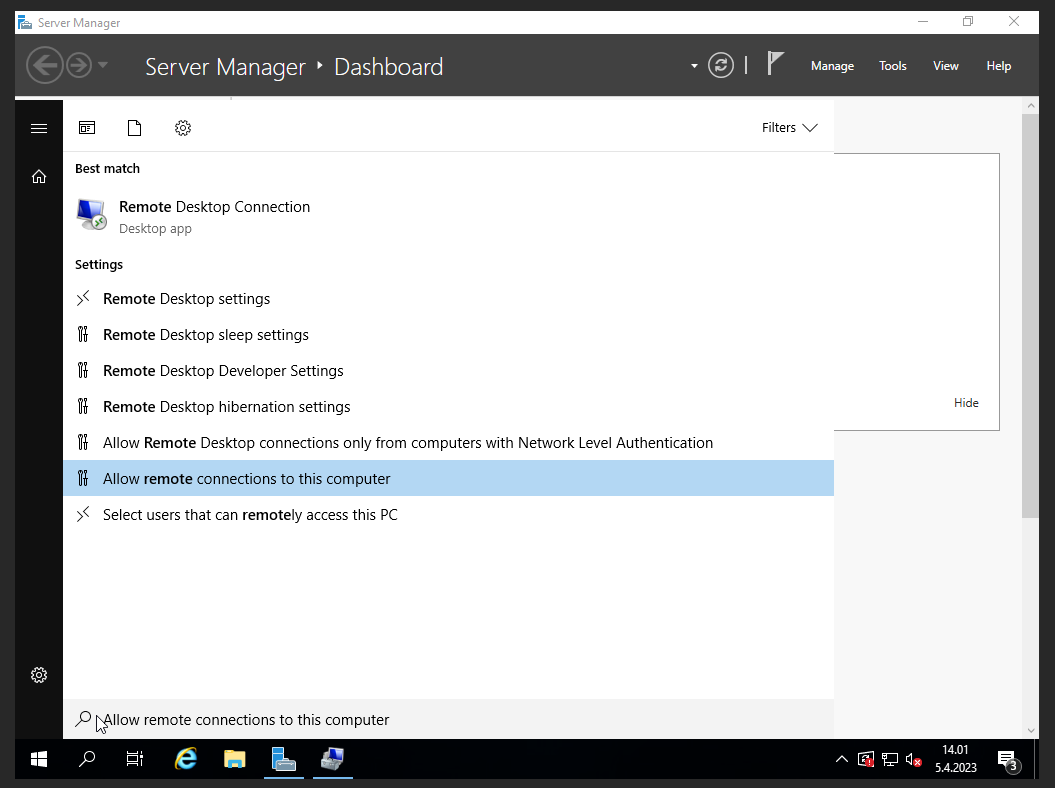
Kirjoita Käynnistä-valikon hakuun remote, ja valitse Allow remote connections to this computer
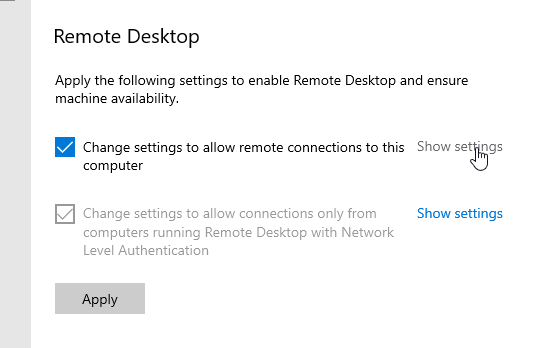
Valitse Show settings.
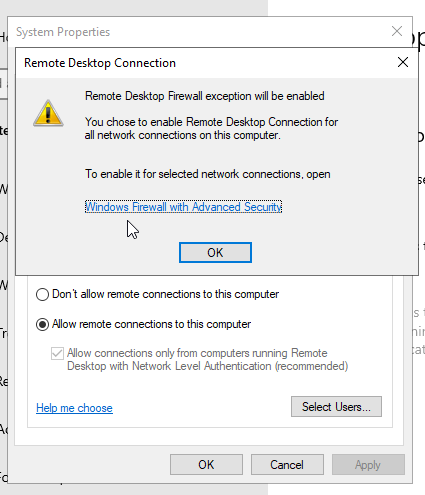
Valitse Allow remote connections to this computer, ikkunan avautuessa paina vain Ok, ja paina Ok uudestaan laittaaksesi asetukset voimaan. Tämän jälkeen pääset yhdistämään palvelimeesi etänä normaaliin tapaan muilla asiakasohjelmilla.


