Tämä opas olettaa, että sinulla on jo Windows Server 2019 valmiiksi asennettuna ja tiedät kuinka yhdistää sinne etäyhteydellä. Jos ei, meiltä löytyy ohjeet erikseen tätä varten.
Yhdistä palvelimellesi käyttäen etätyöpöytäyhteyttä.
Jotta voit asentaa FTP-palvelimen, tarvitsee sinun ensiksi asentaa palvelimellesi ohjelmisto webpalvelinta varten, tässä tapauksessa asennetaan Microsoftin IIS.
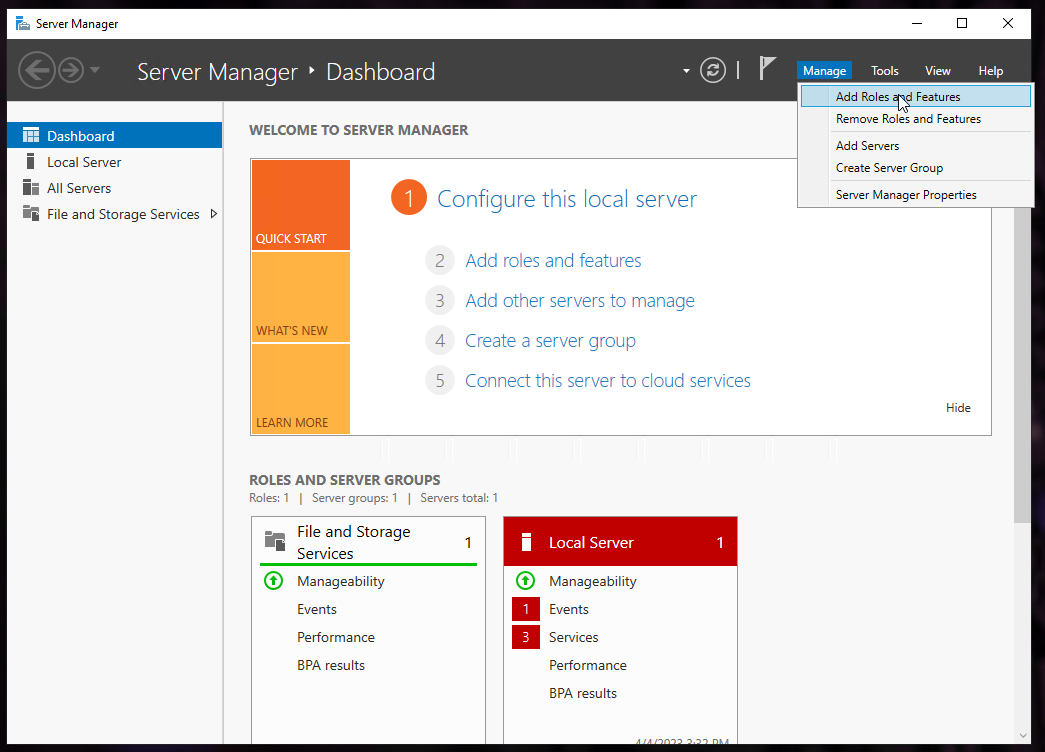
Server Managerista, valitse Add Roles and Features.
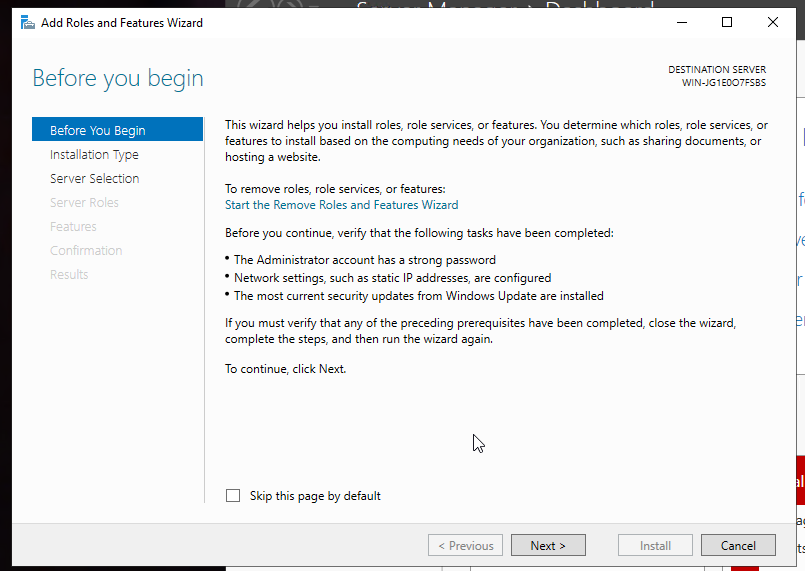
Tässä riittää kun painaa Next.
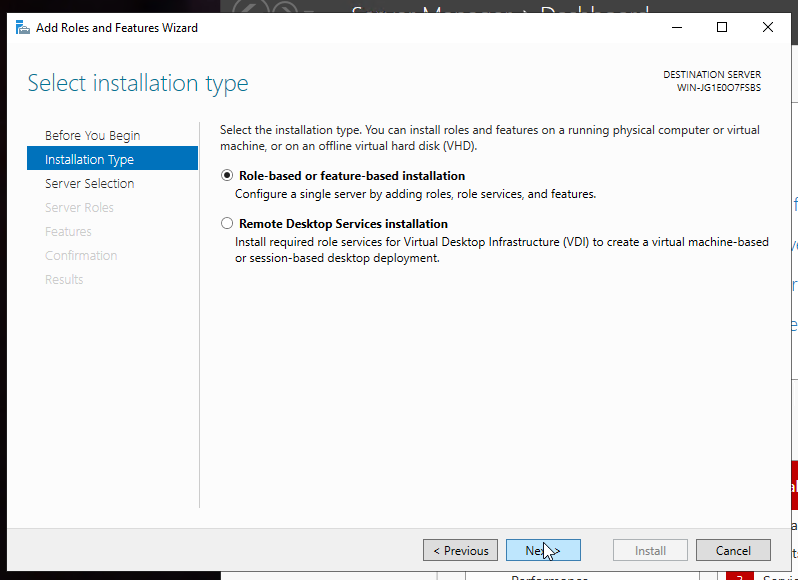
Pidetään Role-based valittuna ja Next.
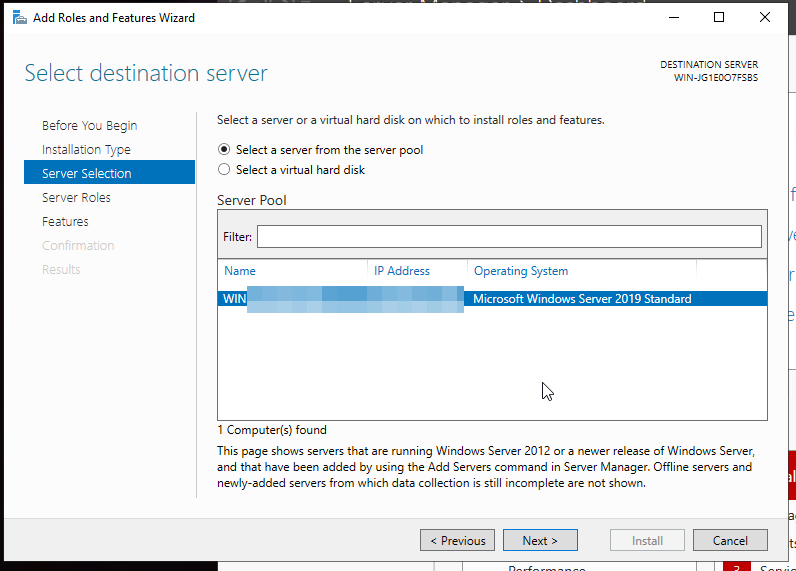
Jatka painamalla Next.
Selaa seuraavassa näkymässä listaa ihan alas asti, ja valitse Web Server (IIS).
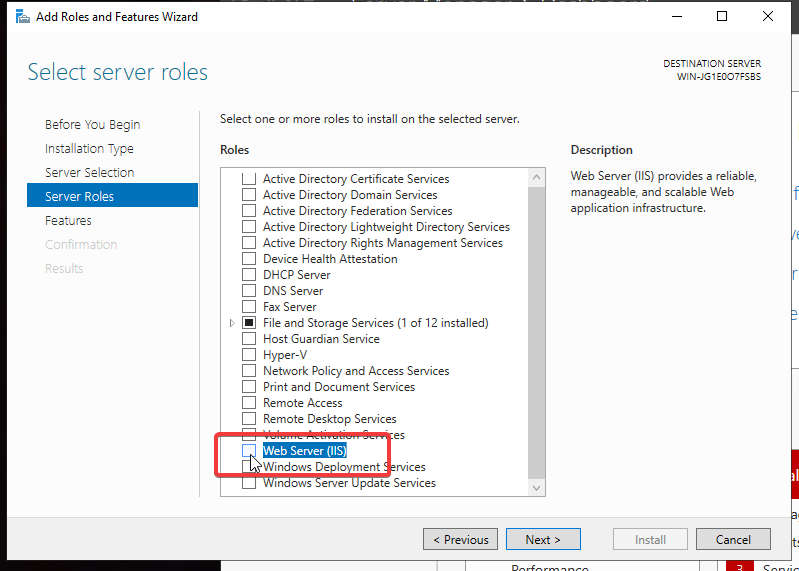
Lisätään management tools ja jatketaan asennusta.
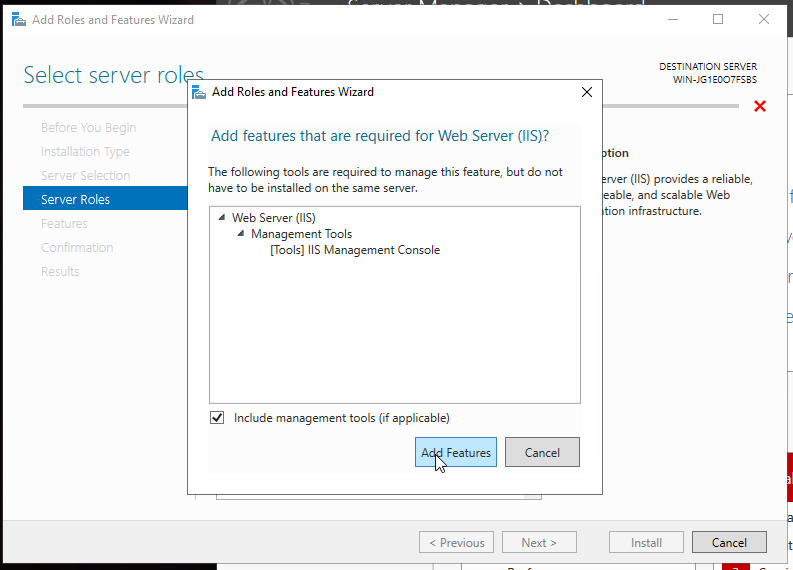
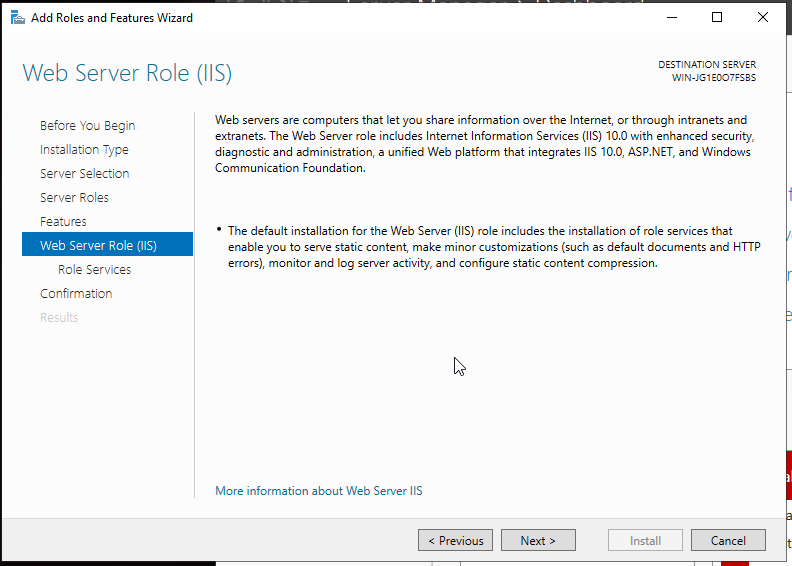
Jatka painamalla Next.
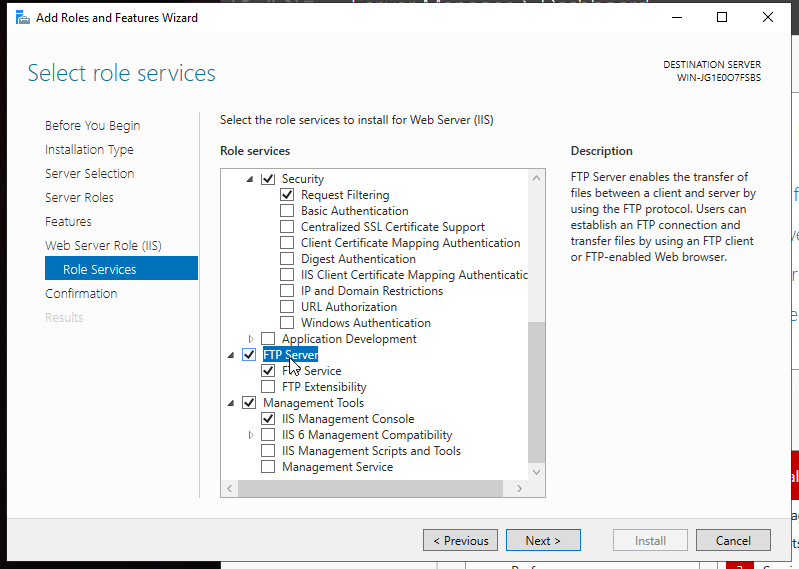
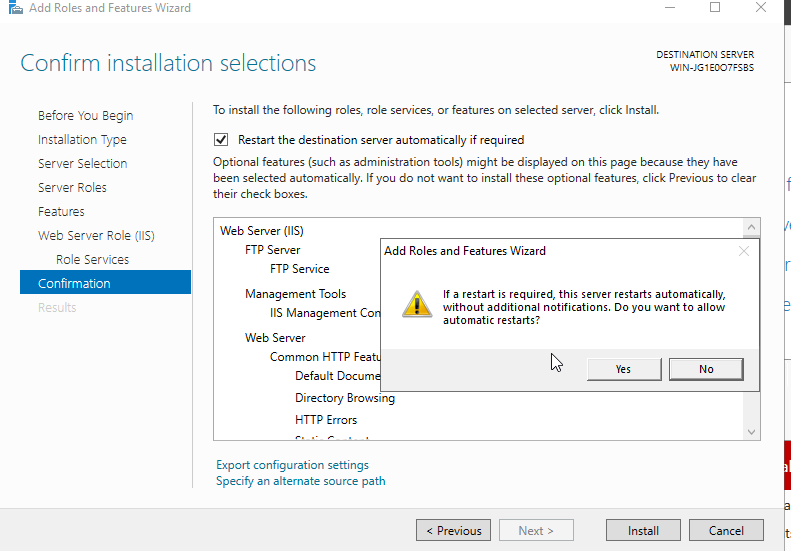
IISin konfiguroinnissa muista valita FTP Server. FTP Extensibility ei ole pakollinen tässä käyttötarkoituksessa.
Tulee huomautus, jos "Restart..." on valittuna, tämä ei haittaa. IIS:n asennuksen ei pitäisi kuitenkaan tarvita käynnistää palvelinta uudestaan.
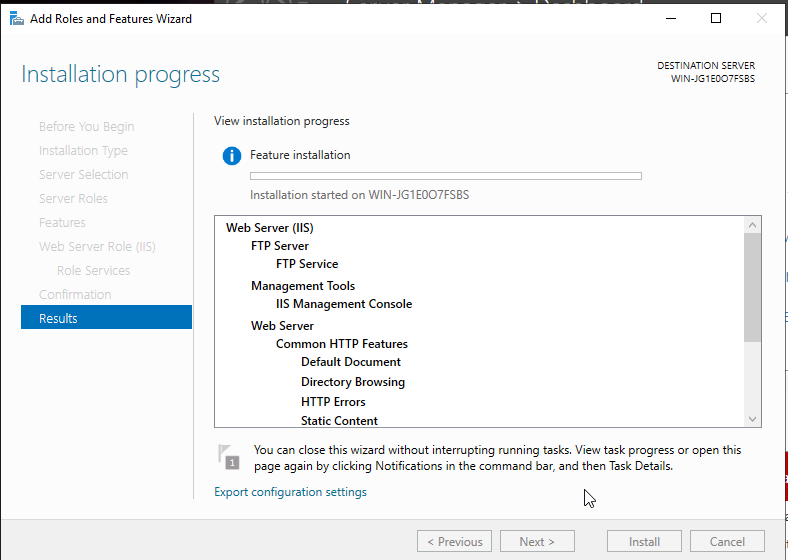
IIS asentuu nyt, tämä voi viedä hetken.
Seuraavaksi luodaan palvelimelle uusi käyttäjä (huom. tämä kohta ei ole pakollinen)
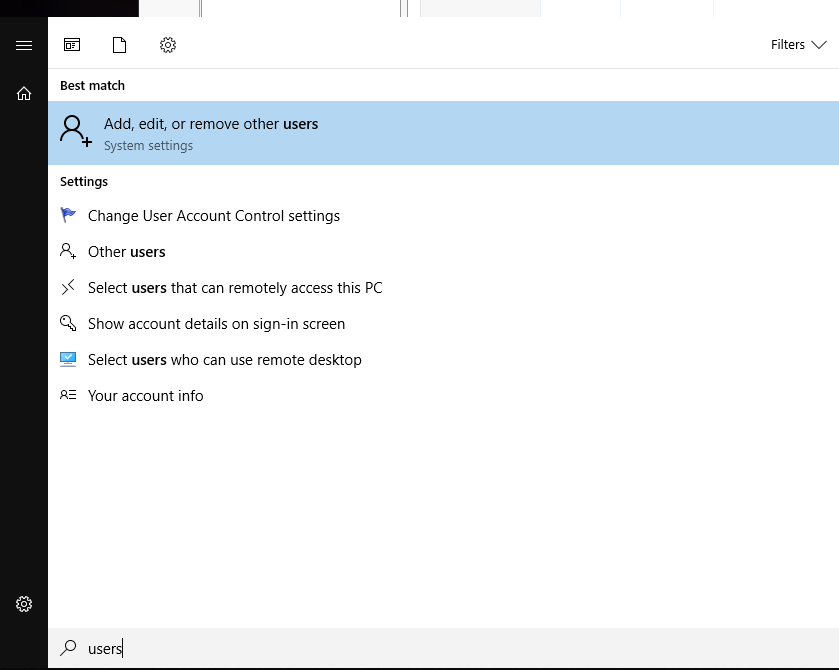
Kirjoittamalla users hakusana käynnistä-valikkoon, valitse Add, edit, or remove other users.
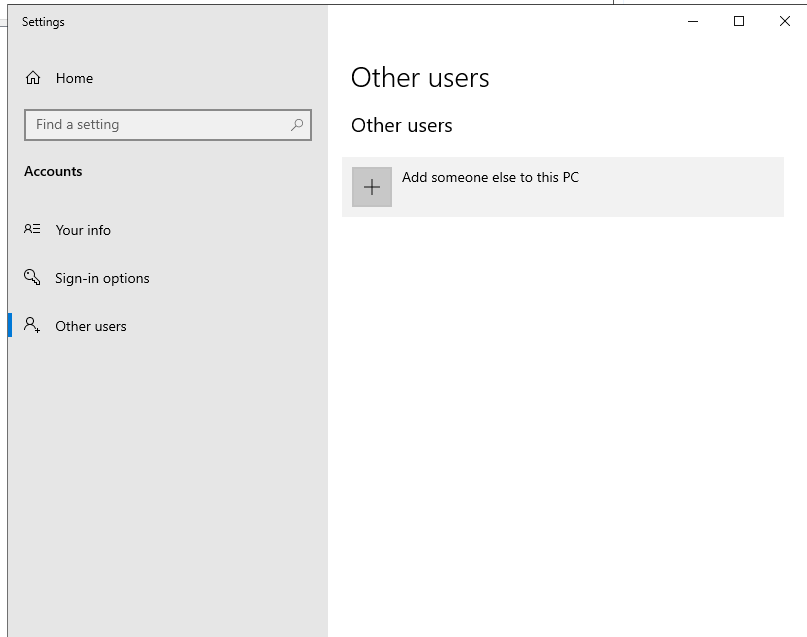
Paina "add someone else to this PC".
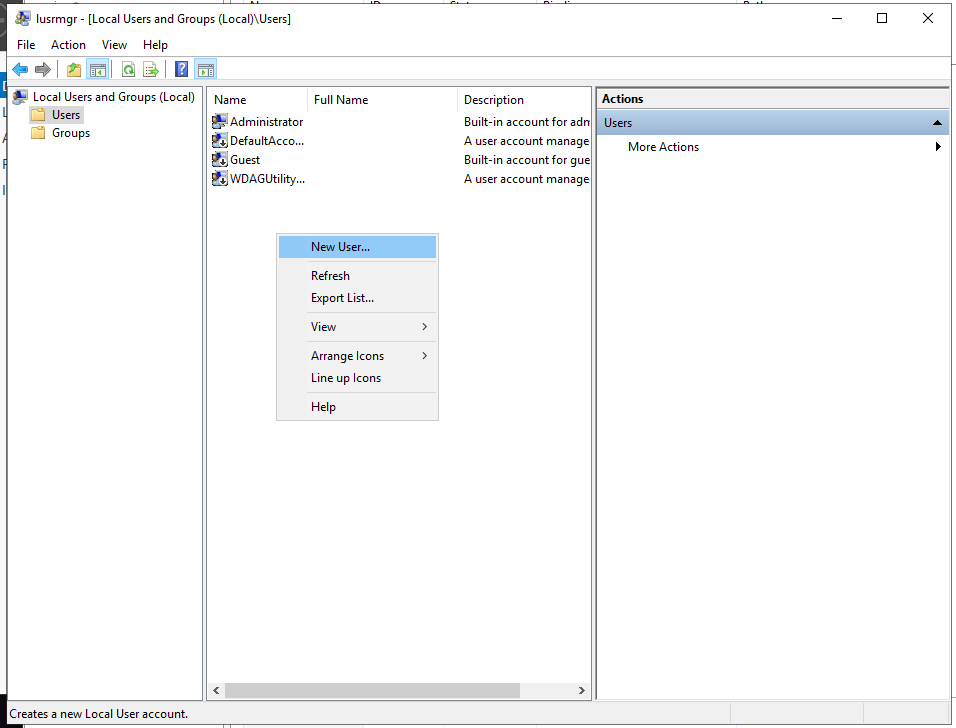
Vasemmalta valikosta valitse "Users", jonka jälkeen alla olevan kuvan mukaisesti klikkaat hiiren oikealla painikkeella ja valitset "New User".
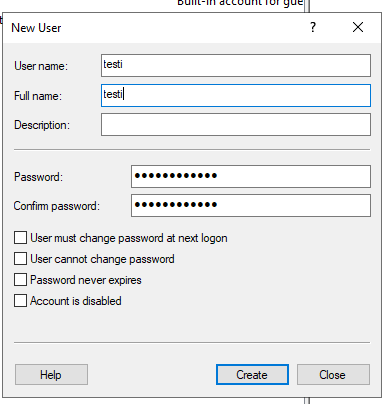
Täytä haluamasi käyttäjätunnus (User name), koko nimi (Full name) sekä salasana (Password). Lopuksi paina "Create".
Muista vahva salasana!
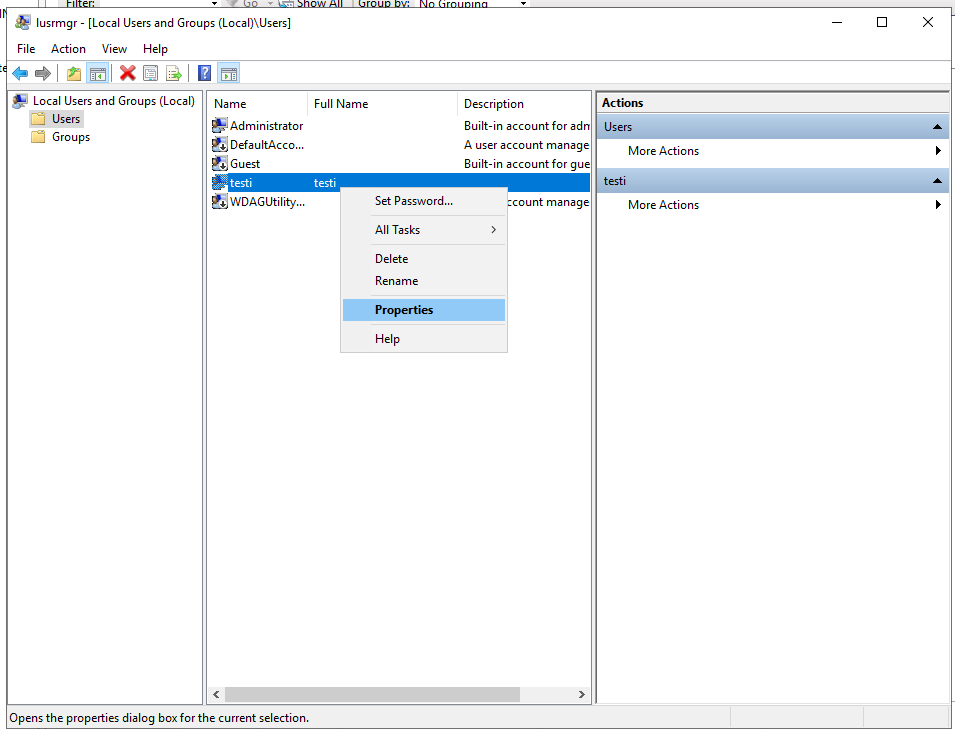
Seuraavaksi annetaan käyttäjälle käyttöoikeus etäyhteyteen.
Avataan Properties. (käyttäjän ominaisuudet)
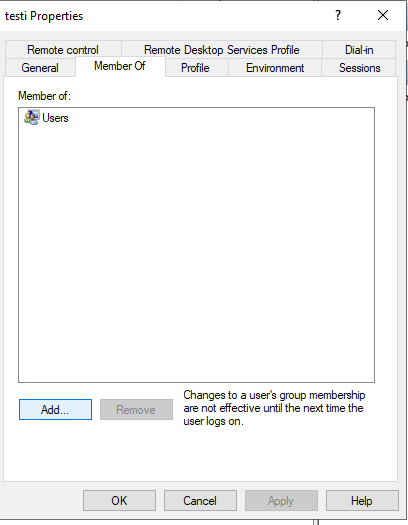
Avataan Member Of välilehti ja valitaan Add.
Tässä näkymässä, paina Advanced.
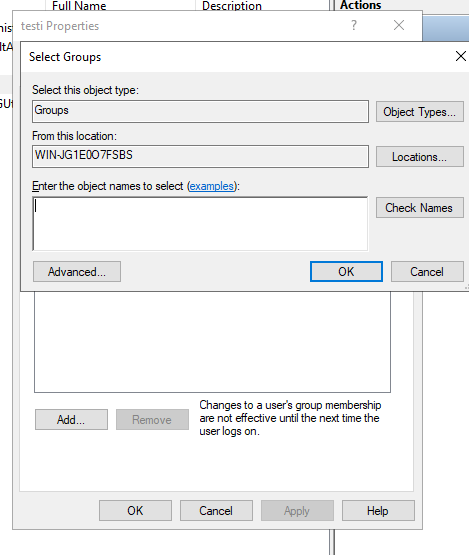
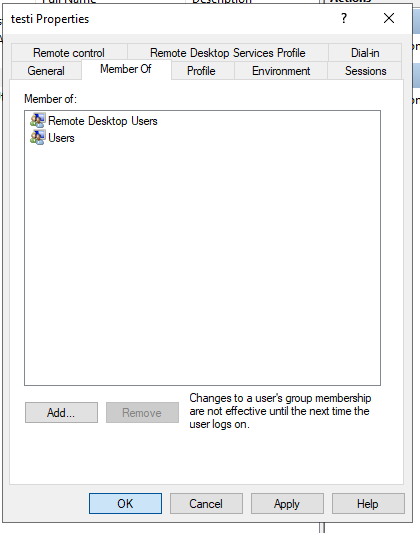
Lisätään käyttäjä Remote Desktop Users ryhmään.
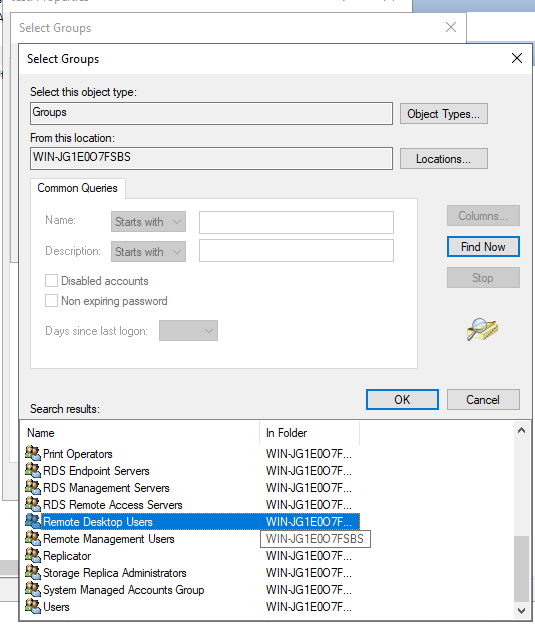
Näkymän pitäisi olla seuraavaksi tällainen.
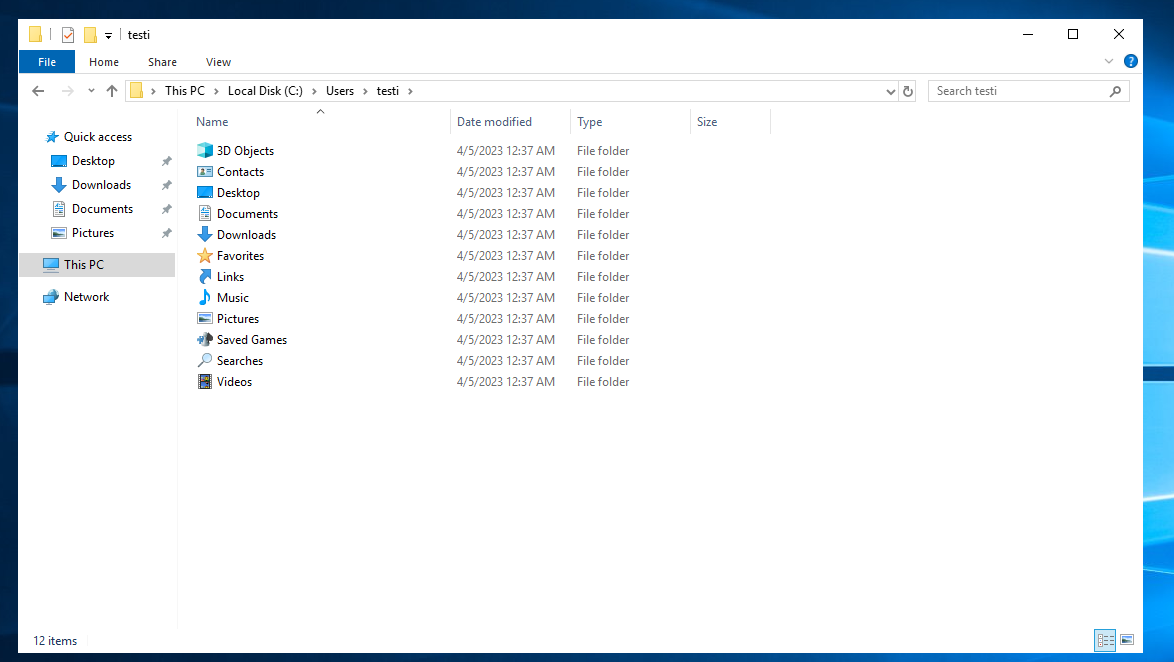
Kirjaudu ulos administrator-tililtä ja kirjaudu sisään juuri luomallasi käyttäjällä. Tällöin Windows luo kotikansiot uudelle käyttäjälle.
Kirjaudu takaisin administrator-tilille.
FTP-yhteys ohjataan seuraavaksi käyttäjän kotikansioon, tässä tapauksessa "testi".
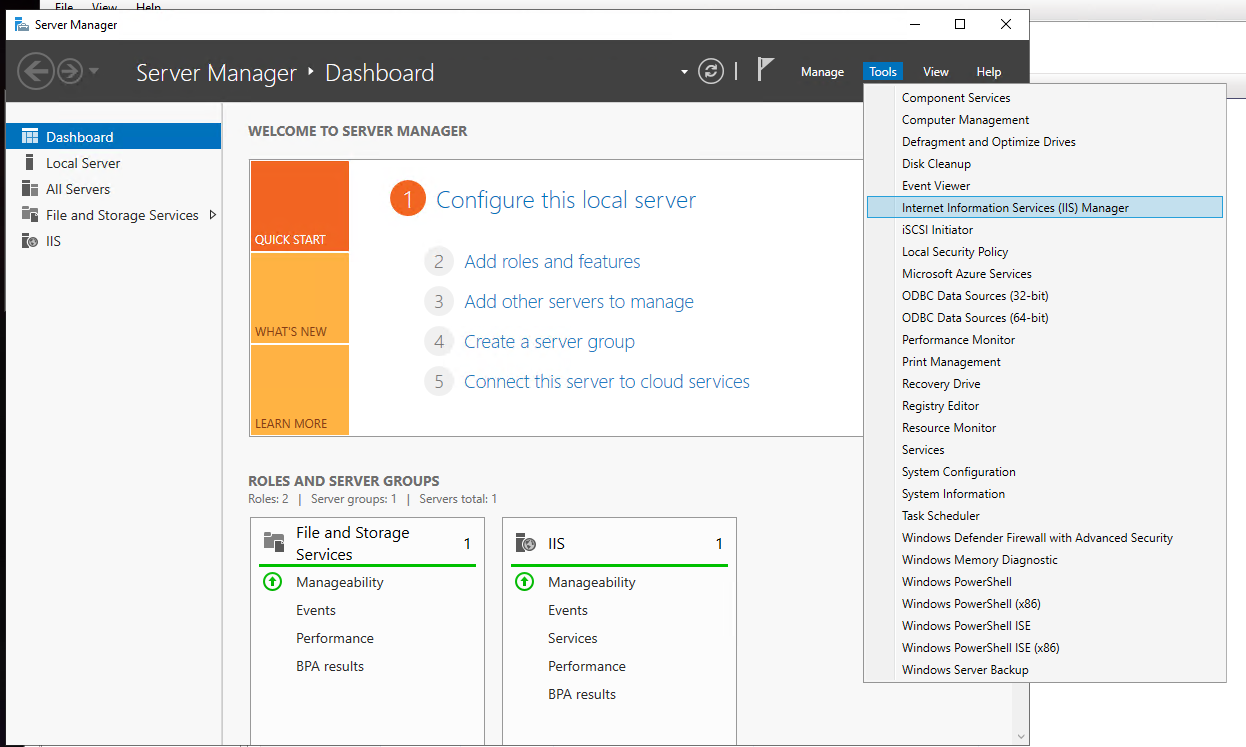
Jatketaan avaamalla IIS-hallintapaneeli.
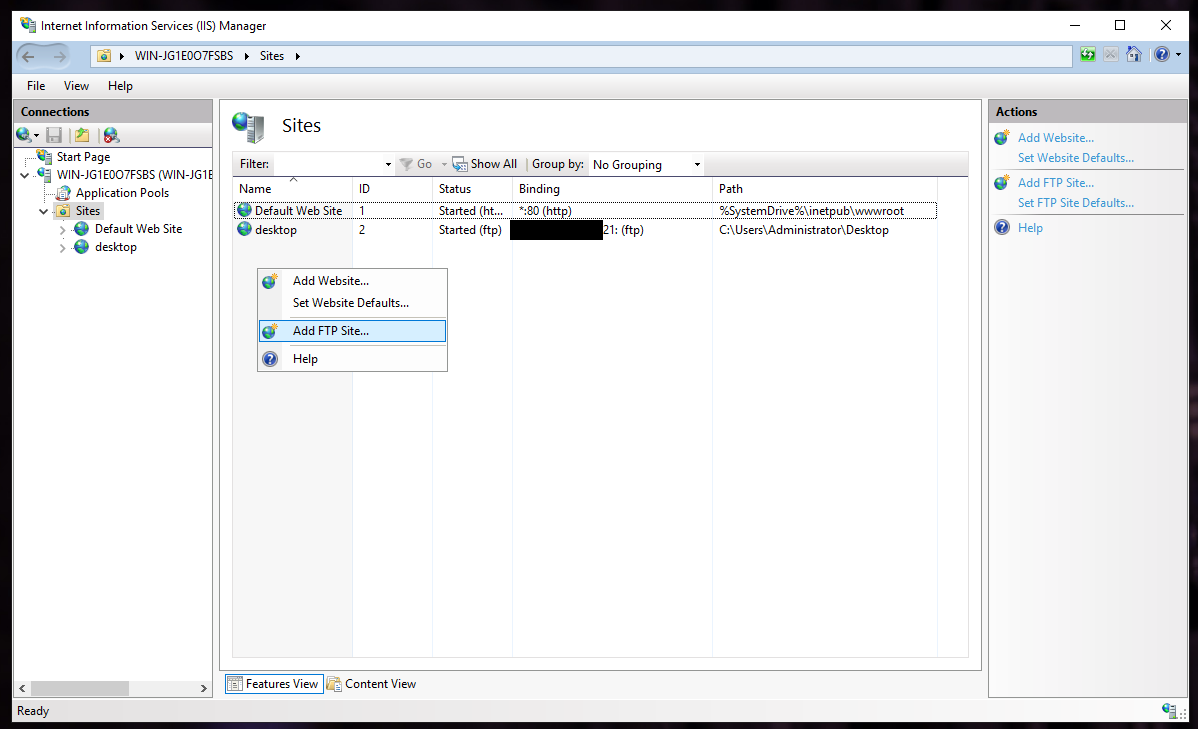
Avaa vasemmasta laidasta alavalikkoja, jotta pääset vastaavaan näkymään siten, että Sites-kategoria on valittuna. Klikkaa hiiren oikealla painikkeella tai valitse oikeasta valikosta Add FTP Site.
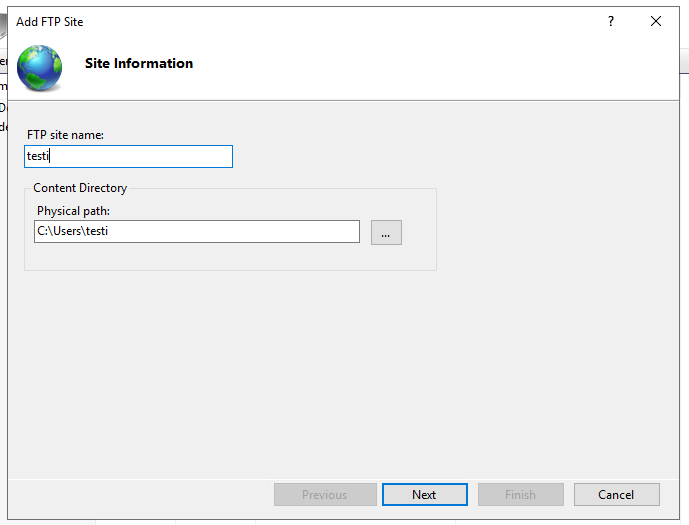
Määritetään uusi nimi (tämä on vain kuvaava nimi listanäkymässä) ja kansiopolku käyttäjälle.
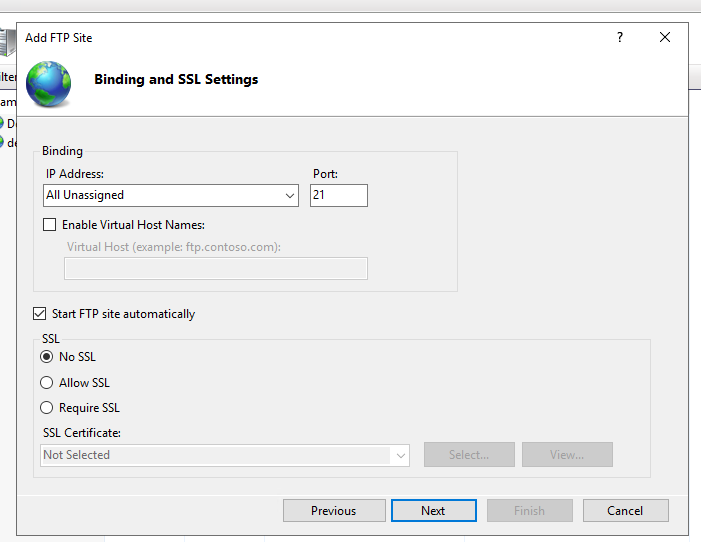
Valitse IP Address valikosta palvelimen IP-osoite, portti on 21. Tässä esimerkissä ei käytetä SSL:ää, joten ei valita sitä.
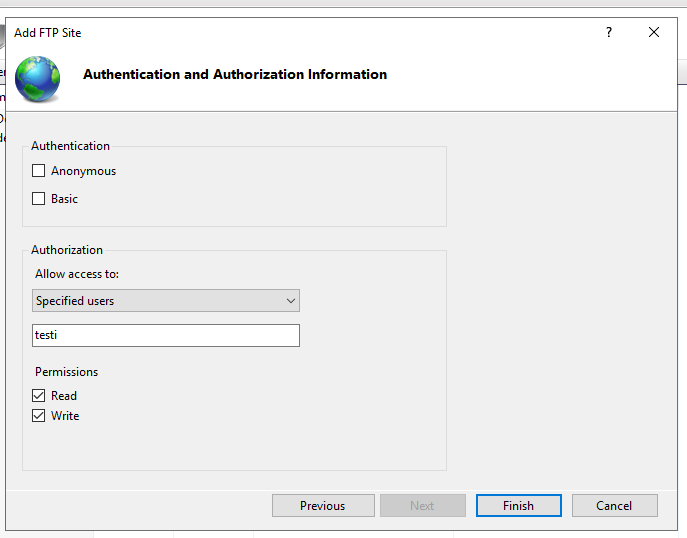
Laitetaan valintaruksit Authenticationissa molempiin kenttiin (huom. kuvassa ei ole valittuna!), Authorization kohdassa valitaan specified users johon laitetaan aiemmin luotu käyttäjätunnus, ja annetaan sille Read/Write käyttöoikeudet.
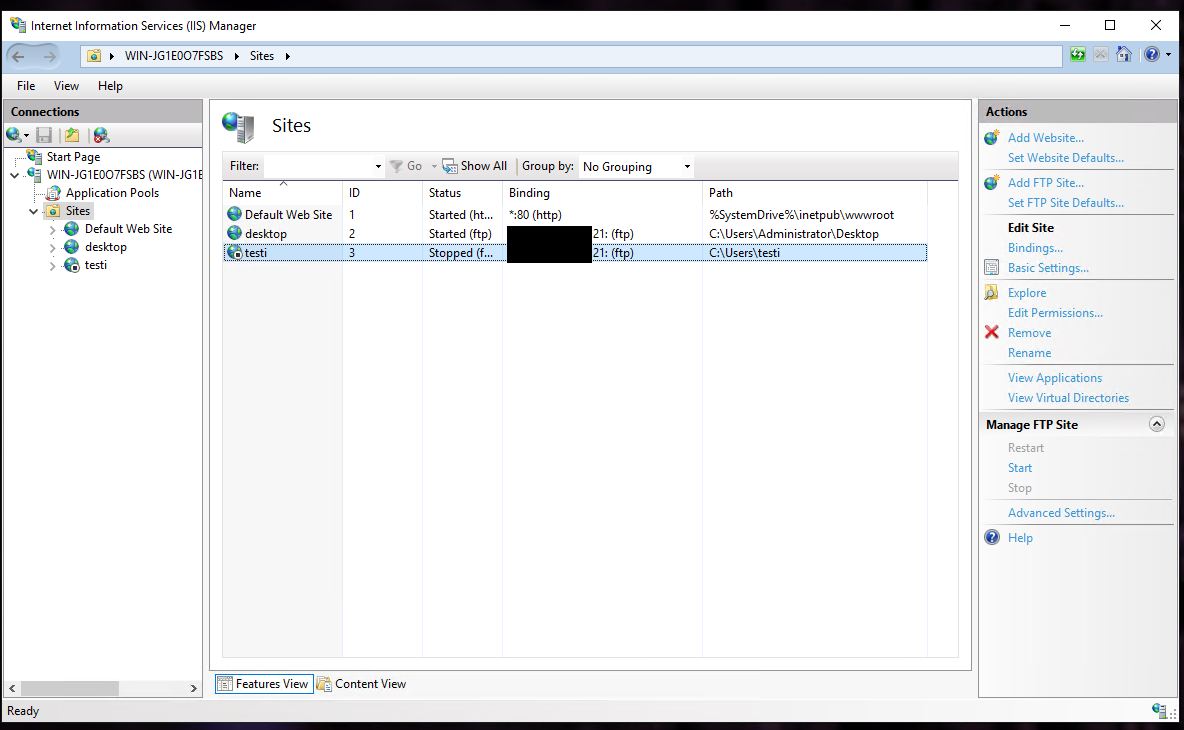
Jos palvelimen Status-kohdassa lukee Started, hyvä! Muuten käynnistä FTP-palvelin oikealta, painamalla Start.
Seuraavaksi tarvitset FTP-asiakasohjelman omalle koneellesi (esim. WinSCP tai FileZilla).
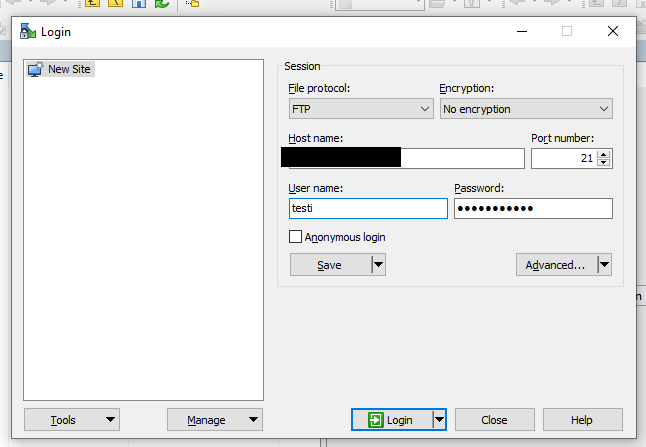
Pääset kirjautumaan tiedostopalvelimelle käyttämällä aiemmin luomaasi tunnusta. Host name -kenttään tulee palvelimesi IP-osoite (vaihtoehtoisesti myös domain). Tarkista, että portti on 21.
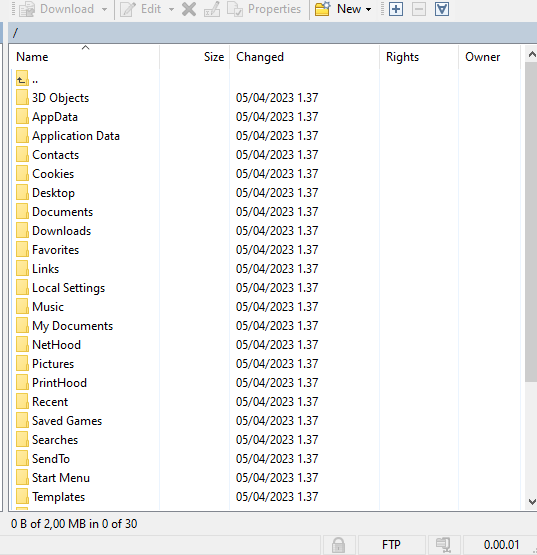
Jos kaikki toimii, sinulla tulisi nyt näkyä palvelimellasi olevat kansiot ja tiedostot.
Voi myös olla, että palomuuri saattaa estää yhteyden, jos näin on, kannattaa tarkistaa asetukset. IIS lähtökohtaisesti määrittää nämä automaattisesti asennuksen yhteydessä ja avaa asiaankuuluvat portit.


