


This guide shows how to transfer a static HTML website created with Adobe Dreamweaver to cPanel.
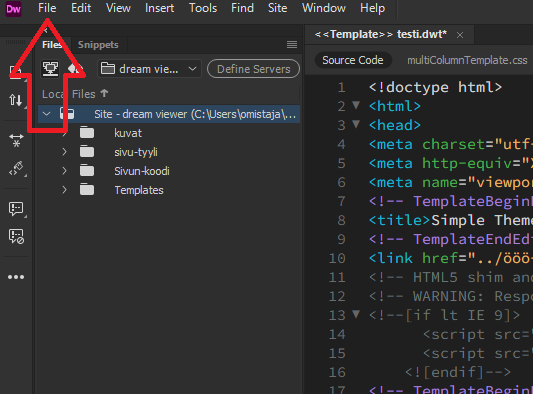
1. Open Adobe Dreamweaver and load your project. Once the project is open, click "File".
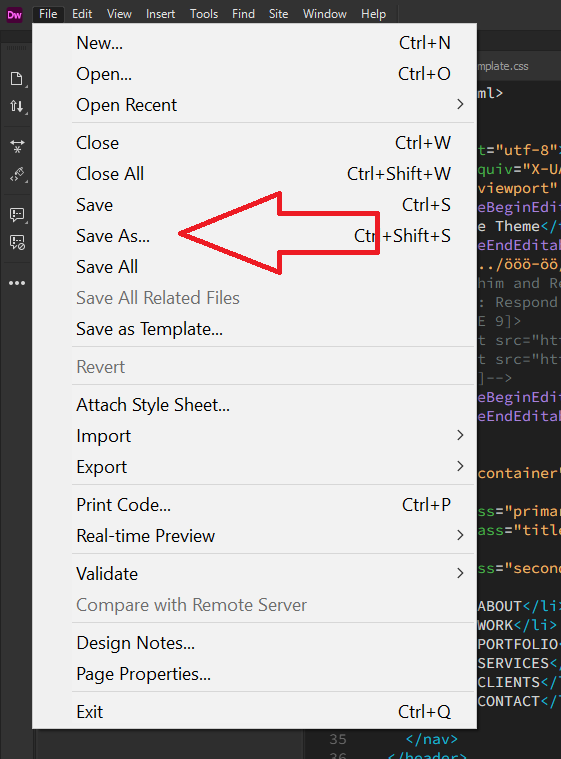
2. Click "Save As..."
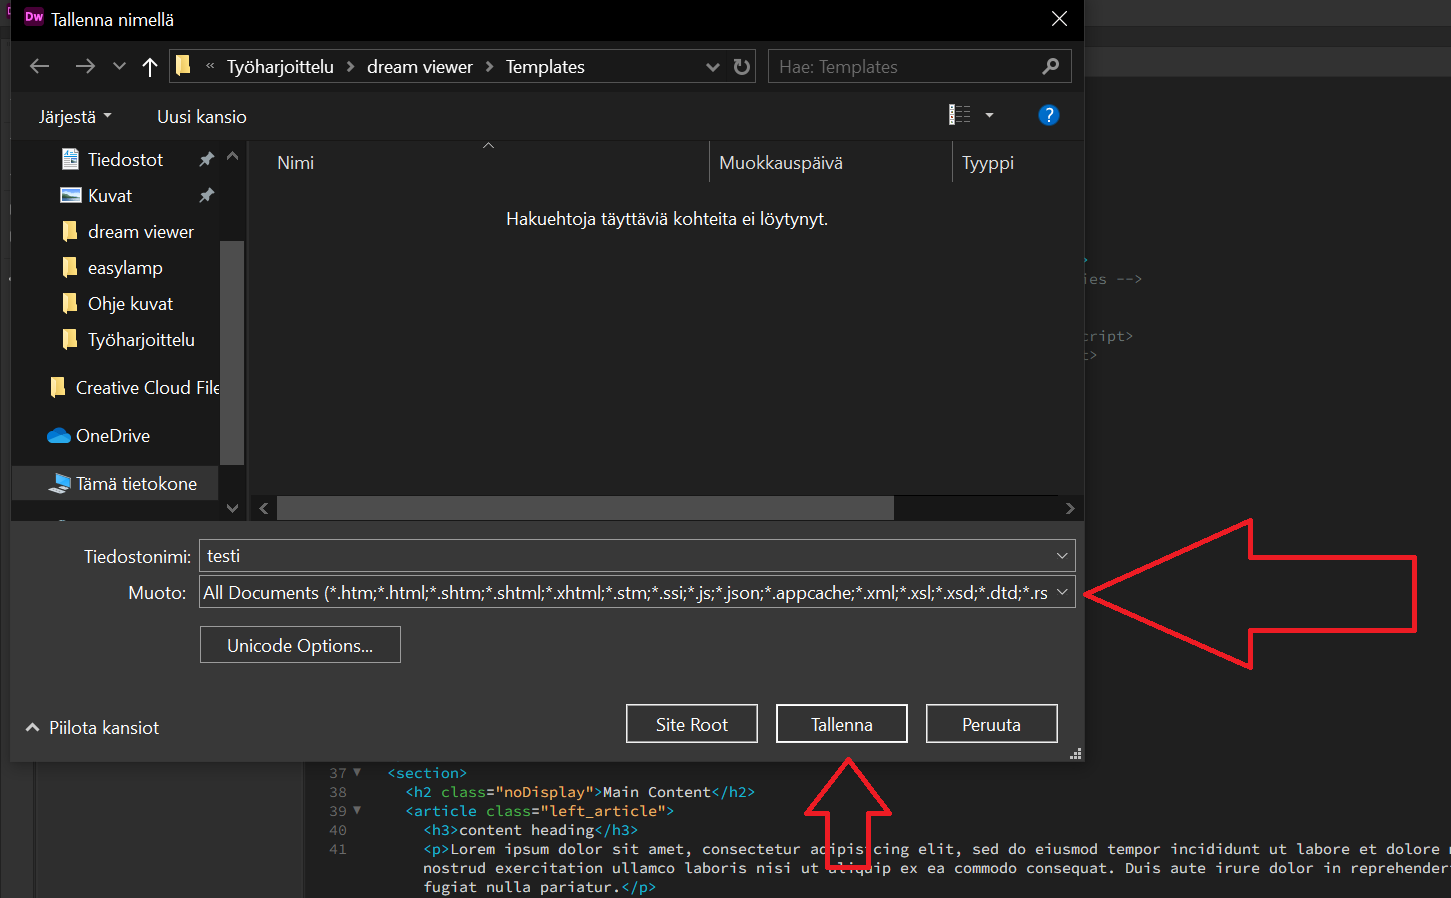
3. Name the file, select "All documents" as the format, and click "Save". This will save your project as a folder.
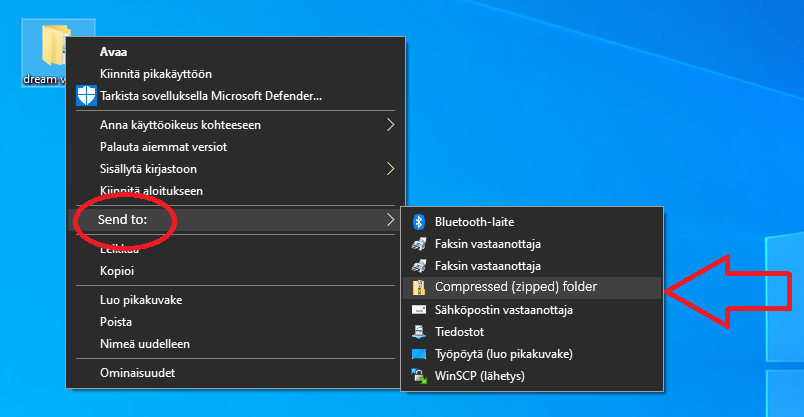
4. Right-click on the saved folder, select "Send to:" and then choose "Compressed folder (zip-file)".
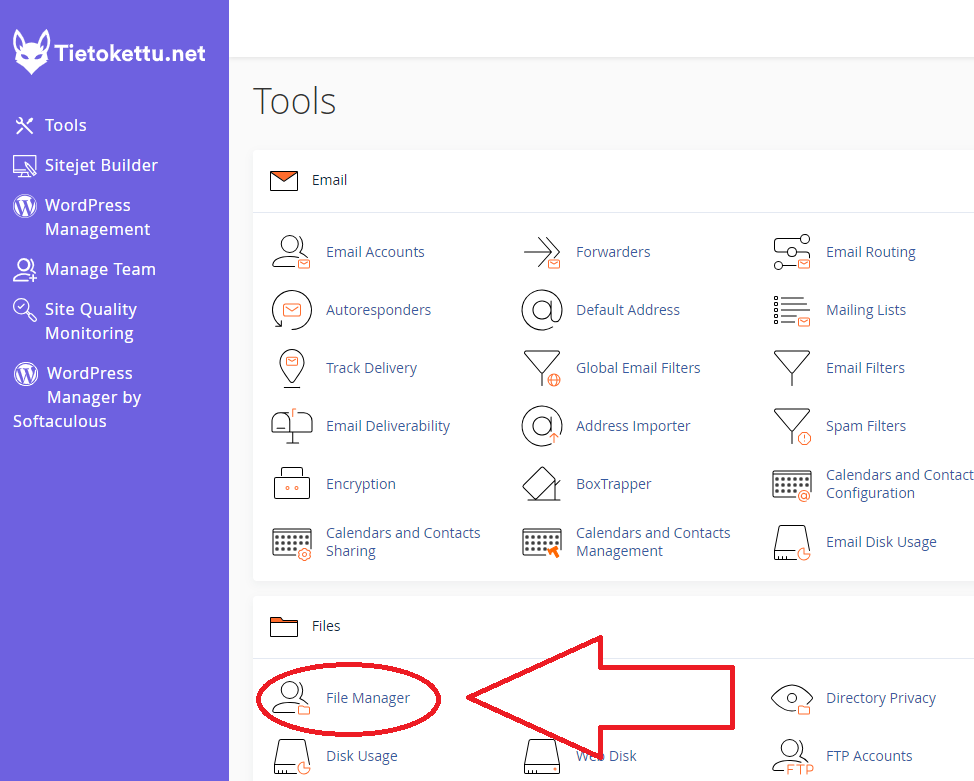
5. Log in to cPanel (refer to this guide) and click on "File Manager".
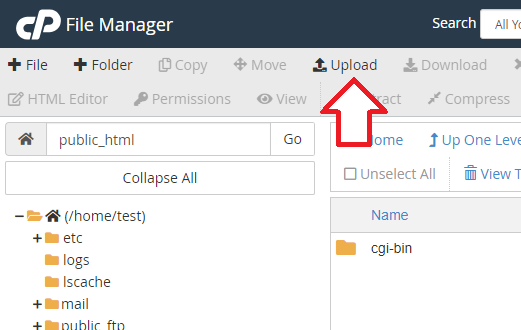
6. Open the "public_html" folder. If the file is meant to be uploaded to a subfolder, open the subfolder. In this guide, the "public_html" folder is used.

7. When you are in the "public_html" folder, click "Upload".
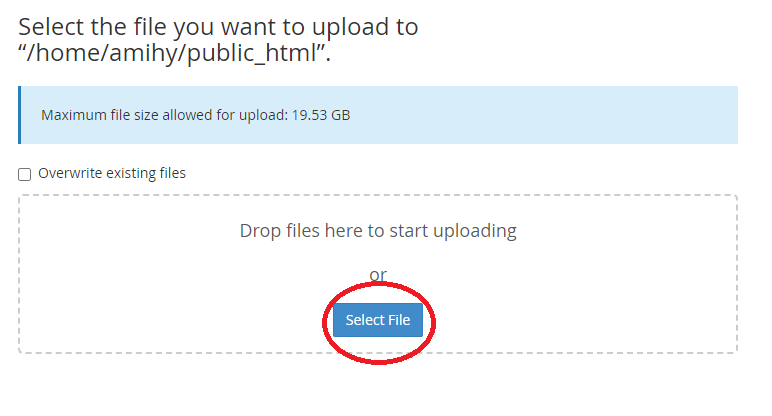
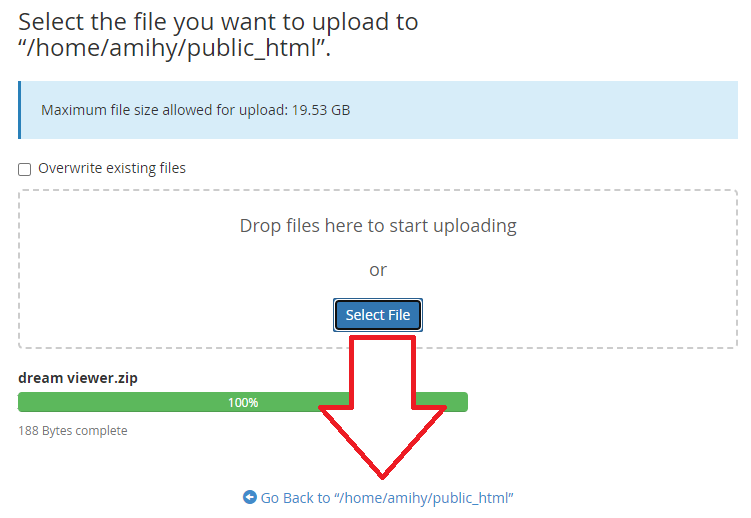
8. Click "Select File".
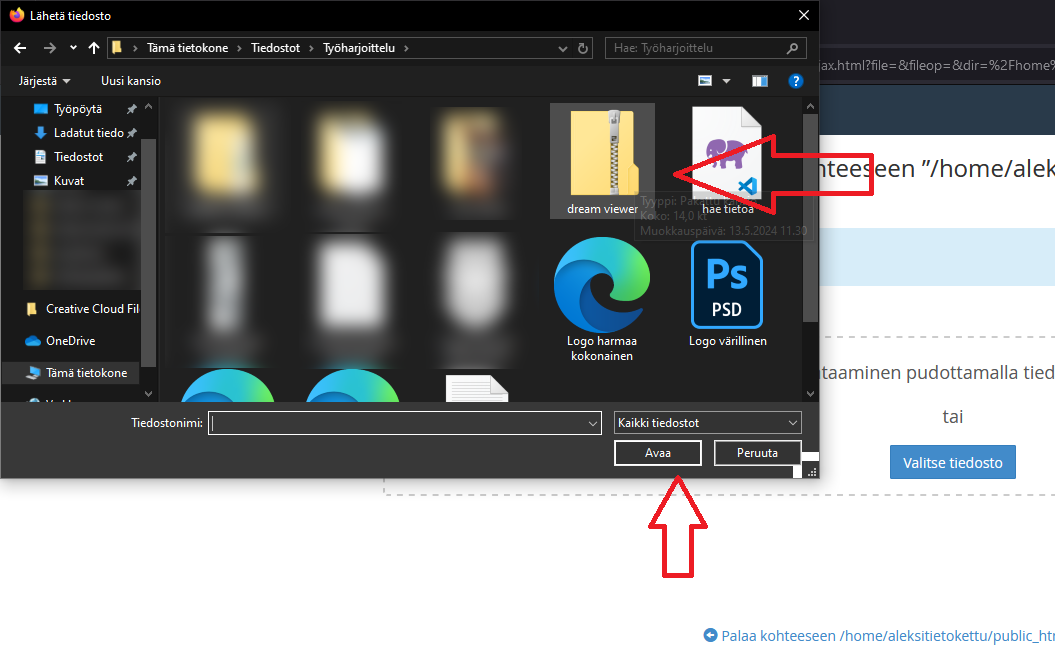
9. Select the created .zip file and click "Open".
10. Once the file has uploaded, return to the File Manager by clicking the link below the upload field.
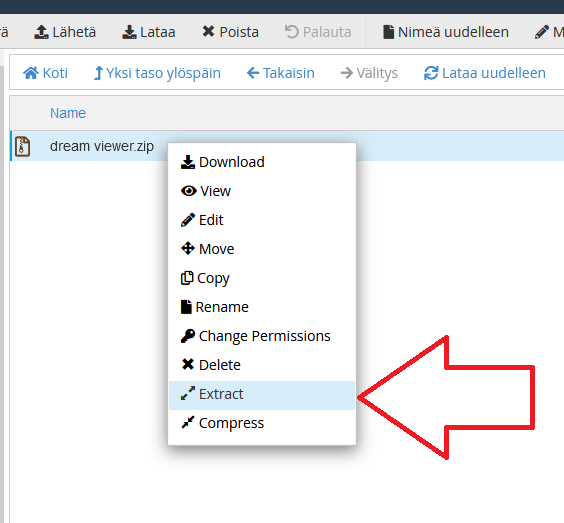
11. Extract the .zip file. Right-click on the .zip file and select "Extract".
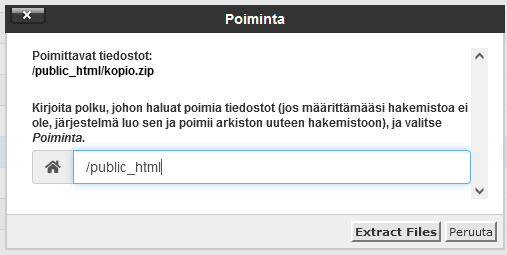
12. Paina "Extract files".
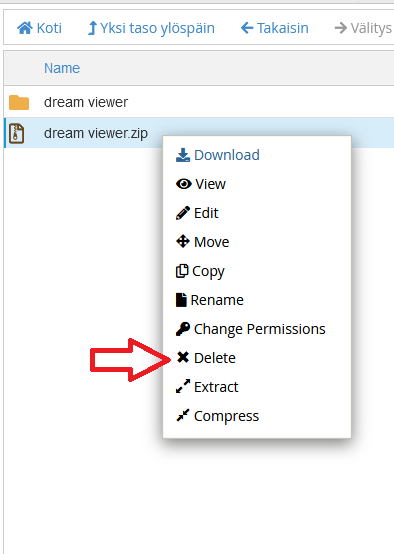
13. Poista .zip tiedosto. Klikkaa hiiren oikealla .zip tiedostoa ja valitse "Delete".
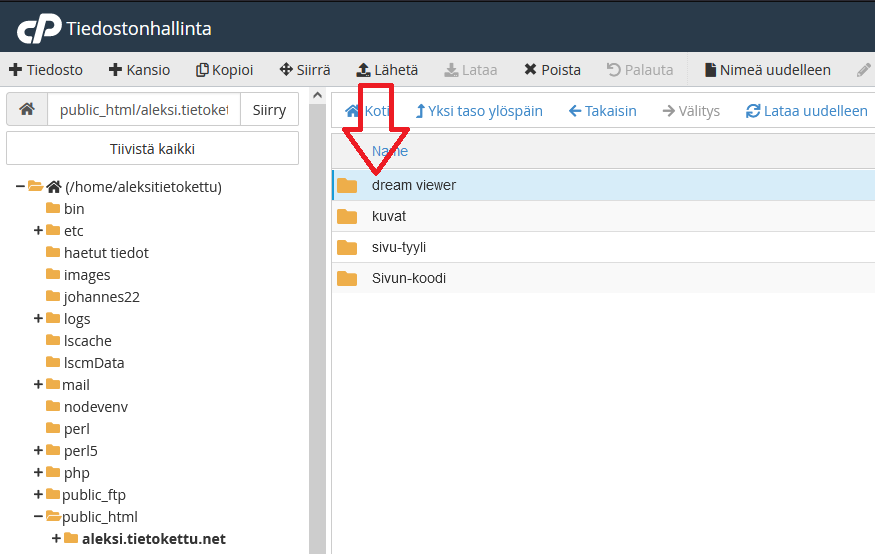
14. Open the extracted folder. Click "Select All" then right-click on the highlighted area. Choose "Move".

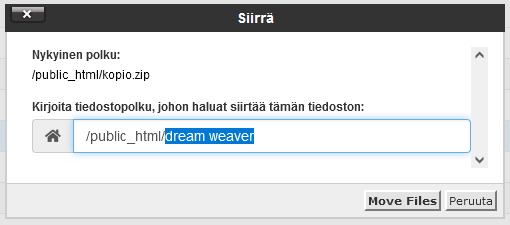
15. Edit the path so that it only includes /public_html/ and click "Move Files". The text highlighted in blue in the example image should be removed.
16. The empty folder can be deleted by right-clicking on it and selecting "Delete".
Now, the Dreamweaver files have been transferred to the "public_html" folder in cPanel.

