


Ohje verkkosivun tekemiseen
Kirjaudu WordPressiin:
Käytä WordPressin hallintapaneelin URL-osoitetta (yleensä
osoite on "sivustosi.com/wp-admin") ja kirjaudu sisään omalla käyttäjänimellä ja
salasanalla.
Aloita sivuston muokkaus:
Nyt olet WordPressin hallintapaneelissa, josta voit
muokata verkkosivustoasi, lisätä sisältöä, muuttaa teemaa ja paljon muuta.
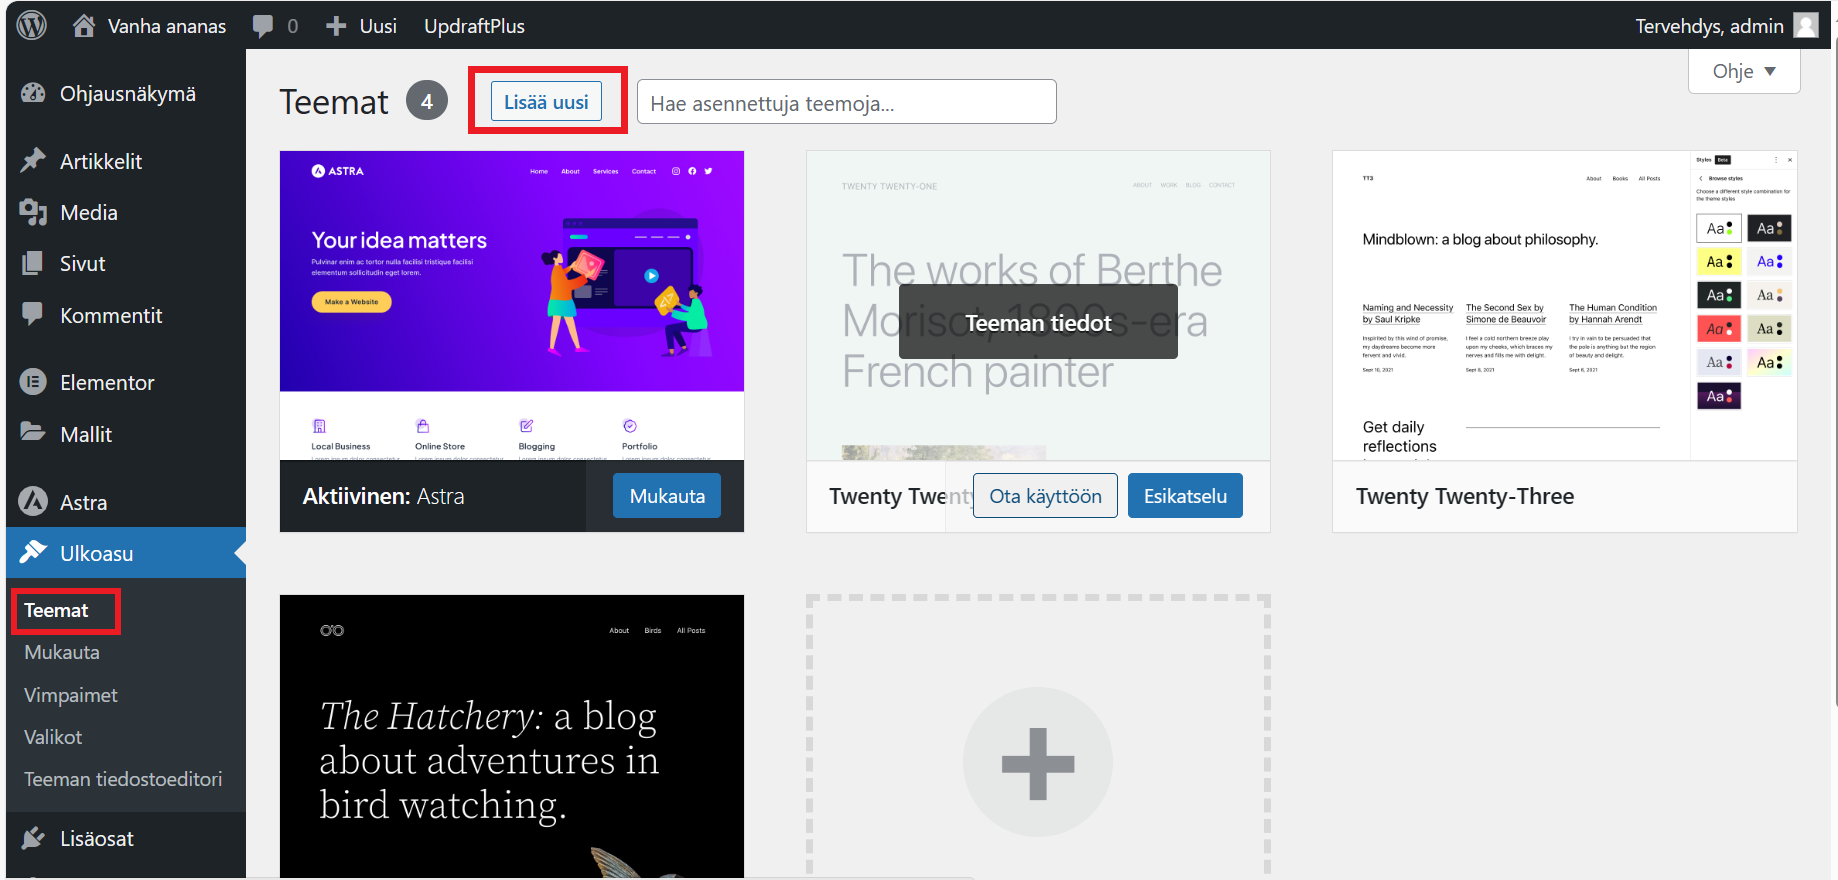
Valitse teema:
WordPressissa on monia ilmaisia ja maksullisia teemoja, jotka vaikuttavat sivustosi
ulkoasuun. Voit valita teeman WordPressin teemavalikoimasta. Klikkaamalla “lisää
uusi” voit etsiä ja ladata haluamasi teeman.
Mukauta teemaa:
Voit mukauttaa valitsemaasi teemaa vastaamaan sivustosi tarpeita. Voit tehdä tämän
menemällä "Ulkoasu" ja sitten "Mukauta". Täältä voit muuttaa värejä, lisätä logoja ja
tehdä muita ulkoasun muutoksia.
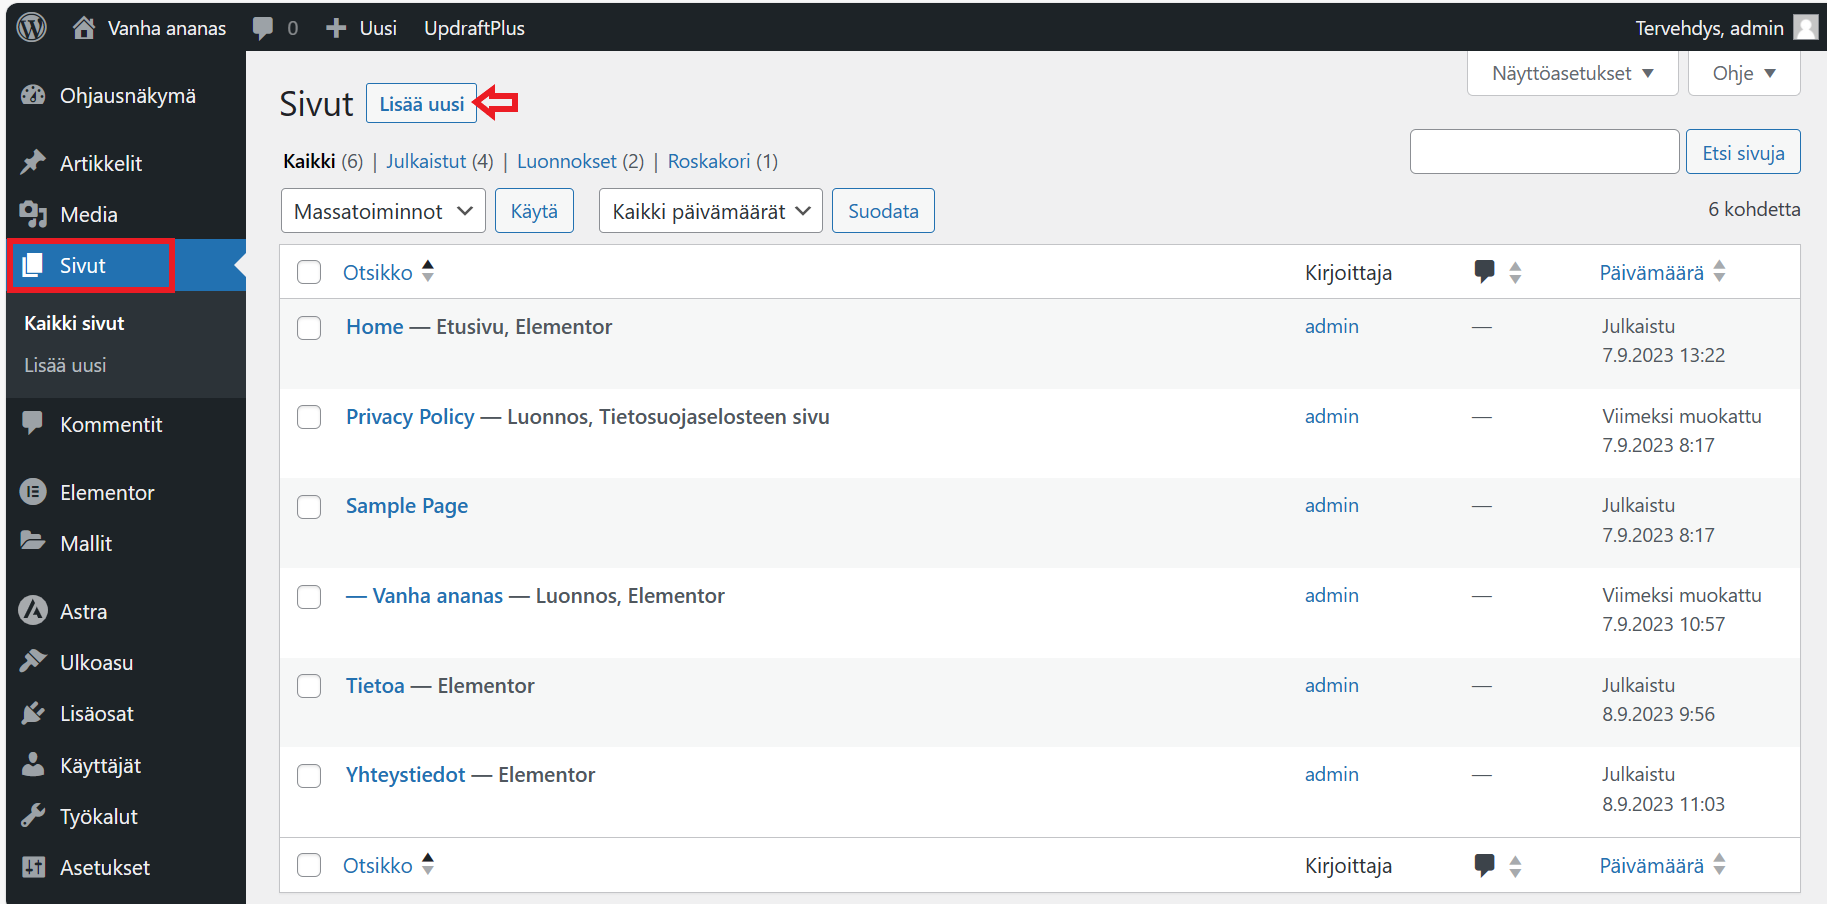
Lisää sivuja ja sisältöä:
Voit luoda sivuja valitsemalla sivupalkista “Sivut” ja sitten “Lisää uusi”. Voit luoda
useita sivuja, kuten etusivu, tietoja meistä, yhteystiedot ja palvelut. Voit lisätä sisältöä
sivuille helposti WordPressin tekstieditorilla.
Kun olet luonut sivuja, voit sisällyttää niitä toisiinsa lisäämällä linkkejä “Mukauta”
osiossa.
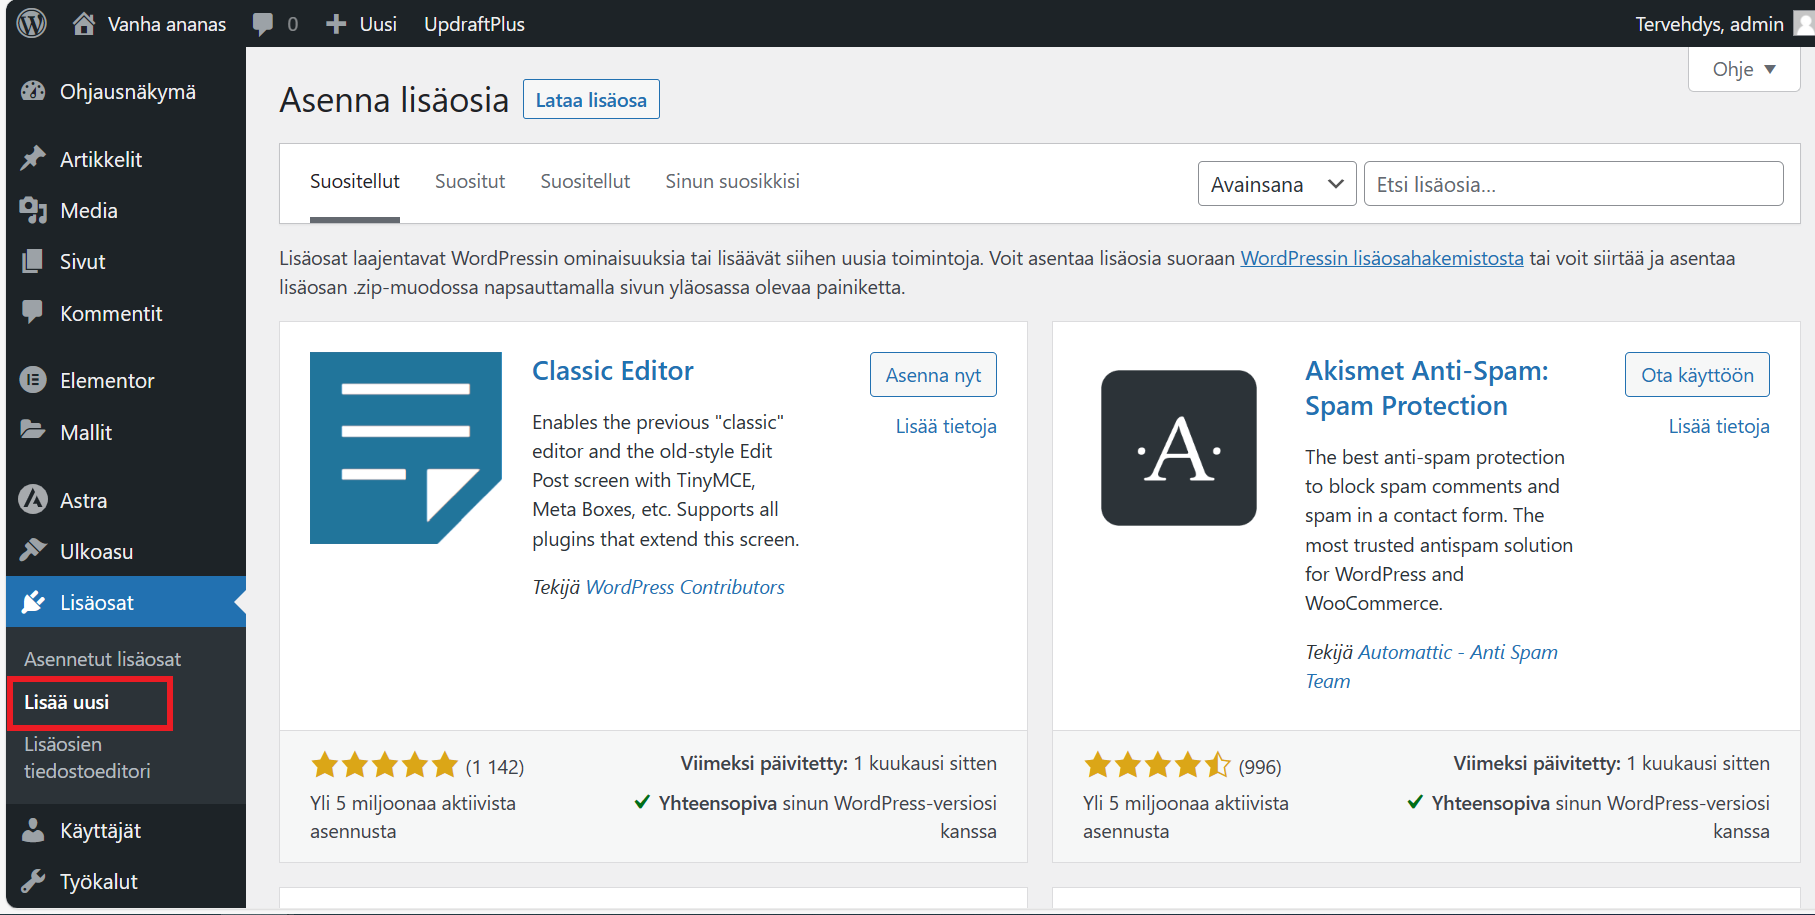
Lisää lisäosia:
Voit laajentaa sivustosi toiminnallisuuksia asentamalla lisäosia. Esimerkkejä ovat
SEO-lisäosat (hakukoneoptimointi), yhteydenottolomakkeet ja sosiaalisen median
jakamisnapit. Voit etsiä ja ladata lisäosia valitsemalla “Lisäosat” ja “Lisää uusi”.
Tallenna ja julkaise:
Kun olet tyytyväinen sivustosi ulkoasuun ja sisältöön, tallenna ja julkaise muutokset.
Tarkista mobiilioptimointi:
Varmista, että sivustosi näyttää hyvältä ja toimii moitteettomasti myös mobiililaitteilla.
Useimmat WordPress-teemat ovat responsiivisia, mutta varmista kuitenkin.
Varmuuskopioi sivusto:
Tee säännöllisesti varmuuskopiot sivustostasi varmuuden vuoksi. Voit ladata
varmuuskopioinnin ohjelman “Lisäosat” osiossa (esim. UpdraftPlus).
Tarkkaile ja päivitä sivustoa:
Päivitä WordPressin ydintiedostot, teemat ja lisäosat säännöllisesti. Tarkkaile myös
sivustosi suorituskykyä ja turvallisuutta.
Ohje verkkokaupan tekemiseen
Asenna verkkokauppa lisäosa, tässä esimerkissä WooCommerce:
- Kirjaudu WordPressin hallintapaneeliin.
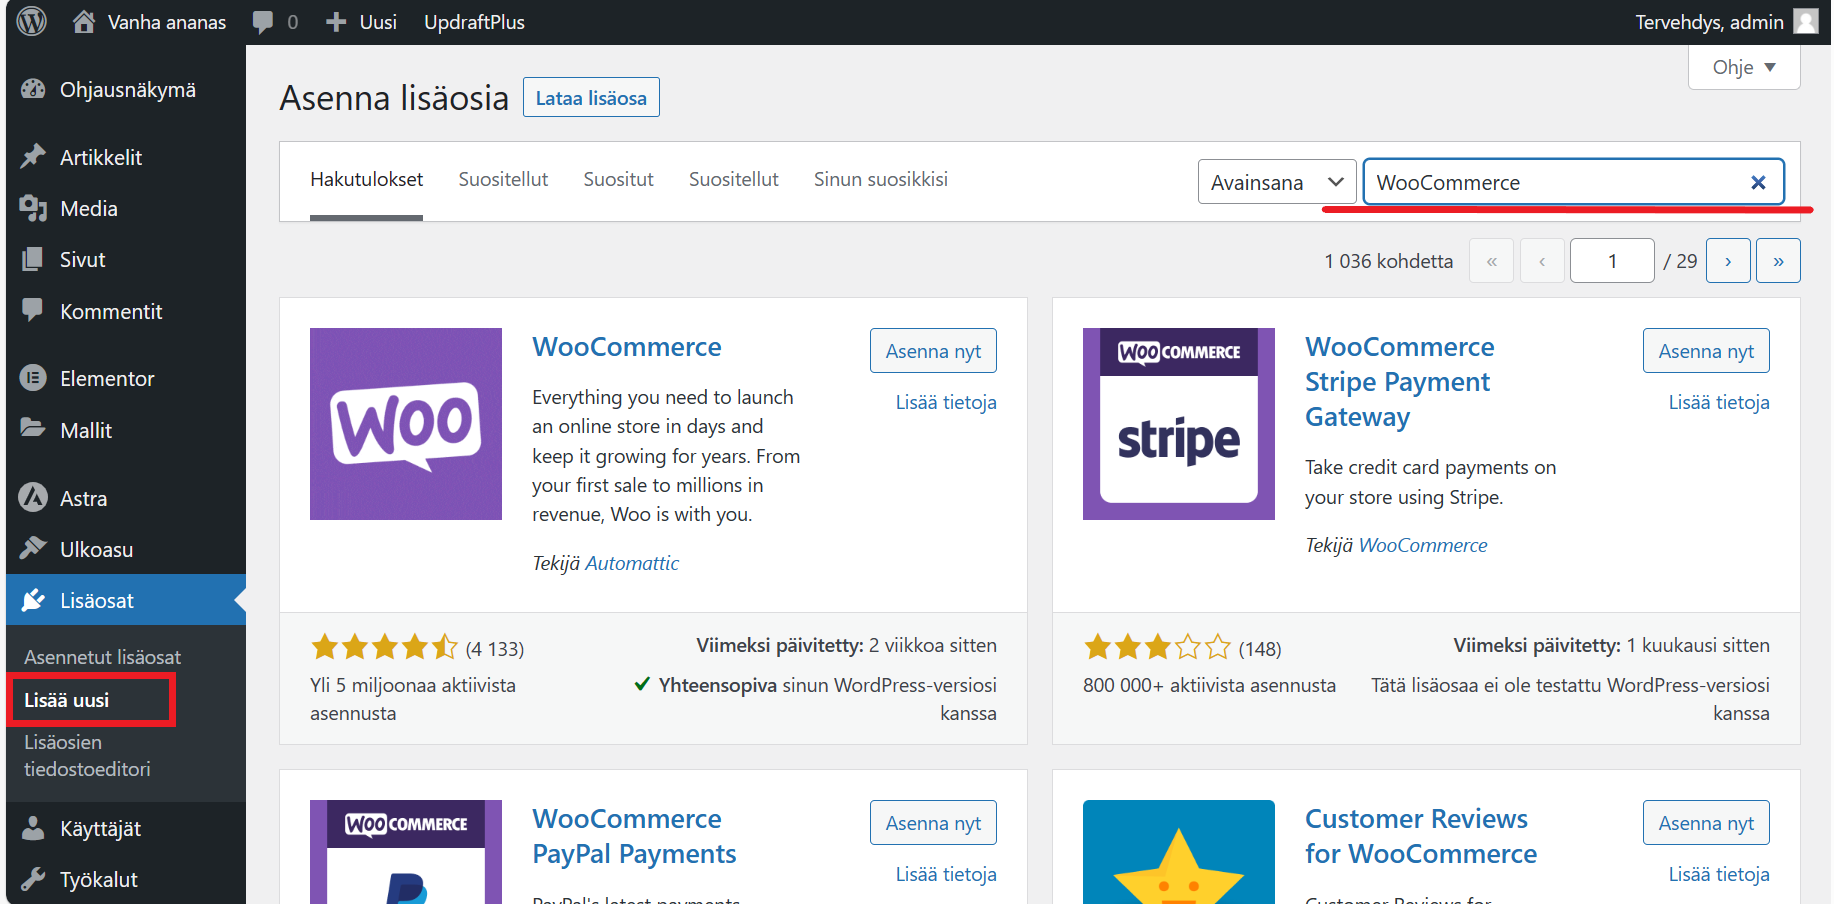
- Mene "Lisäosat" ja klikkaa "Lisää uusi".
- Etsi "WooCommerce" ja asenna se. Aktivoi lisäosa.
Aloita asetukset:
Kun WooCommerce on aktivoitu, se ohjaa sinut aloitusasetusten läpi. Voit määrittää
valuutan, maksutavat, toimitusvaihtoehdot ja muut tärkeät tiedot.
Lisää tuotteita:
Mene WooCommerce-valikosta "Tuotteet" ja lisää tuotteesi. Täytä tuotetiedot, kuten
nimi, kuvaus, hinta ja varastotiedot.
Määritä maksutavat:
Valitse, mitkä maksutavat haluat tarjota asiakkaillesi, kuten luottokortit, PayPal jne.
Määritä maksutapojen asetukset.
Määritä toimitustavat:
Valitse toimitusvaihtoehdot, kuten posti, nouto, kotiinkuljetus jne. Määritä
toimituskulut tarpeen mukaan.
Suunnittele verkkokauppa:
Valitse verkkokaupallesi sopiva teema tai mukauta olemassa olevaa teemaa. Voit
tehdä sen kohdassa "Ulkoasu" ja "Teemat".
Lisää sivuja ja lisätietoja:
Luo sivuja, kuten "Tietoja meistä", "Yhteystiedot" ja "Usein kysytyt kysymykset"
tarpeen mukaan.
Testaa ja julkaise:
Ennen kuin julkaiset verkkokaupan, testaa se perusteellisesti varmistaaksesi, että
kaikki toimii moitteettomasti.
Kun olet tyytyväinen, avaa verkkokauppa yleisölle.
Muista, että verkkokaupan ylläpito vaatii jatkuvaa huomiota. Sinun on seurattava
varastotilannetta, päivitettävä tuotteita ja pidettävä huolta tietoturvasta ja
asiakastuesta. Voit halutessasi ladata laajennuksia ja lisäosia, jotka voivat auttaa
sinua hallitsemaan ja kasvattamaan verkkokauppaa.
Ohjeen osiot:

