


Pretashop asennus Cpanelin kautta
-Sisältö-
- Pretashop asennus Cpanelista
- Teeman asennus
- Pientä muokkausta
- Tuotteen lisääminen
- Maksupäätteen asennus
Pretashop asennus Cpanelista
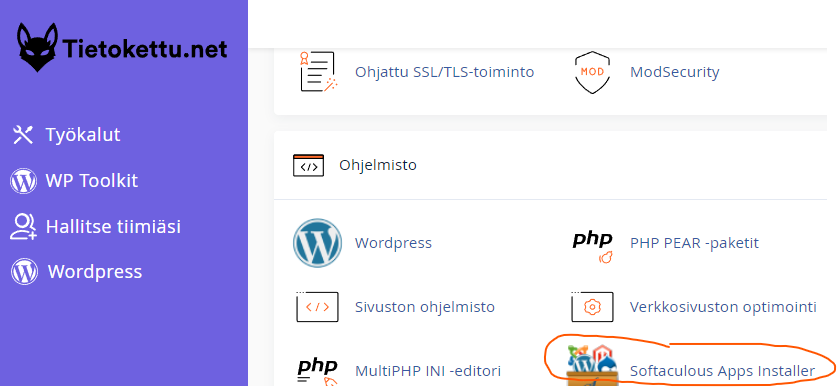
Aluksi käy kirjautumaan https://cpanel.tietokettu.net sivustolle, kun pääset Cpaneliin etsi Softaculous apps installer sovellus listan alapäästä.
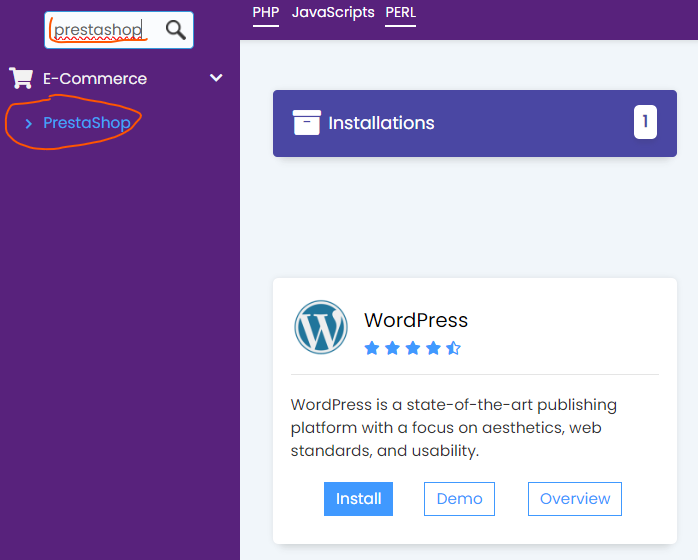
Softaculous sovelluksessa löydät hakupalkin vasemmalta, siitä saat etsittyä Prestashopin.
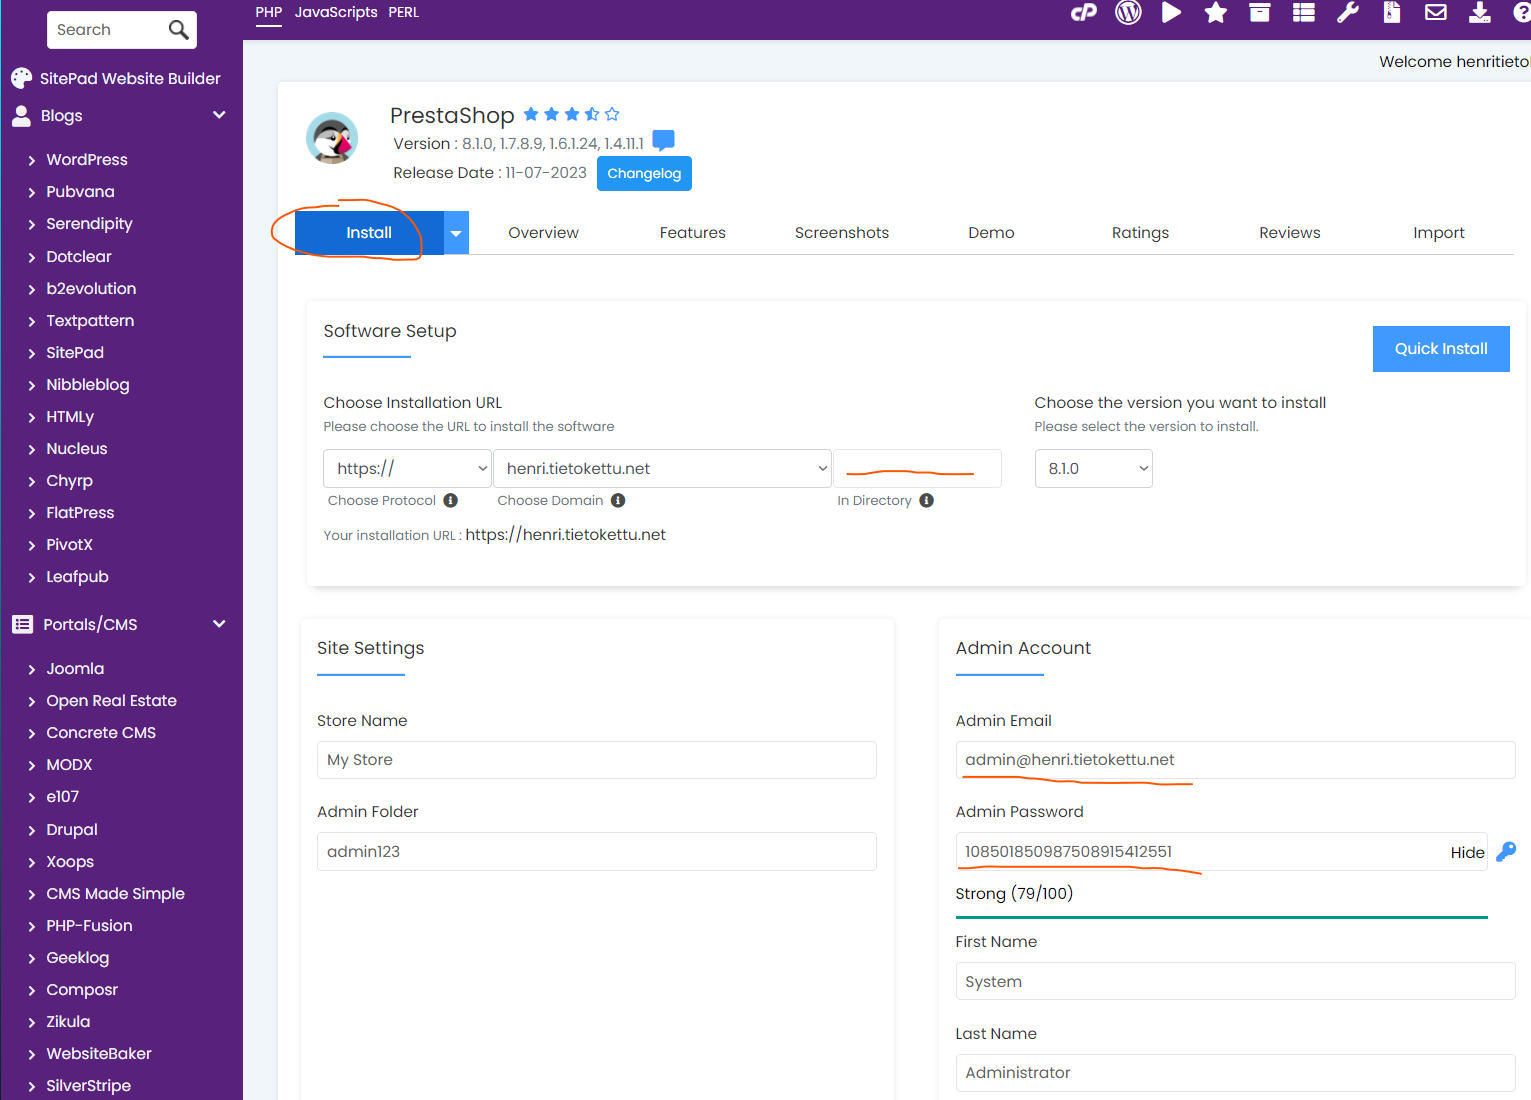
Kun pääset asennusruutuun, valitse "install". Aseta tunnukset, valitse haluamasi versio. On suositeltavaa poistaa "in directory" tiedot.
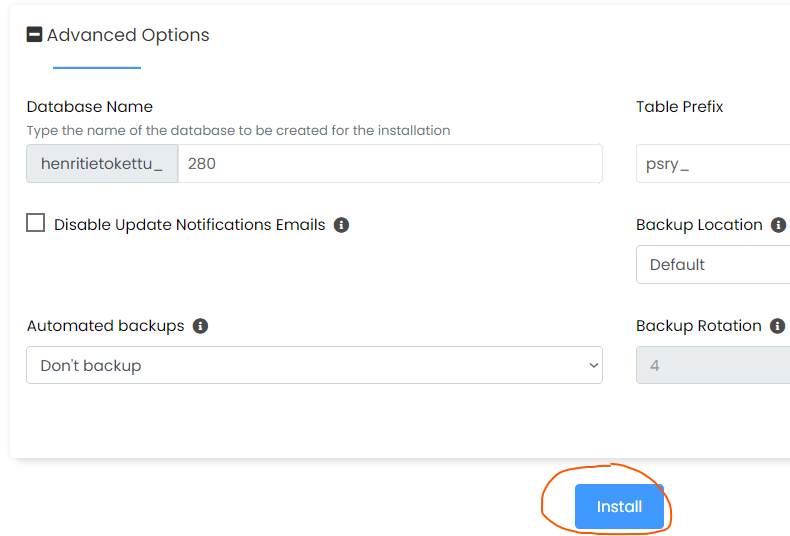
Selaa alemmas, ja paina install.
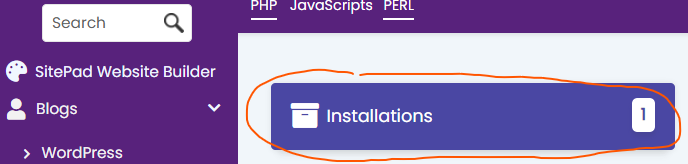
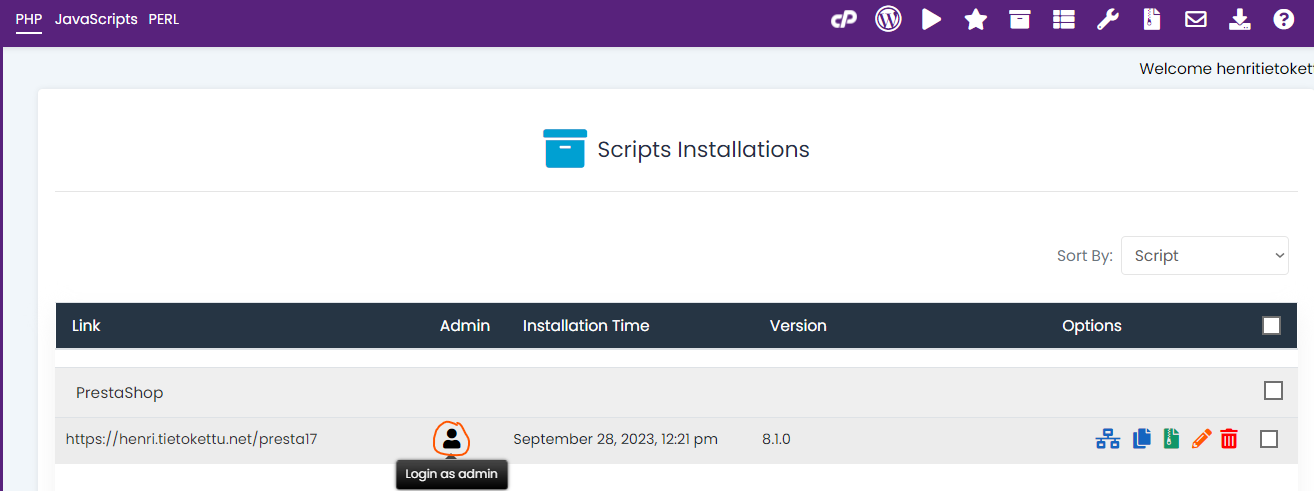
Kun asennus on valmis, pääset aloittamaan muokkaamisen. Softaculous etusivulla paina "installations" kohdasta, ja sielä näet uuden asennuksesi josta painat "login as admin" ja kirjaudut.
Teeman asentaminen
Pientä muokkausta
Aloitus sivulla on valikko vasemmalla, siitä saat avattua "catalog" ja "categories" kohdat.
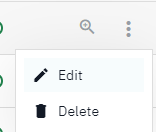
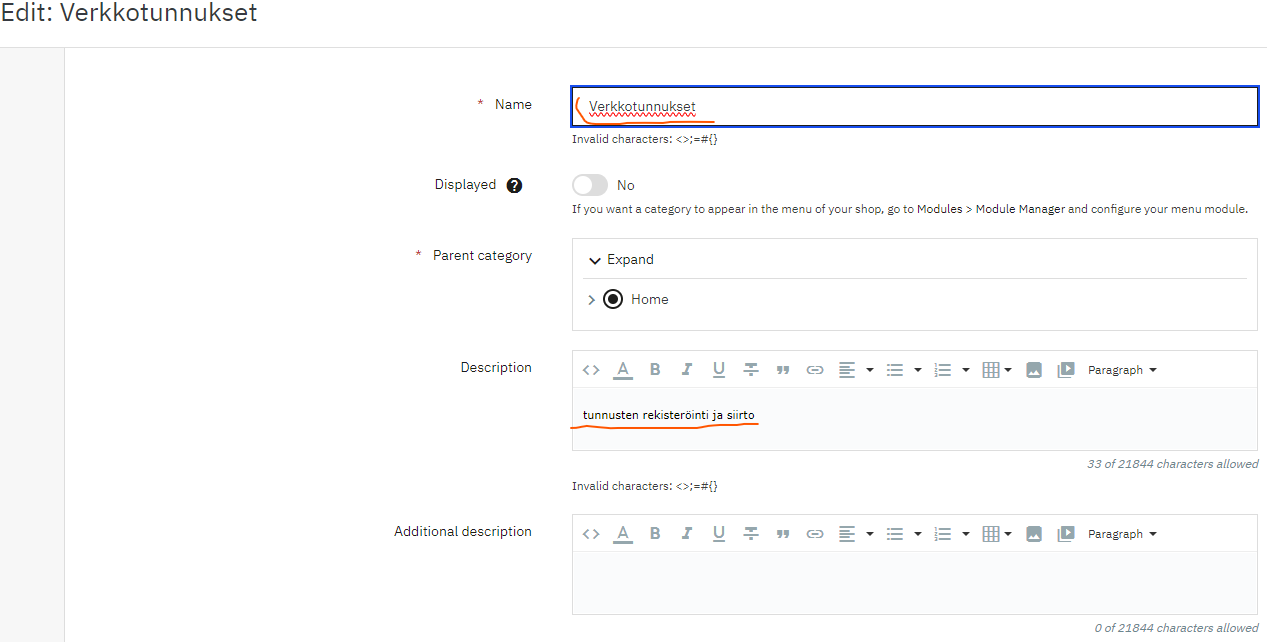
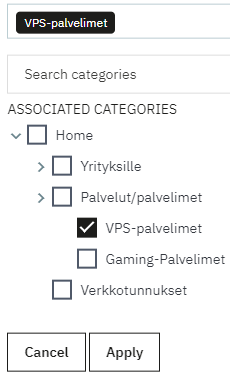
Categories valikossa pääset näkemään eri kategoriat, ja muokkaamaaan niitä. paina "edit" kynän kuvaa, tai jos sitä ei näy saat sen kolmesta pisteestä.
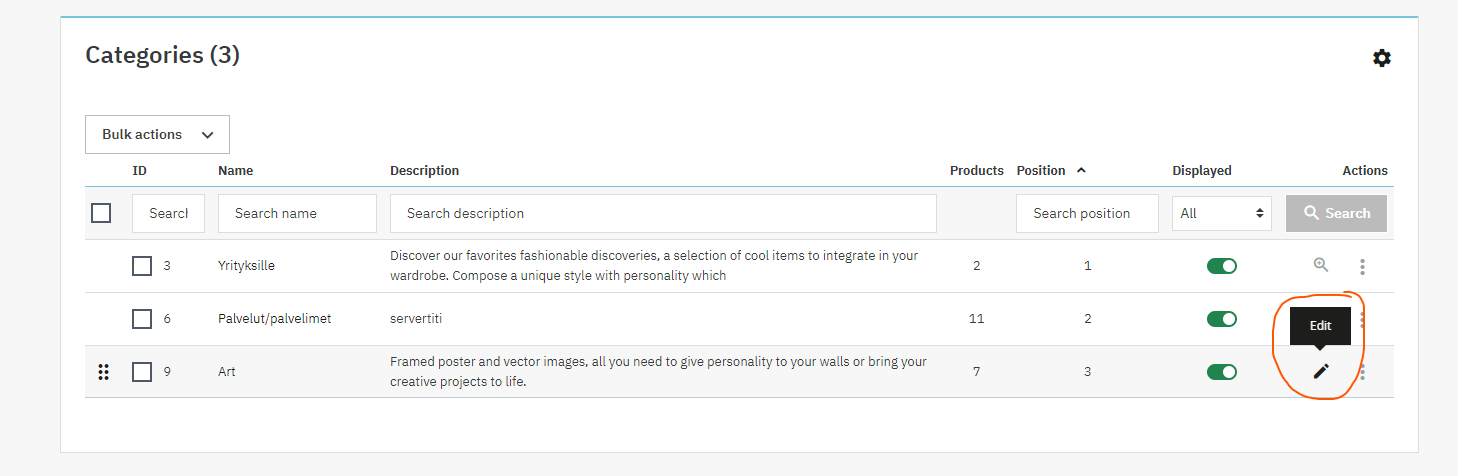
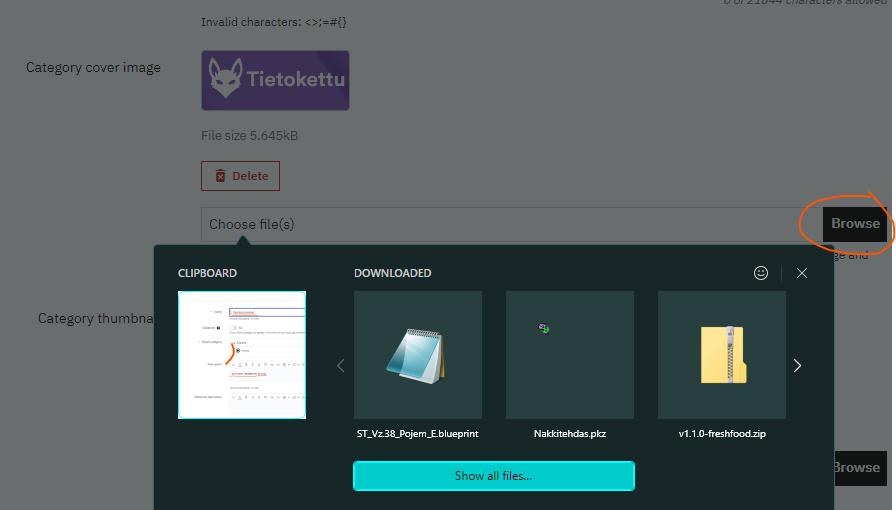
Tässä saat muokattua kategorian nimen ja selvityksen, sekä kuvat.
Tuotteen lisääminen
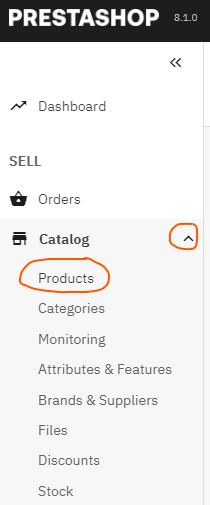
Aluksi palataan Prestashopin aloitussivulle, siellä valitsemme "catalog" ja "products"
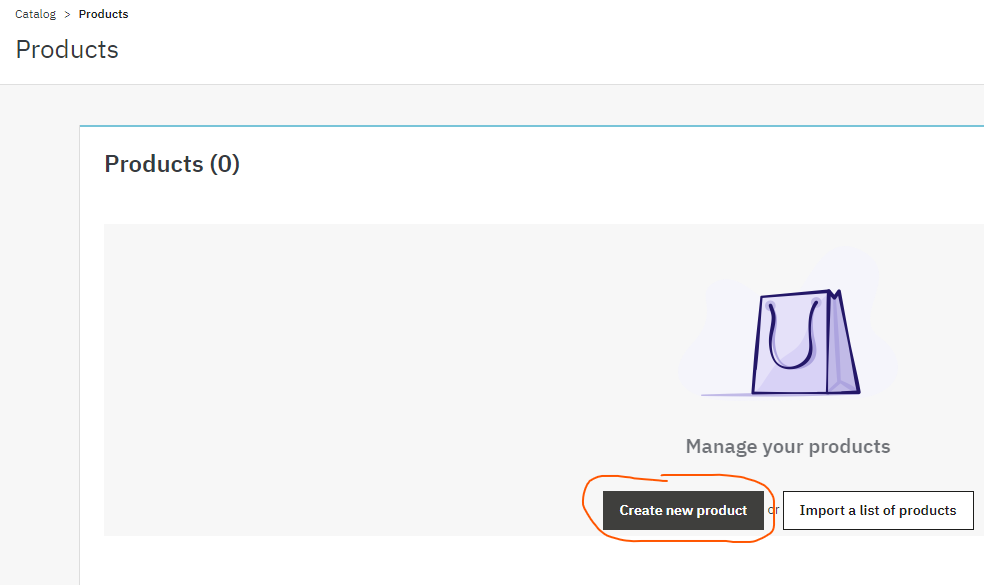
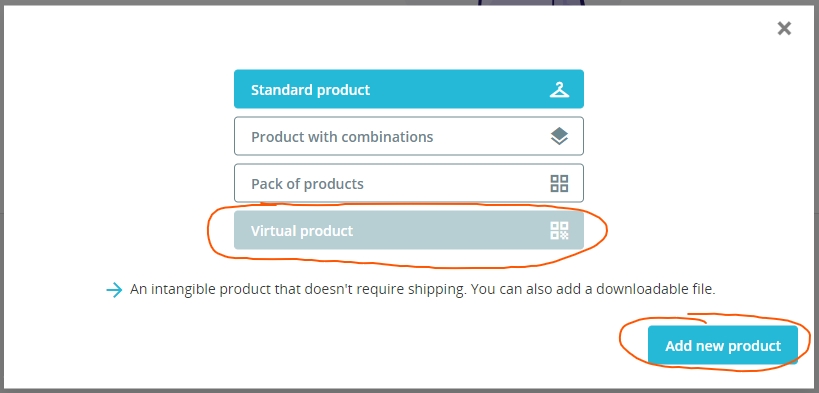
Uuden tuotteen lisääminen tapahtuu "new product" kohdasta, klikkaa siitä ja saat sen näkyviin.
Tässä esimerkissä luomme virtuaalisen tuotteen, voit tehdä samoin aluksi.
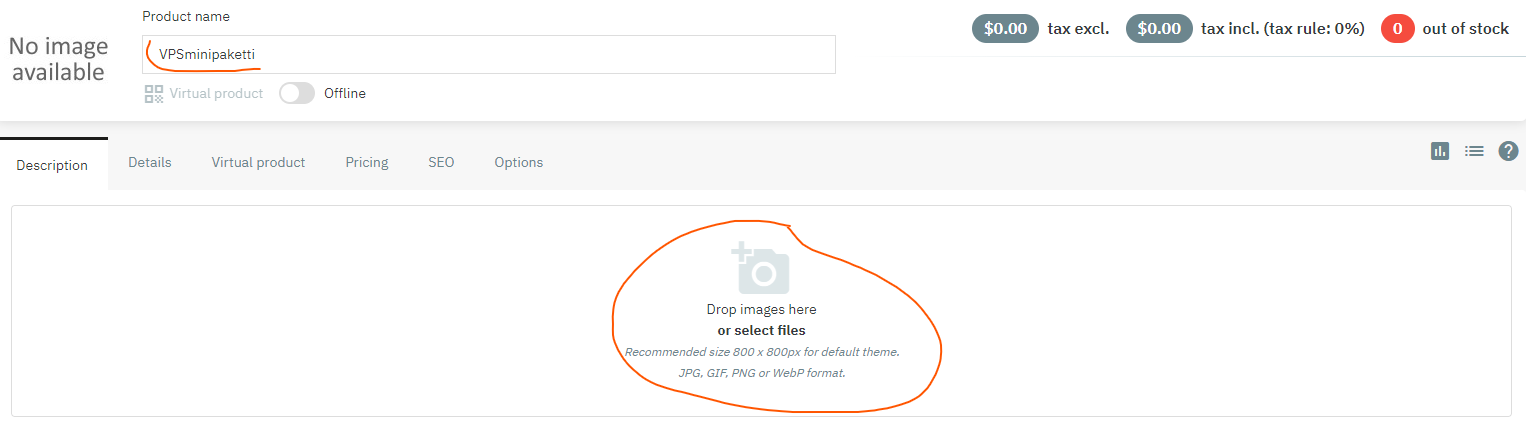
Tuotteen lisäämis ruudussa pääset asettamaan nimen ja kuvakkeen, näin ensimmäiseksi.
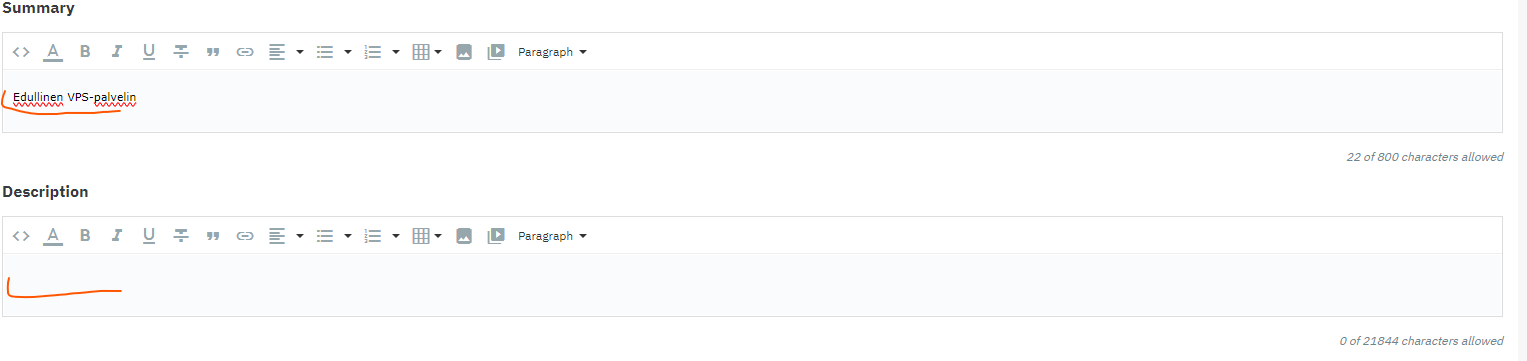
Sitten lisää kuvaukset tuotteen ominaisuuksista
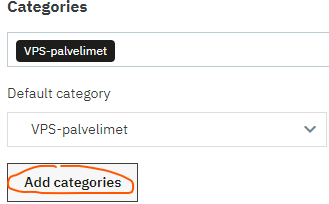
Voit myös asettaa aiemmin luomasi kategorian tähän tuotteeseen, tai käydä luomaan sen nyt.
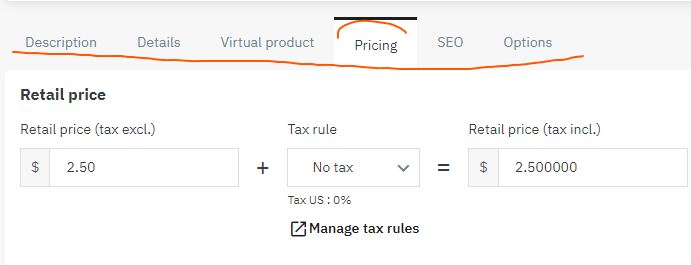
Voit myös katsoa nämä muut osat eri asetuksille, kaikki toimivat saman tapaisesti.
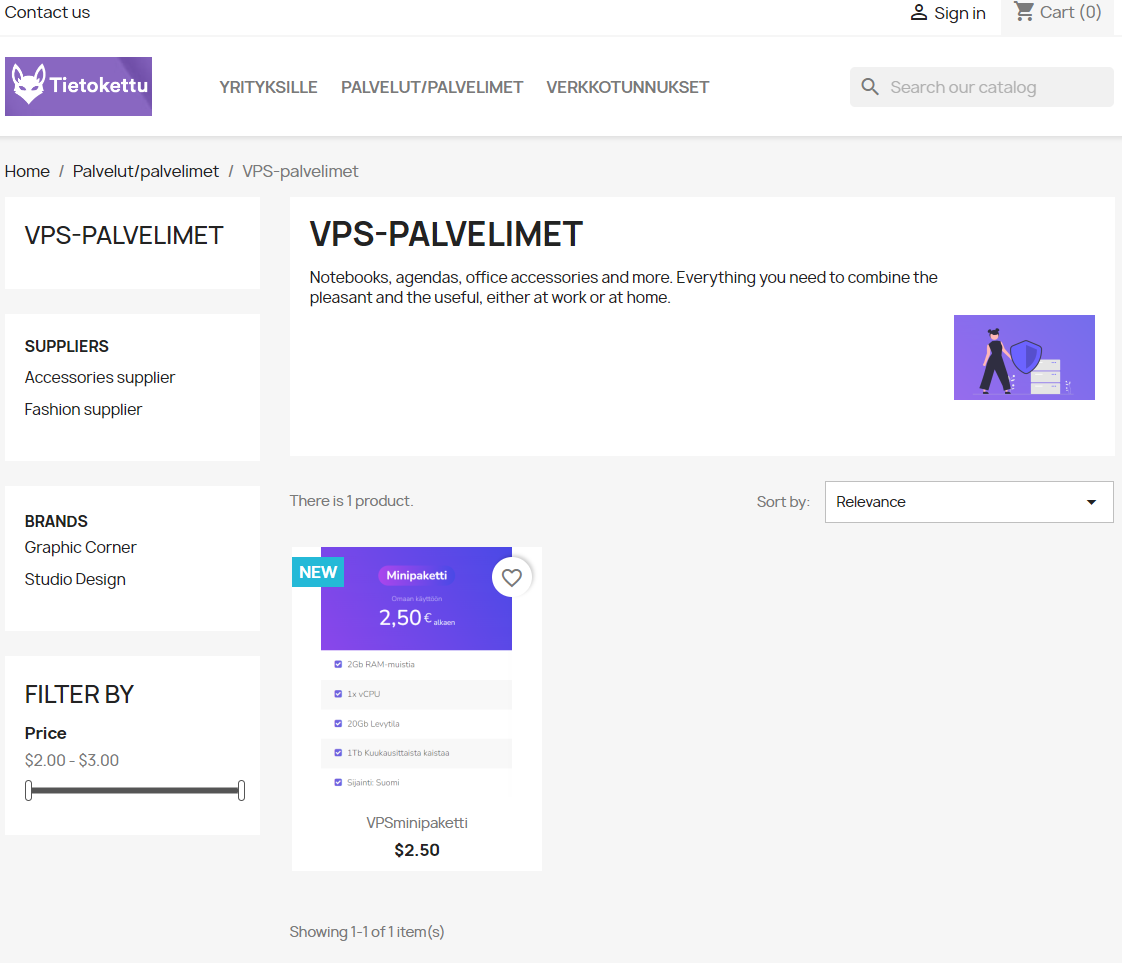
Pääset näkemään lisäämäsi tuotteen näin. Etusivulla paina "view my store" yläpalkista, siitä avautuu asiakkaalle tuleva näkymä.

Maksupäätteen lisääminen
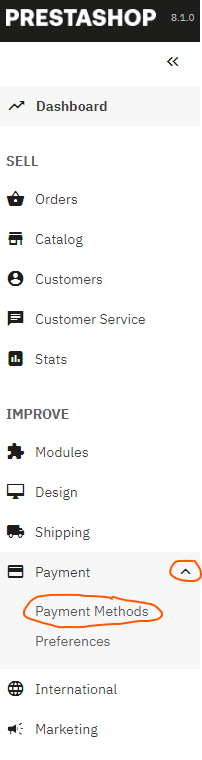
Nyt lisäämme maksupäätteen, tässä tapauksessa paypal:in. Etusivulla etsi "payments" ja siitä "payment methods".
Tässä ruudussa pääset valitsemaan eri vaihtoehtoja, mutta käytämmä Pretashop checkout moduulia.
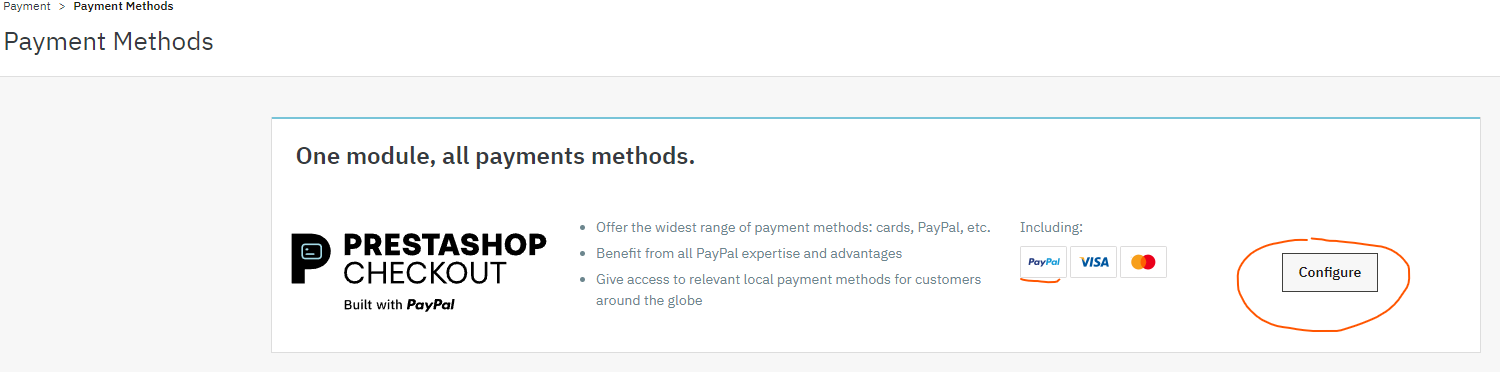
Paina vain "configure"
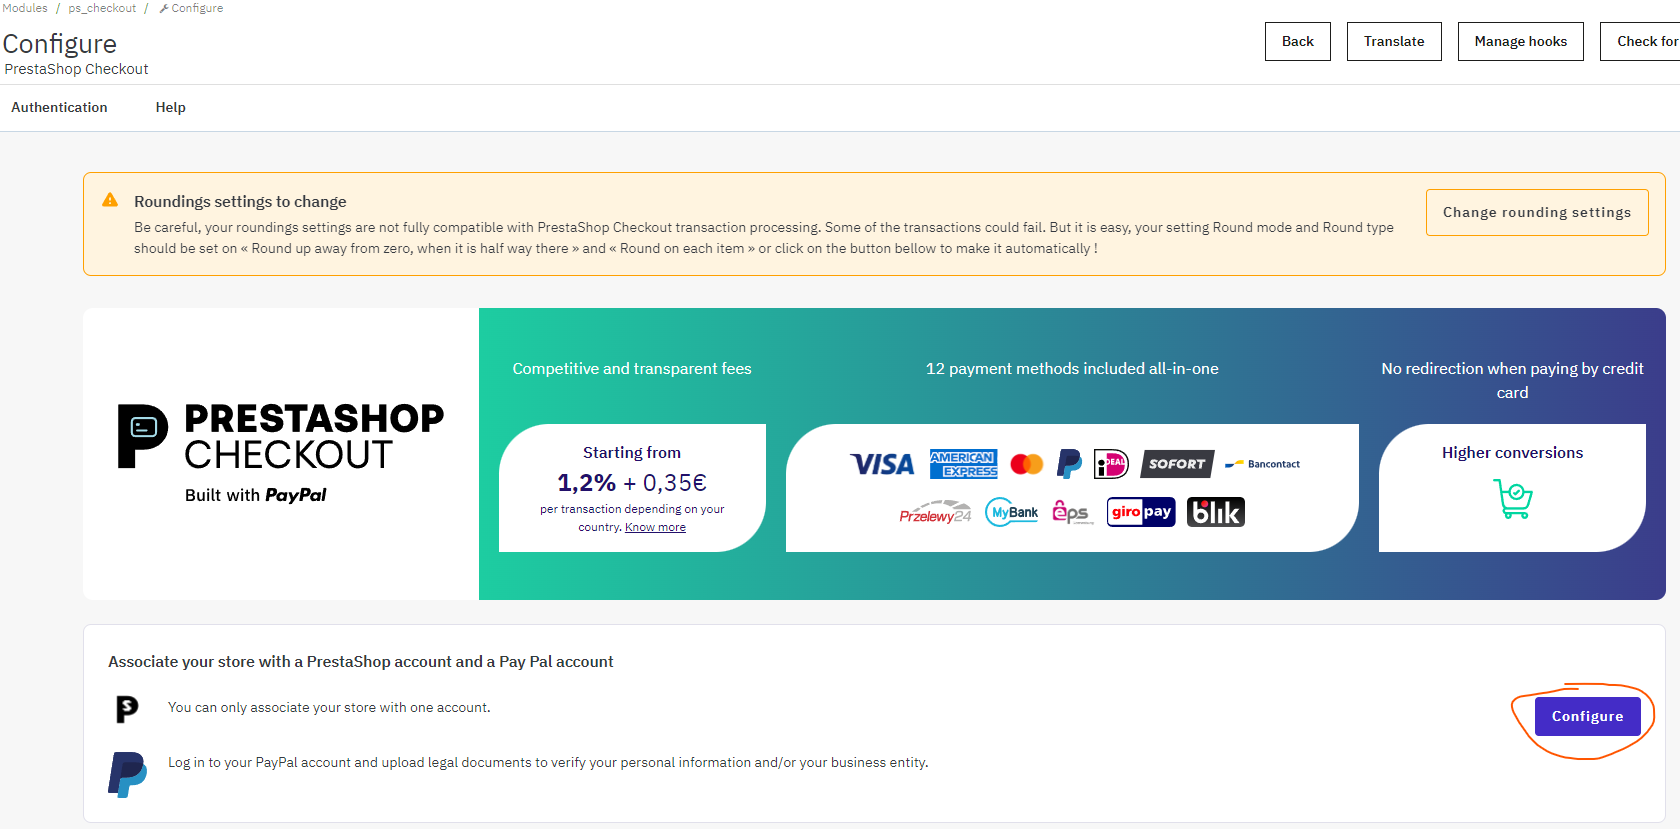
Tämän jälkeen syötät omia tietojasi kolmessa vaiheessa.
Teeman asennus
Teeman asennukseen ensinnäkin tarvitsee itse teeman, jonka voit esim löytää verkosta eri sivustoilta. Suosittelen nyt ihan ilmaista vaihtoehtoa aluksi.
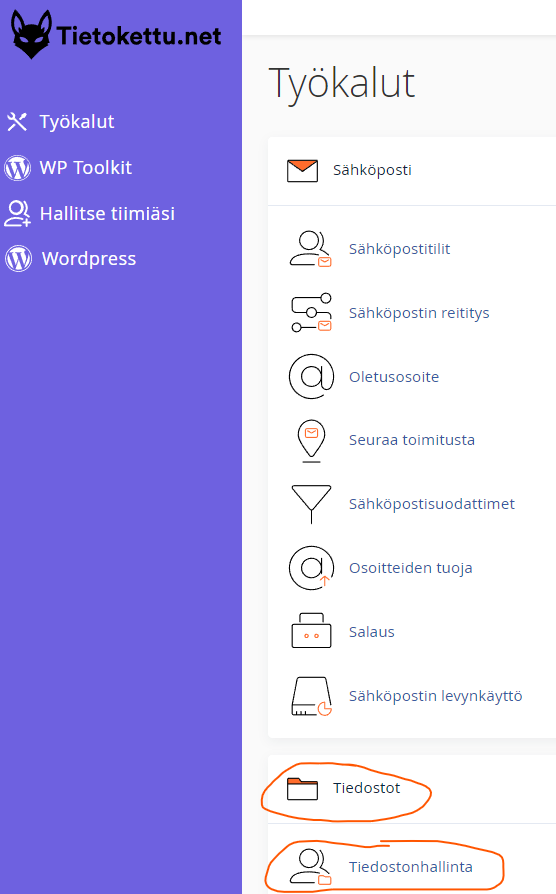
Kun teema on ladattu koneellesi ZIP tiedostona, siirry takaisin Cpaneliin. Cpanel etusivulla löydät "tiedostot" valikon ja siitä tietostonhallinta, paina siitä.
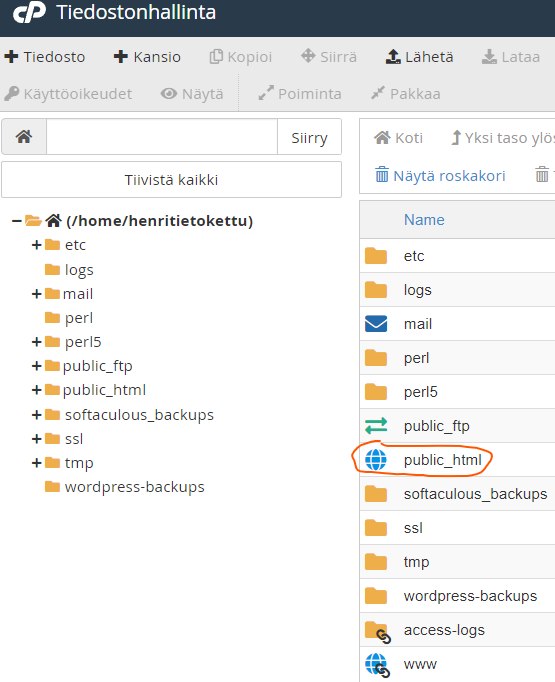
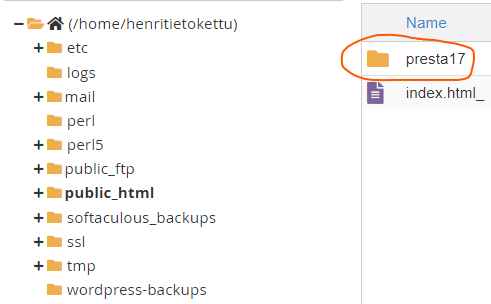
Täälä tupla klikkaa "public_html" kohtaa.
Seuraavaksi paina tiedostoa joka vastaa prestashoppiasi, tupla klikillä.
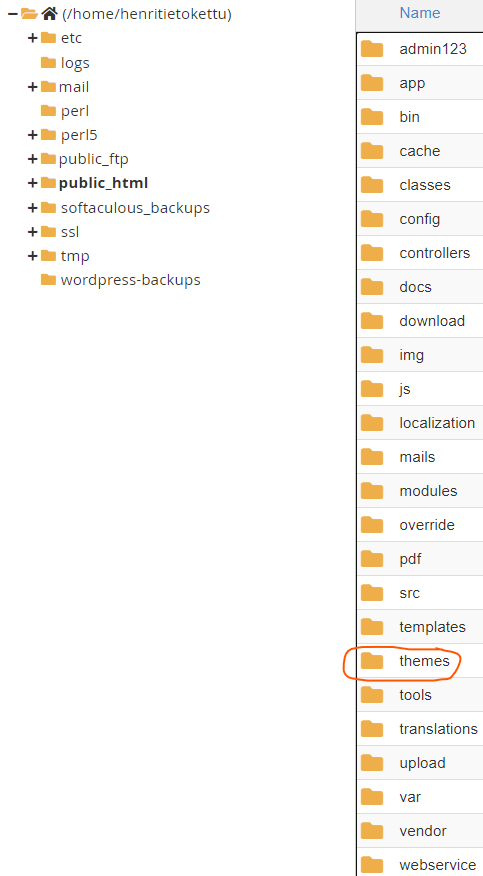
Tässä etsi "themes" kohta ja tupla klikkaa siitä
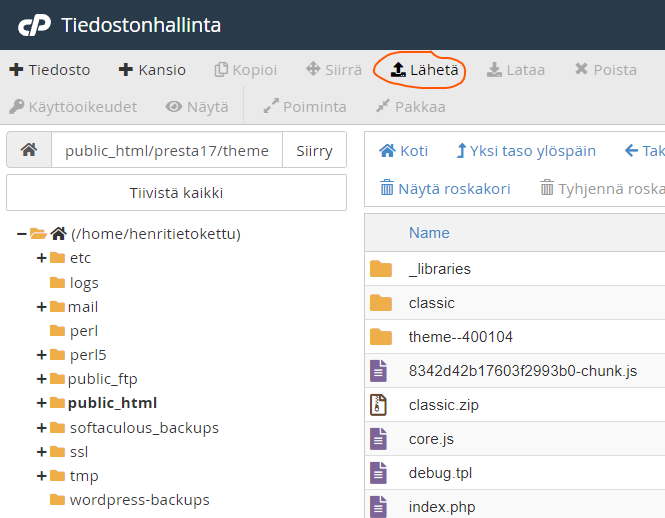
"Themes" osastossa etsi "lähetä" painike yläpalkista, ja klikkaa siitä.
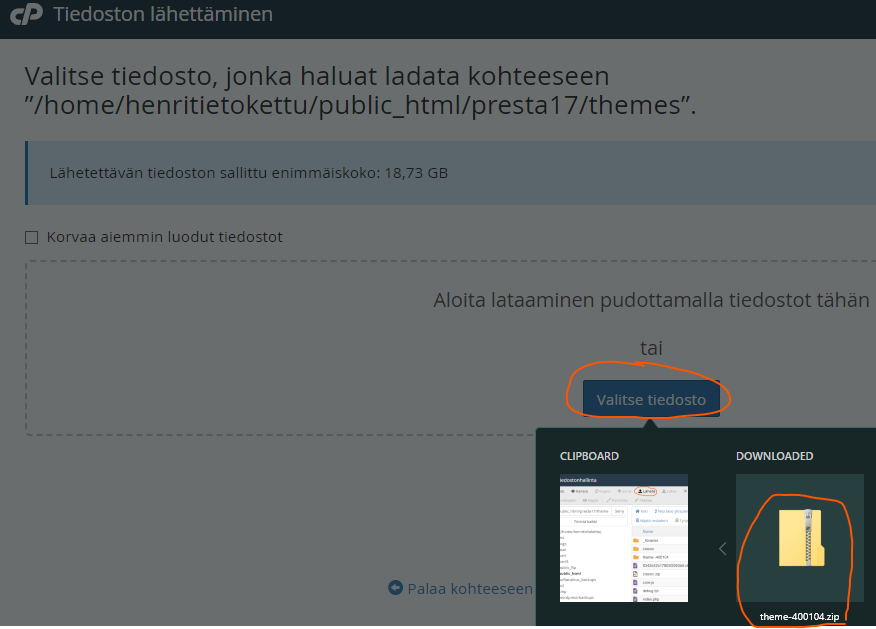
Valitse ZIP tiedostosi ja anna sen latautua.
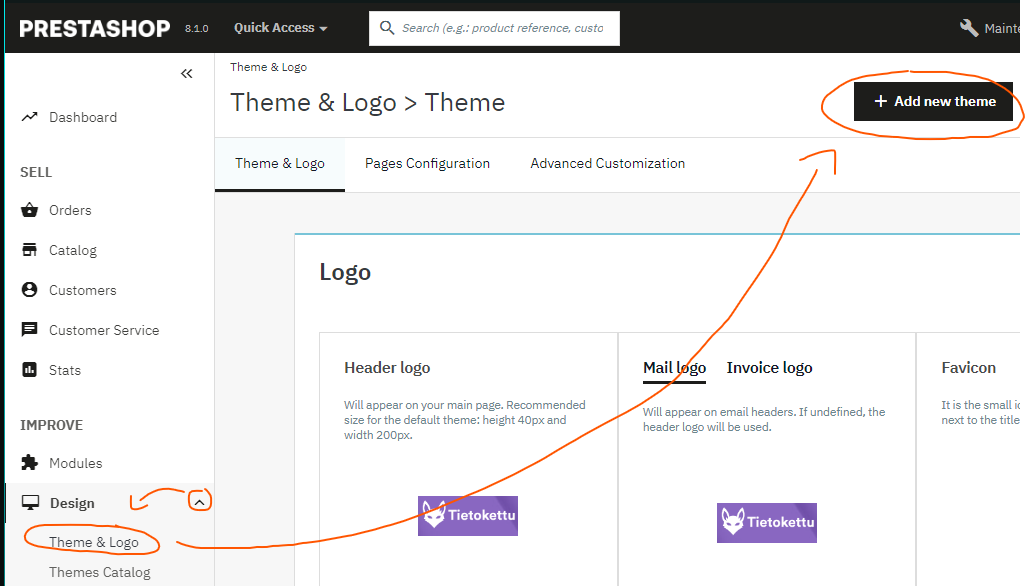
Aluksi siirrymme Prestashop etusivulle, ja sivuvalikosta etsitään "design" -> "theme&logo". siitä aukeavasta ikkunasta valitaan "add new theme".
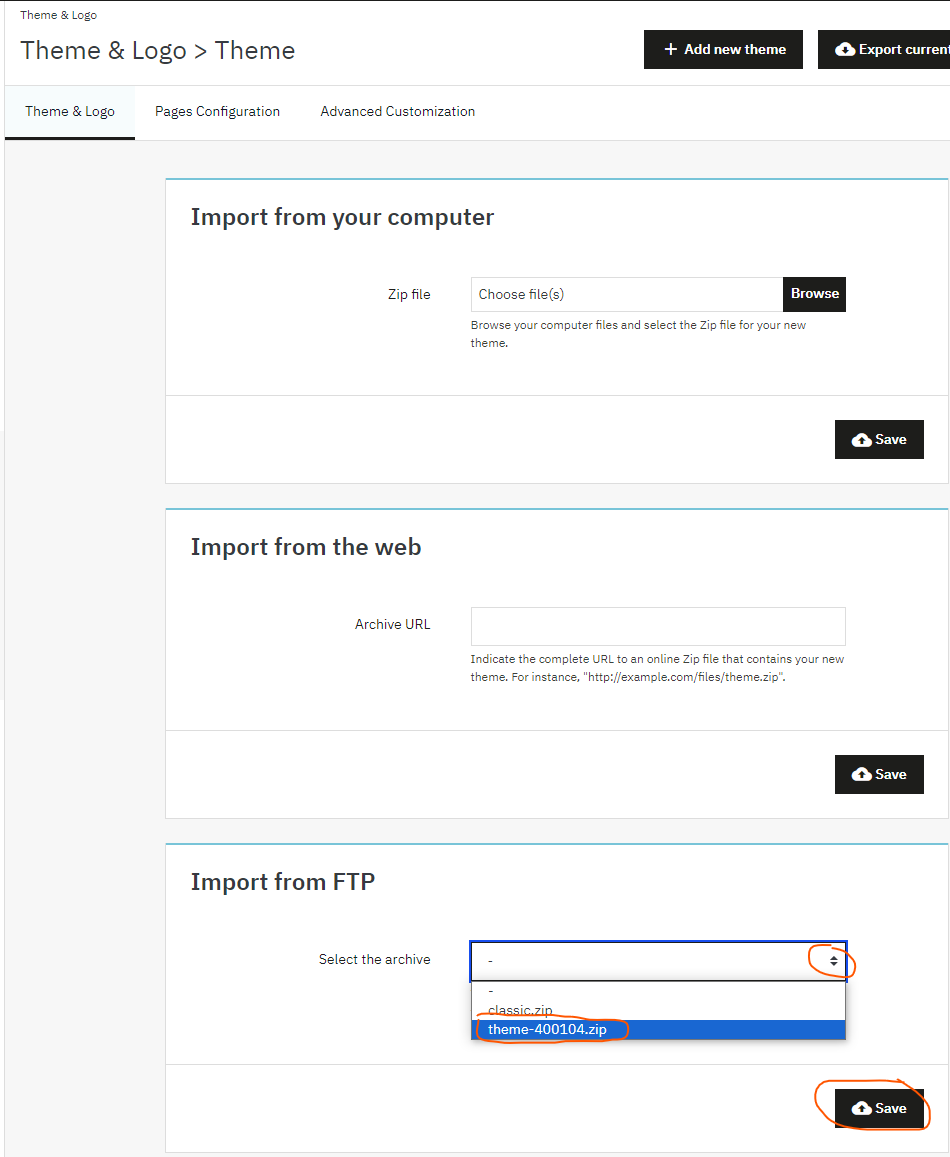
Nyt sieltä alhaalta löydät "import from FTP" vaihtoehdon. Klikkaa palkista ja asentamasi ZIP tiedosto pitäisi olla valittavana, valitse ja paina "save".
Palaa takaisin "themes&logo" kohtaan, ja nyt alhaalla pitäisi löytyä uusi teema! Ota se käyttöön ja pitäisi tulla ilmoitus jos kaikki onnistui.

Pääset näkemään miltä teema näyttää "view my store" kohdasta, jonka löydät yläpalkista.
![]()


